
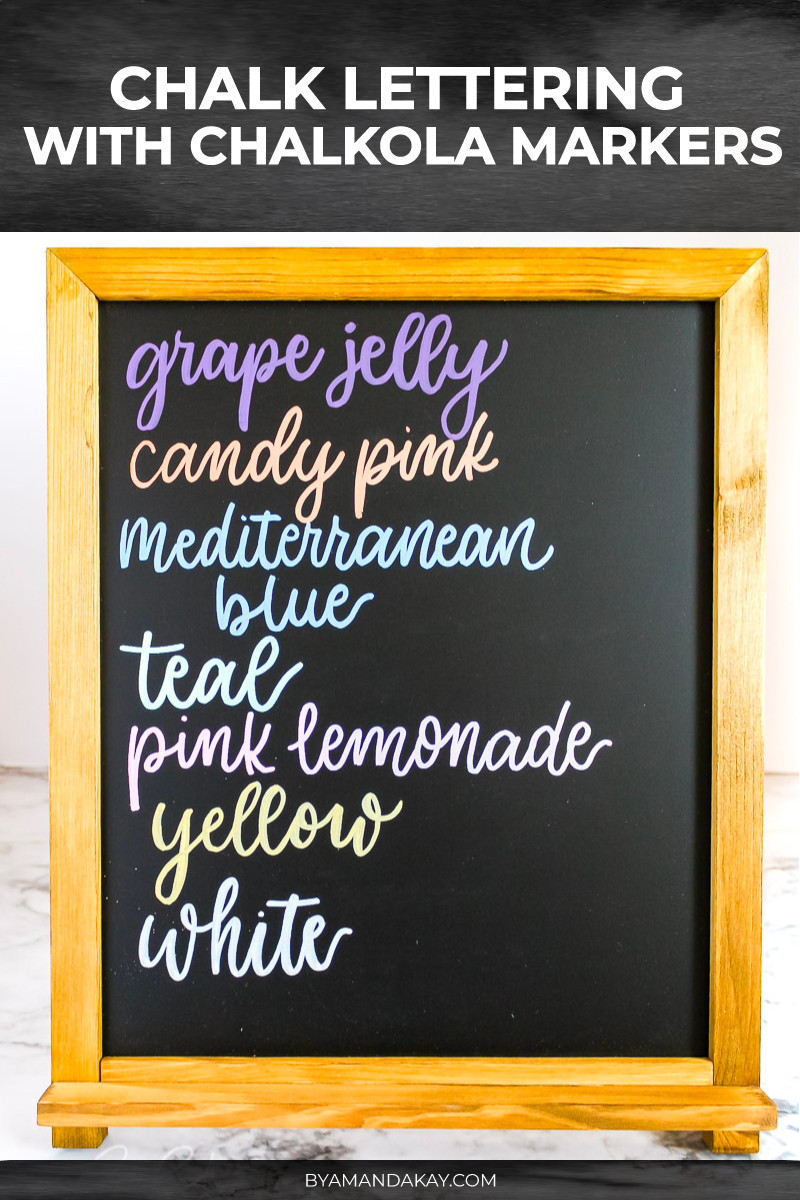
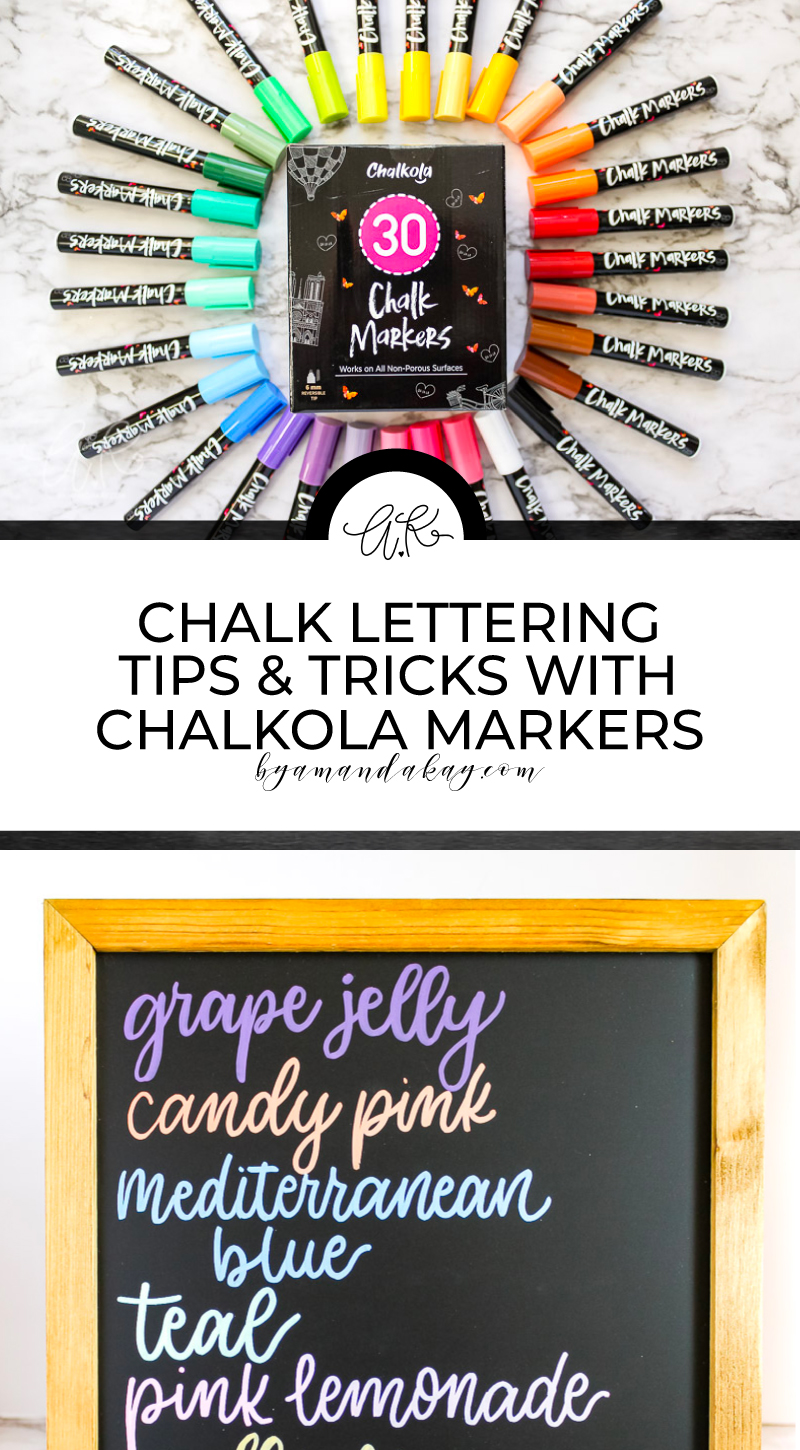
Chalk Lettering with Chalkola Chalk Markers
Chalk lettering is made easy with these vibrant and juicy Chalkola chalk markers.
I did receive a pack of markers from Chalkola in exchange for content, but this blog post is 100% my own honest opinion and tips I learned while testing the markers.
I was so excited to test out these Chalkola Chalk Markers when they arrived because I really want to up my chalk lettering game this year. I have a huge DIY chalkboard in our dining room that I like to decorate for the holidays. I even posted a photo of it on Instagram a few weeks ago. So when these markers arrived I immediately jumped right in to try them out. Here are a few of my observations about the Chalkola Chalk Markers compared to others I’ve tried and a few tips I learned while using them!
Chalk Lettering with Chalkola
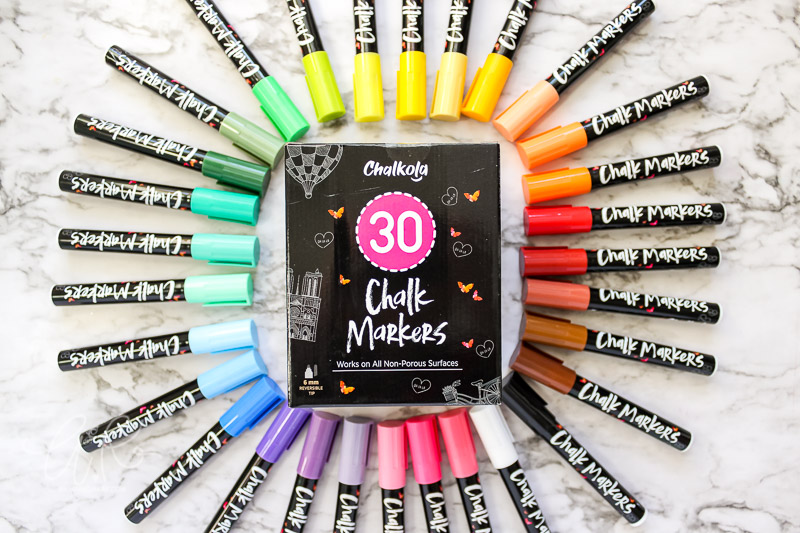
I received a 30 pack of Chalk markers with a bullet tip plus a chalkboard sign to test them out on. I was surprised at the wide variety of colors in the box! The colors are very saturated, opaque and so juicy! Since the markers are water-based and juicy, the colors do blend together well as long as you act fast. I haven’t been able to achieve blending with other brands I’ve tried so I’m pretty excited about that.
Another fun thing I learned is that you can use Chalkola markers on whiteboards, acrylic, glass, ceramic and even windows! The liquid chalk wipes away easily with glass cleaner or a wet cloth. This is great if you are looking for a nice opaque marker to use on any of your acrylic projects that will stand up to handling, but doesn’t need to be permanent.
Tips for Lettering with Chalk Markers
- Start with a clean and dry chalkboard surface. Buff the surface with a microfiber cloth if needed to pick up any dust particles.
- If you are creating art or a large lettering piece on the chalkboard, starting with a mockup is always a good idea. This way you can get the layout, style and word nesting just how you like it on paper first. Then use that as a guide for the final piece.
- To prime the chalk markers, shake them with the cap on for a good 30 seconds to make sure the liquid is well mixed. Otherwise the colors may come out streaky or blotchy looking. Press the tip down firmly several times to get the color liquid flowing evenly. I find doing this on a scrap piece of paper works well to avoid any blobs getting onto the chalkboard.
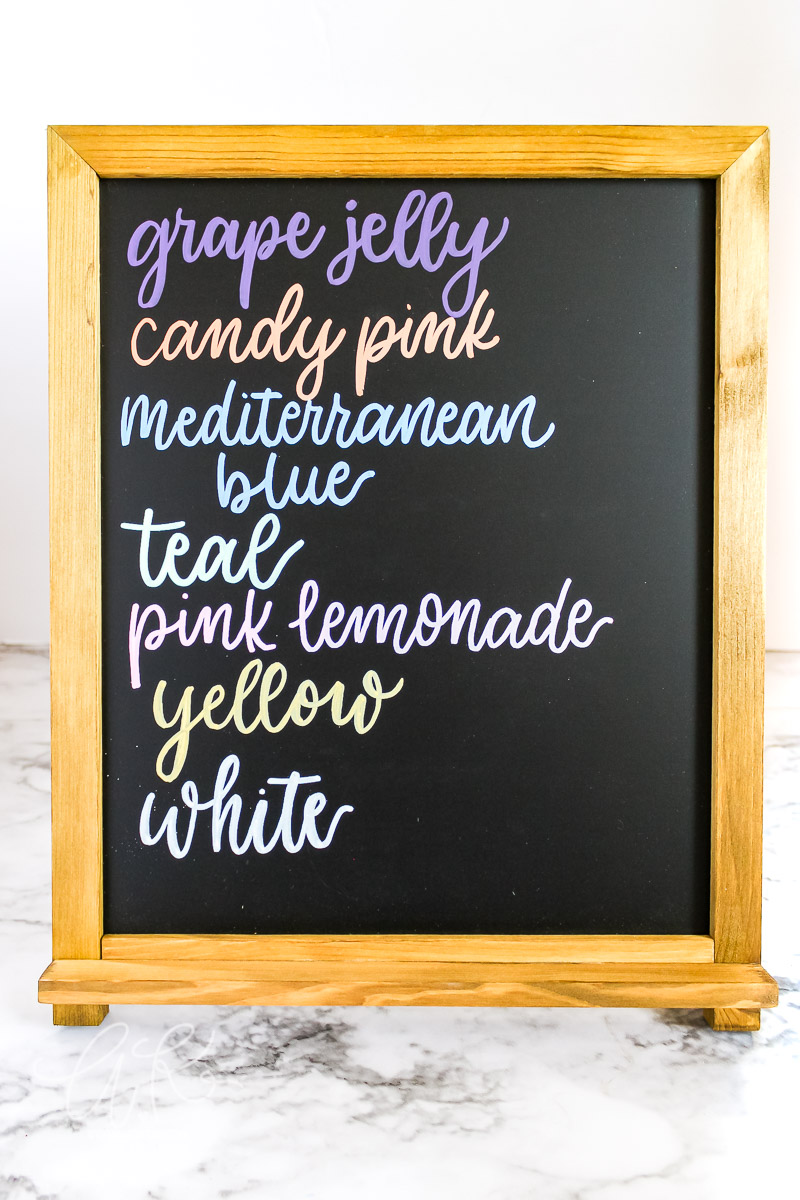
- For this project, I used the Rustic Chalkboard Sign that Chalkola sent me along with the markers, however if you are using another chalk surface, make sure that it is relatively smooth. When the surface is bumpy, sometimes the marker can skip and cause little specs of liquid chalk to splatter. It’s not the end of the world if this happens but can be a little frustrating.
- Keep some Q-tips handy to wipe away small mistakes or clean up details. Dip one end in water to wipe away the mistake and use the other side to dry it up.
- To clean off the chalk marker when finished, just use a wet rag, or glass cleaner and paper towels. Once the surface is cleaned and dry, wipe it down with a clean microfiber cloth to get any dust or paper towel lint.
Check out this quick video on the process, and some swatching of my favorite colors.
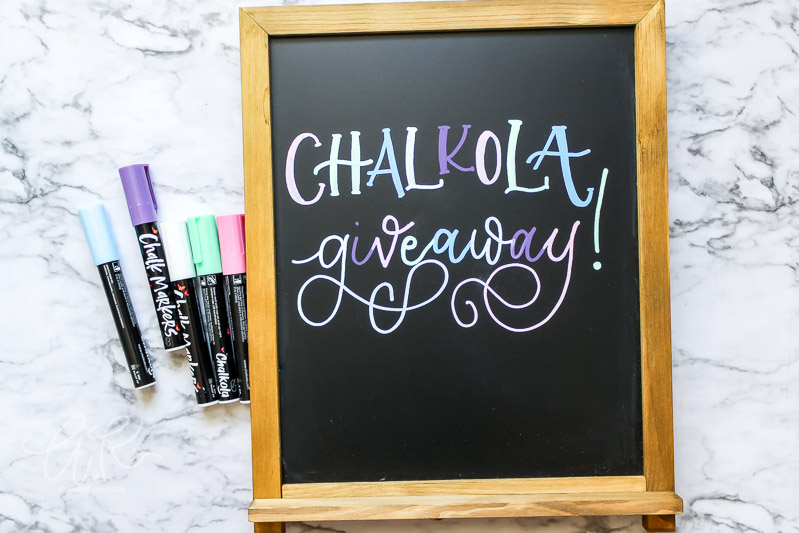
Enter the Chalkola Giveaway
Chalkola has graciously agreed to give one follower their own set of 30 chalk markers to try out for themselves! Hop over to Instagram to enter the giveaway and give Chalkola a follow too! Giveaway ends January 1st.
Don’t want to wait for the giveaway? Shop now and use code CHALKOLA10 to get 10% off your order on Amazon.
Love this? Pin it for later:
2 Comments