
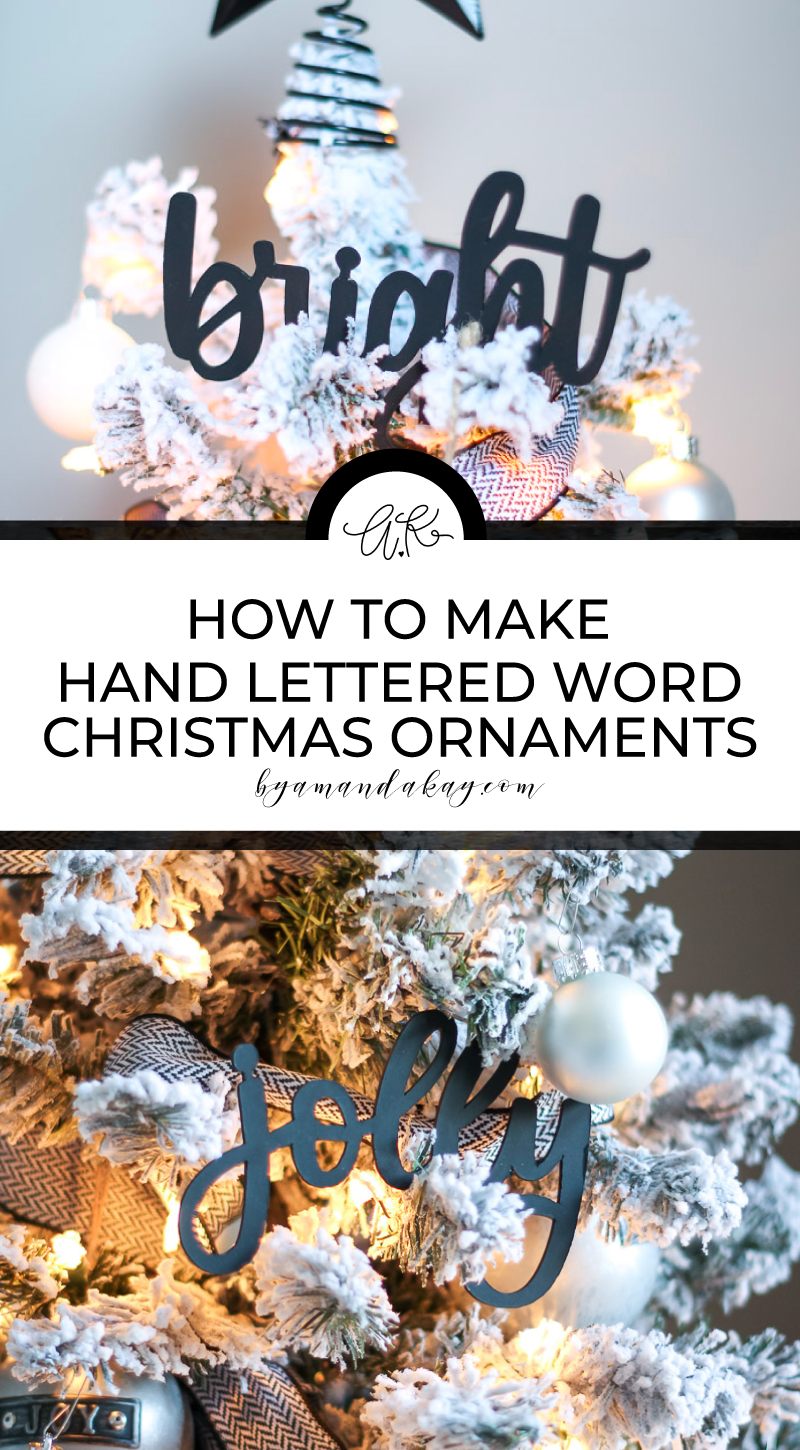
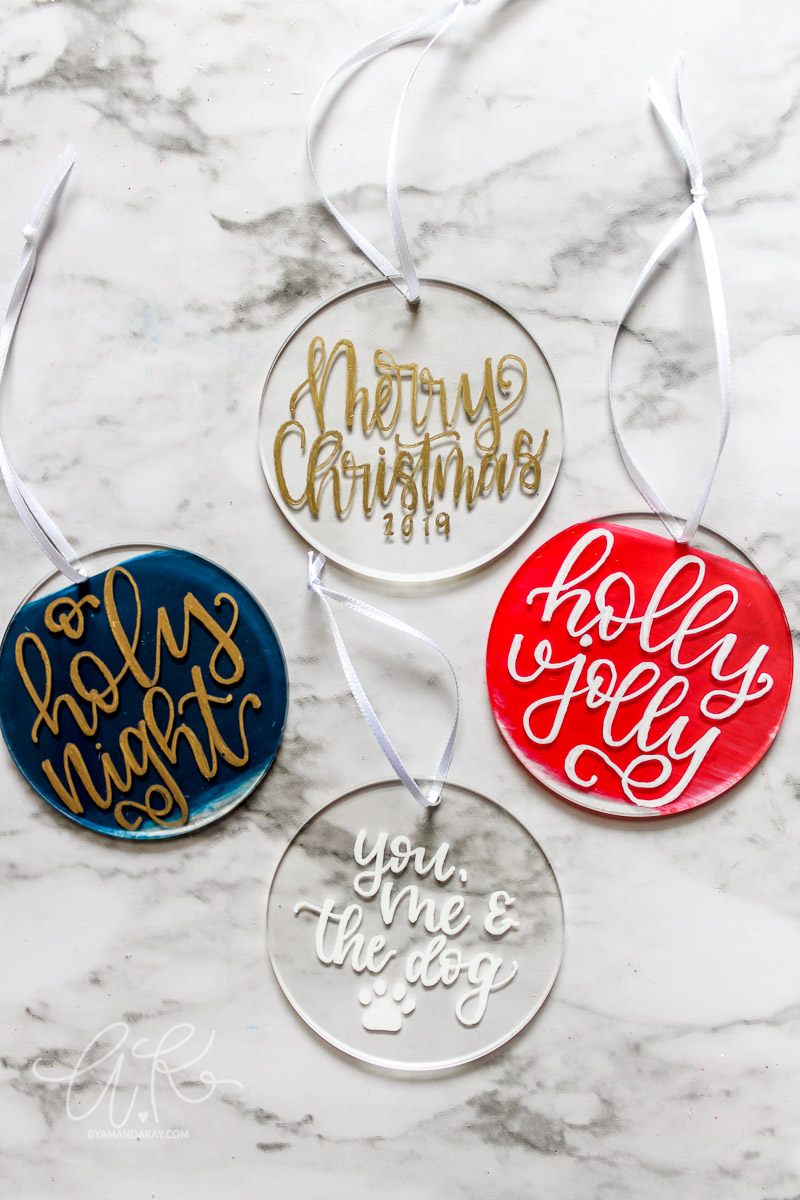
Hand Lettered Christmas Word Ornaments
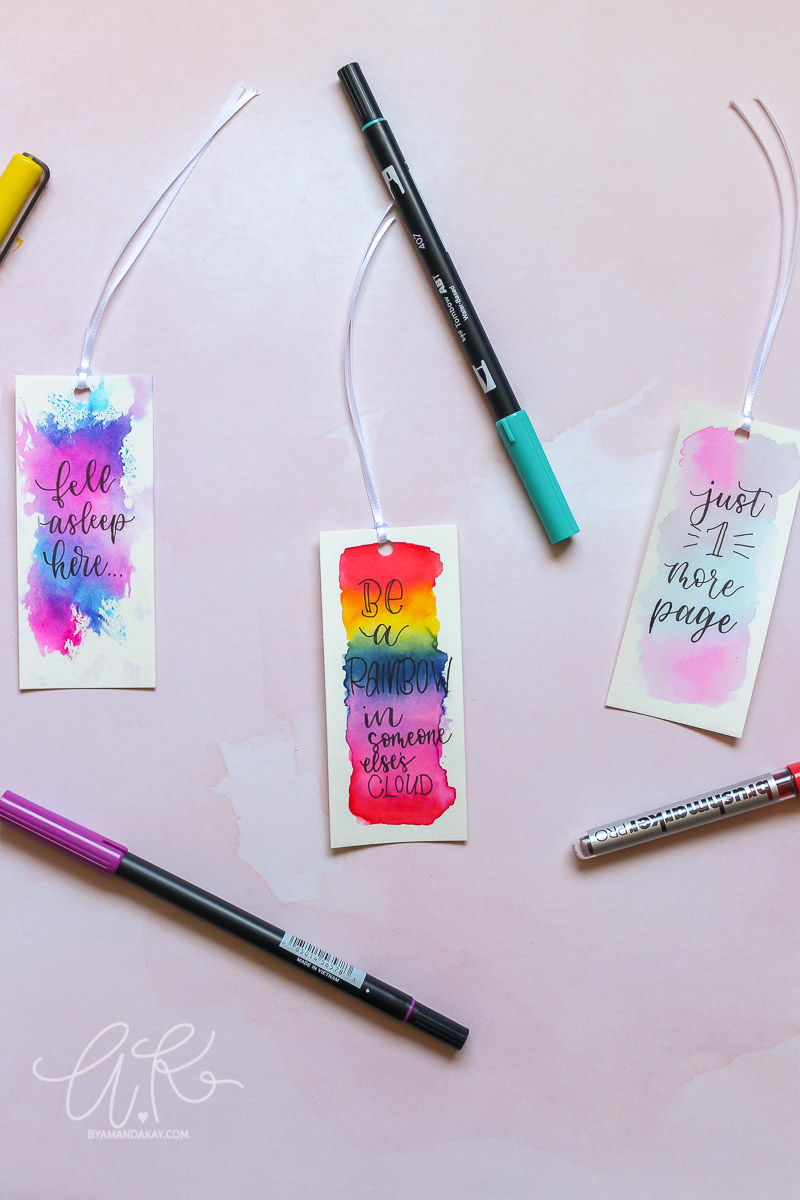
Want to turn your hand lettering into fun Christmas Word Ornaments? Check out this tutorial on how you can do just that.

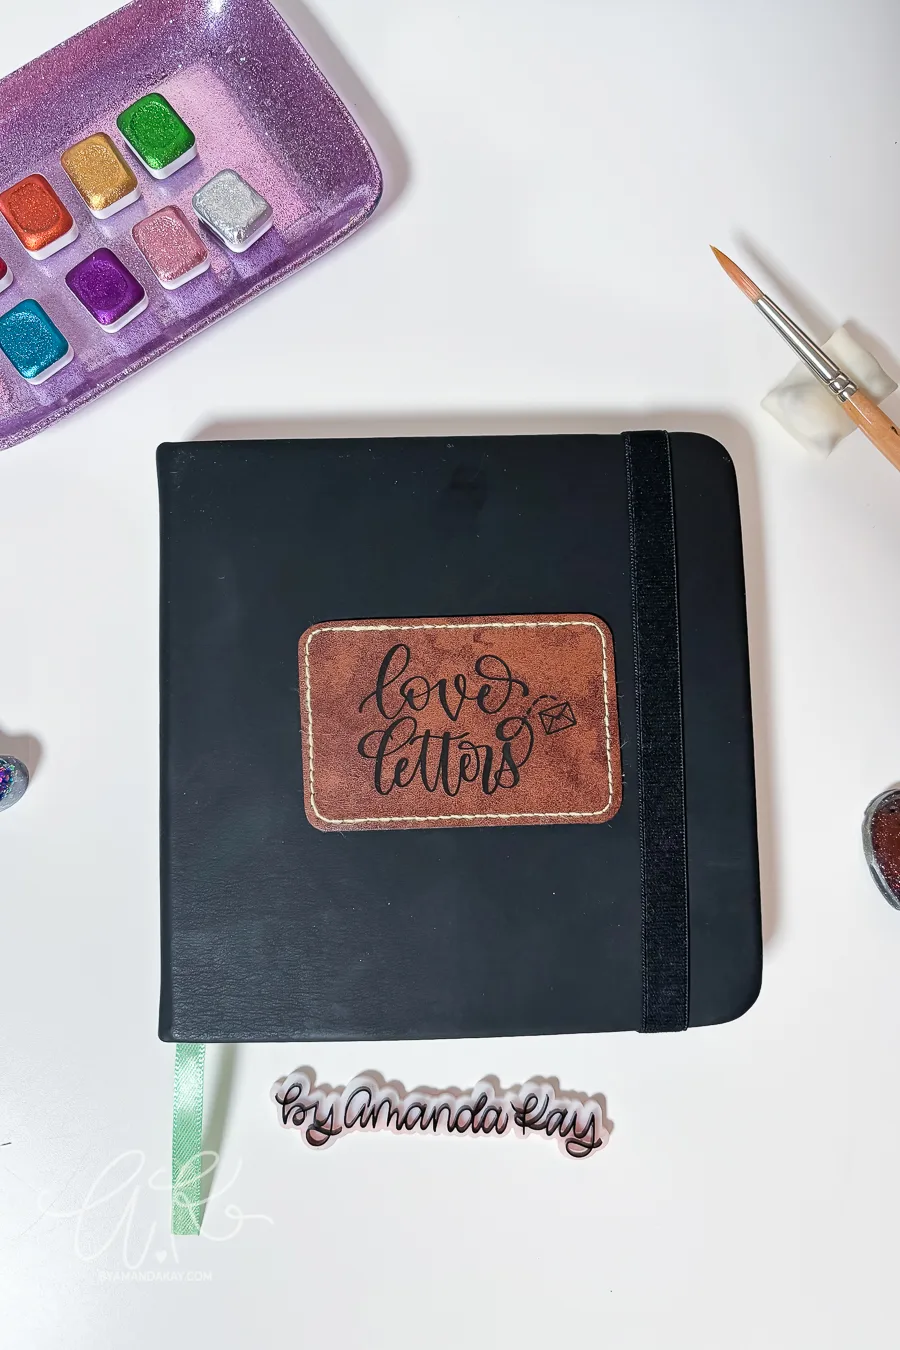
Did you know that the Cricut Maker can cut basswood, cardboard, and other thicker materials? When I got my Cricut Maker, I set out to create my very own Christmas ornaments. I made a few from leather, and now I’m on to these Christmas Word ornaments.
I love how they turned out, and it was easier than I thought it would be to create them. The hardest part was getting everything set up, and ready to cut. Here’s my step-by-step tutorial for these hand lettered ornaments.
Hand-lettered Christmas Word Ornaments
Supplies Needed:
- Cricut Maker
- Cricut Knife Blade
- 1.5mm or 2mm Chipboard (Cricut brand recommended)
- Strong Grip Mat
- Painter’s Tape
- Brayer (optional but helpful)
- Black Craft Paint
- Paint brush
- Hand Lettered words PNG or SVG
- Fishing line (for hanging)
How to upload hand-lettered words into Cricut Design Space from Procreate
You can read my tutorial on how to turn lettering in Procreate into SVG files with Adobe Illustrator. I plan to write another whole post on how to do this with the new Illustrator app for iPad! It’s so easy. Until then, here is how you can take hand-lettered words from Procreate, and use them to cut ornaments in Design Space with a Cricut Maker. You can use this same process to upload SVG files as well.
A few things to keep in mind while lettering these words:
- Make the thick and thin strokes almost even, or keep the word monoline. It will be very hard for the machine to cut small intricate lines.
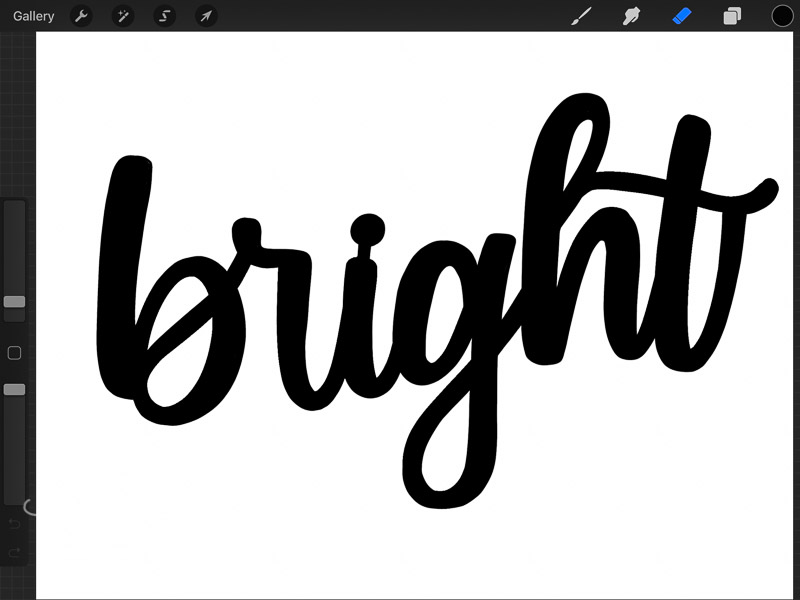
- Connect any outliers like the dots to an “i” or “j” to the stem of the letter. This will keep them part of the word when it is cut out on the chipboard. You can see in the photo below that I also made sure the cross of the “t” in bright was connected to the “h” and the upstroke at the end for more stability.
- Make the strokes as thick as possible. This goes back to number 1, but I assure you, this is an absolute must!
After you have each word lettered in Procreate, save each individual word (with the background layer turned off) as a PNG file to your iPad.
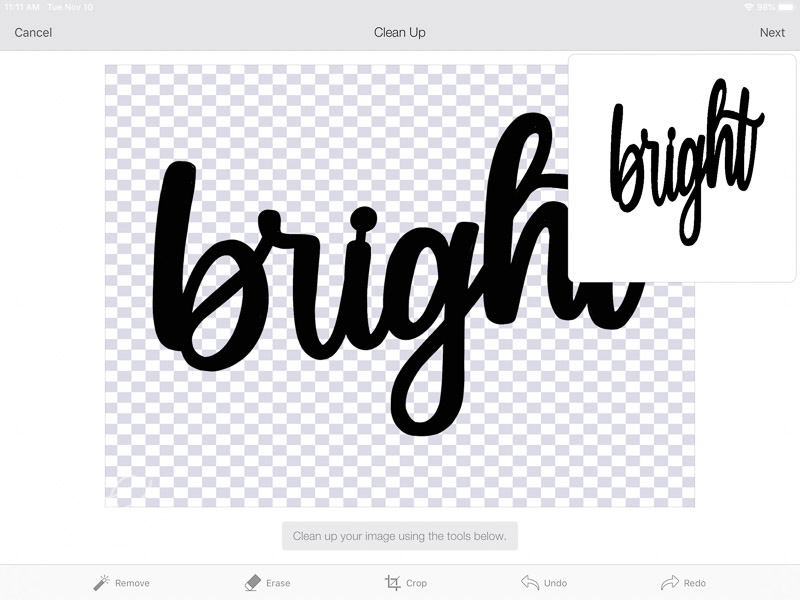
Open Cricut Design Space on your iPad and create a new project. Use the upload option and select from Photo Library. Choose one of the images you just saved from Procreate. Crop and adjust the image as needed, but if you’ve already cleaned it up in Procreate, you should only have to make minimal changes.
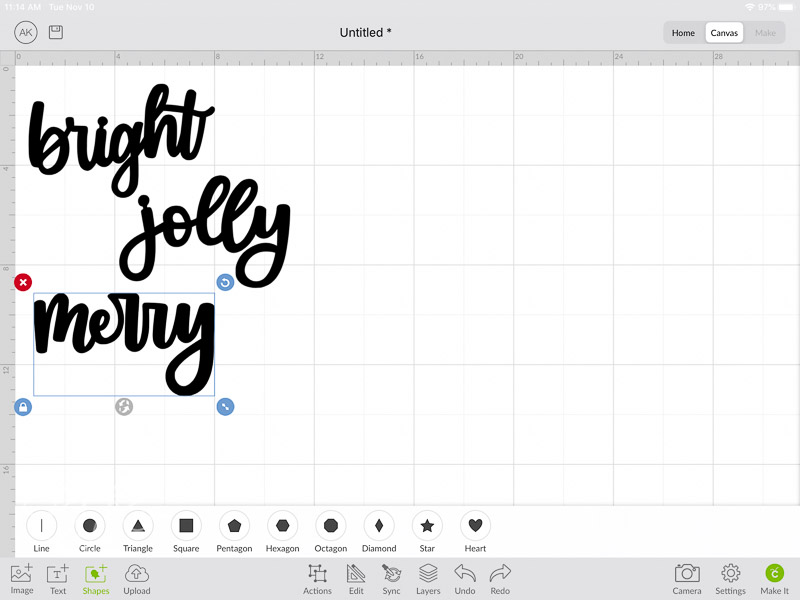
Place the image on the canvas in Design Space and resize it to the size you want the finished Christmas word ornaments to be. My ornaments are 3.75″ tall. Keep in mind that Cricut recommends widths of cuts no smaller than the size of a pencil eraser.
How to Cut Words from Cricut Chipboard
You need a Cricut Maker and the knife blade for this step. Now, if you wanted to cut these out of thick cardstock, by all means, you can do that! Just keep in mind that the Christmas word ornaments will not be as heavy-duty or sturdy as cutting them from the chipboard material.
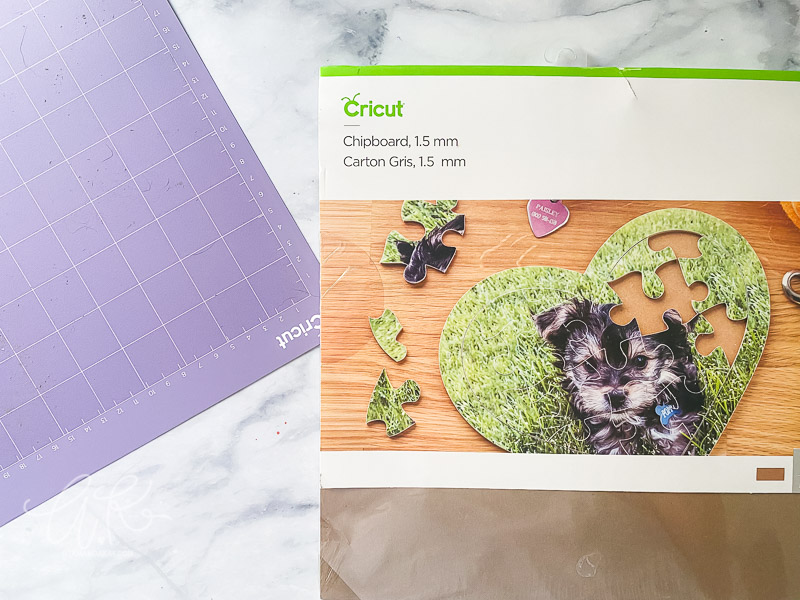
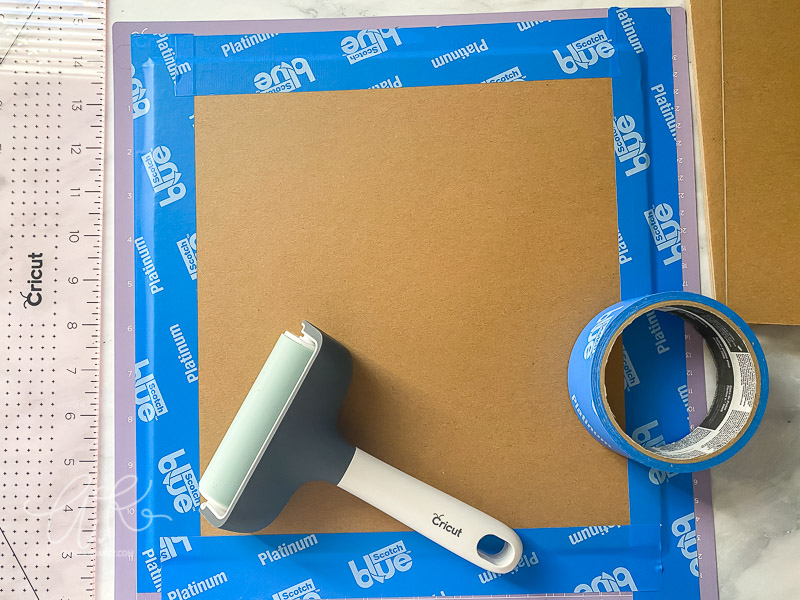
First, place a sheet of chipboard on the StrongGrip cutting mat. Cricut recommends using the StrongGrip mat, and securing the edges to the mat with painter’s tape to ensure the material does not slip. The knife blade will make several cuts and passes, and with each pass, the material can slip. Taping the edges and using a sticky StrongGrip mat is essential. The brayer tool can also help make sure the chipboard is firmly attached to the mat.
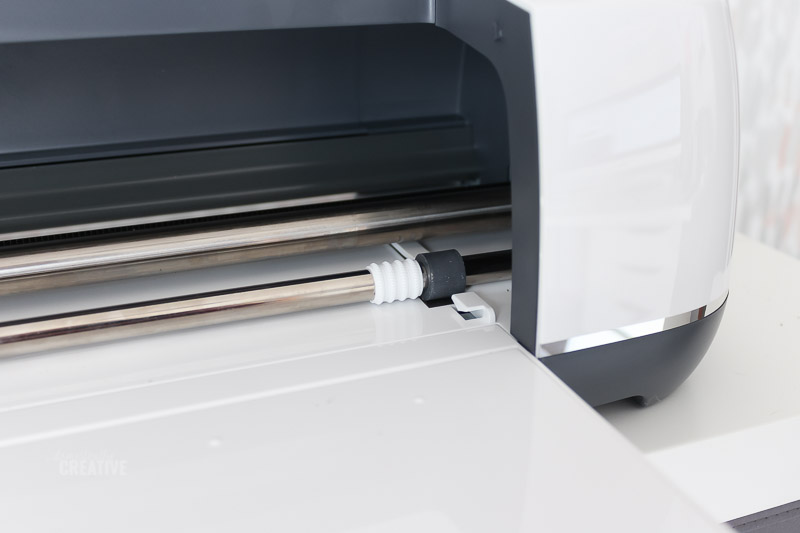
Insert the material into the Cricut Maker and ensure the knife blade is loaded in the correct tool slot. If this is the first time using the knife blade, you will be prompted to calibrate it. Follow the prompts in Design Space. When ready to cut, you’ll select the correct material (1.5mm or 2mm chipboard) in Design Space. I used 1.5mm chipboard because that is what my local store had, however, if I could do this over I think I would go with 2mm to make the Christmas word ornaments a little more durable. Before hitting go, make sure you have moved the star wheels out of the way!
The machine will cut for what seems like FOREVER. This is normal because it is making several small cuts and passes. To cut out three words it took my machine an hour. Be patient! You don’t need to babysit the whole time but do check in every once in a while to make sure everything is working.
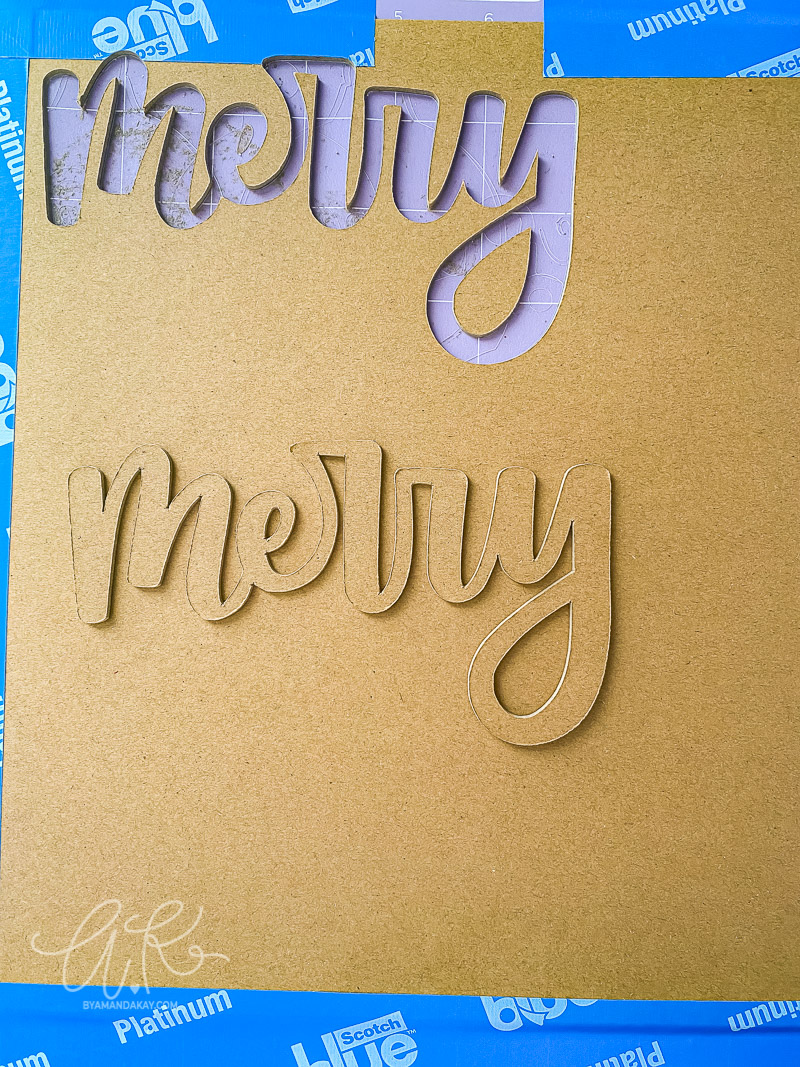
I did have to pause my machine a few times during the process to remove the small pieces (like inside an ‘e’ or ‘o’) that would come up from the mat. This is normal, but you do need to remove them so that the machine doesn’t jam.
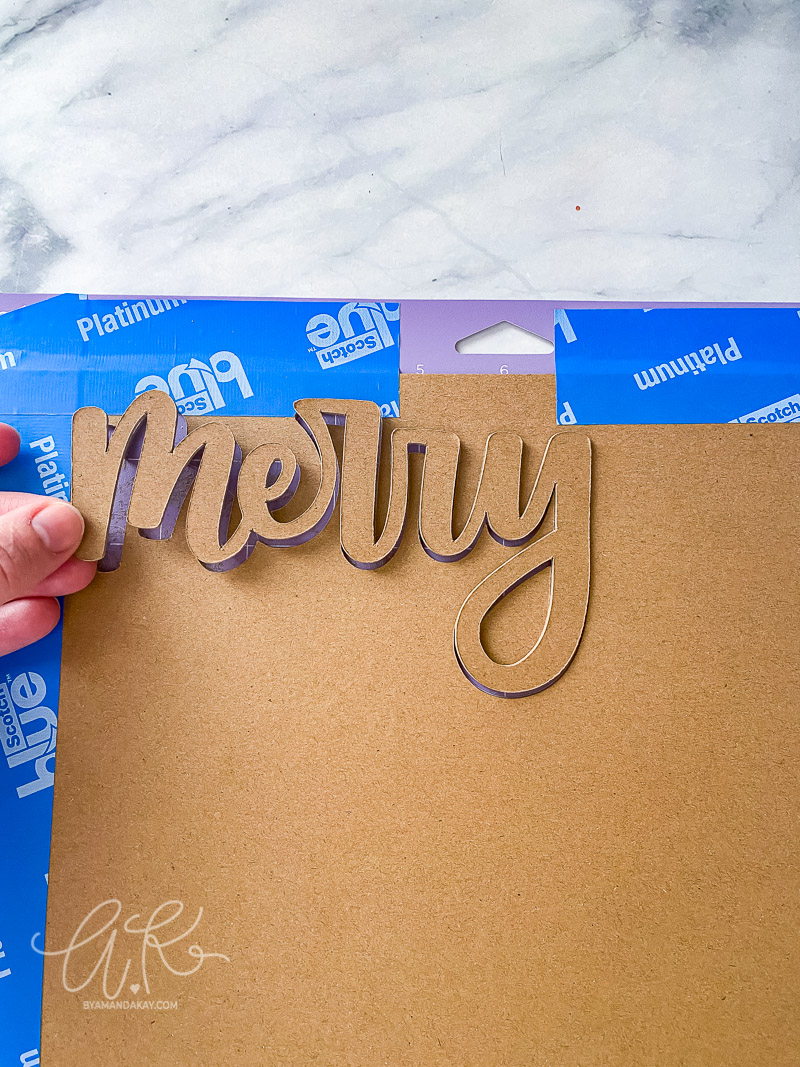
When the machine is done cutting, check to make sure the word is cut all the way through. It will just pop right up, with little effort. If so, you can unload the mat. Otherwise, click the “no” option in Design Space and it will do another few passes.
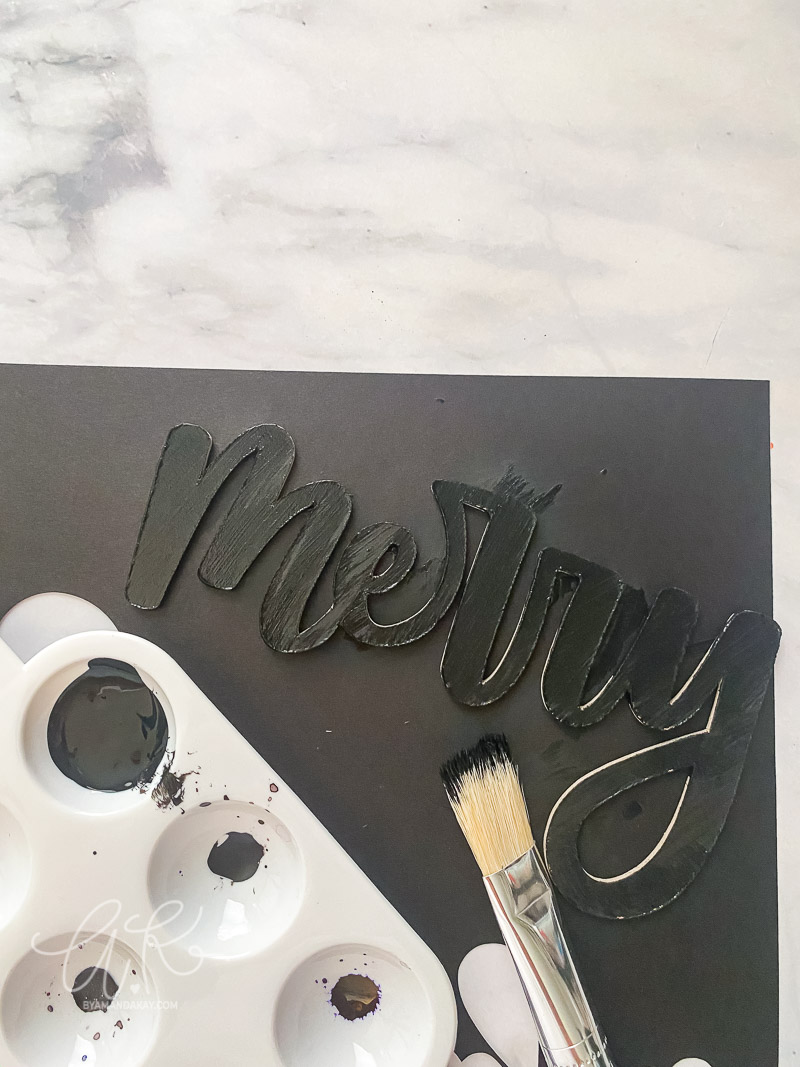
Now it’s time to add the finishing touches–paint! I chose black for my word ornaments so they would fit in well on my black and white Christmas tree this year. Choose whatever color you prefer, add some glitter, or even do paint pouring!
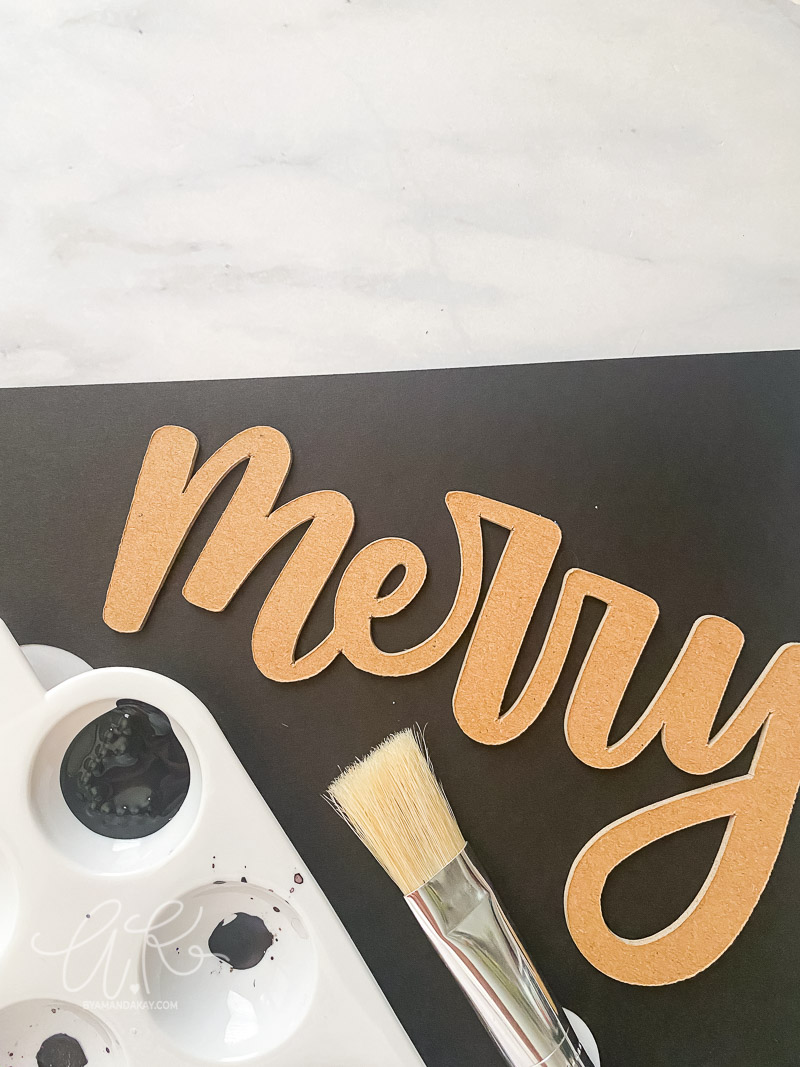
Don’t forget to paint all of the edges too! You don’t want any of the chipboard to show through when it’s on the Christmas tree.
Optional: use some clear fishing line to hang the finished Christmas word ornaments on your tree. I simply placed mine in the tree and they stayed secure just fine! Use your own judgement here.

Let me know in the comments what other words you will be making into ornaments for your own Christmas tree!

If you’d like to save yourself time, you can also grab these three Christmas word ornament templates in SVG form to use yourself! Subscribe to the weekly newsletter and library below and you’ll be sent the link where you can find them.
Don’t forget to pin this!


I had no idea my Cricut machine could cut chipboard. Oh the possibilities! This is definitely happening for our tree. Thank you for the awesome tutorial!
It’s really amazing what that Cricut Maker can do! So many different attachments and materials to cut. I hope you make some for your tree!