DIY Hand Lettered Watercolor Bookmarks
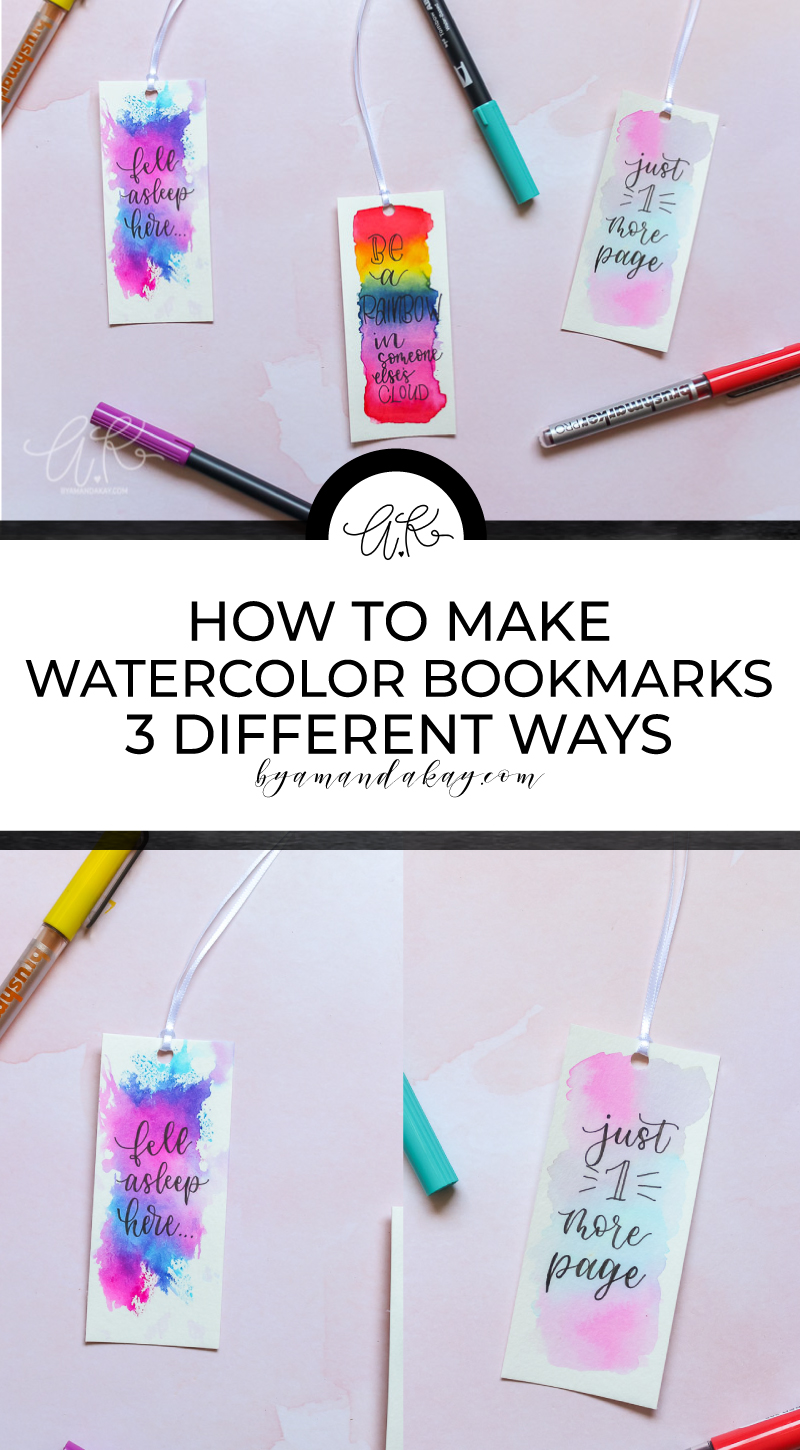
Create this simple craft for 3 styles of DIY watercolor bookmarks without needing watercolor paints. Use any water-based brush pens you already have at home and get started.
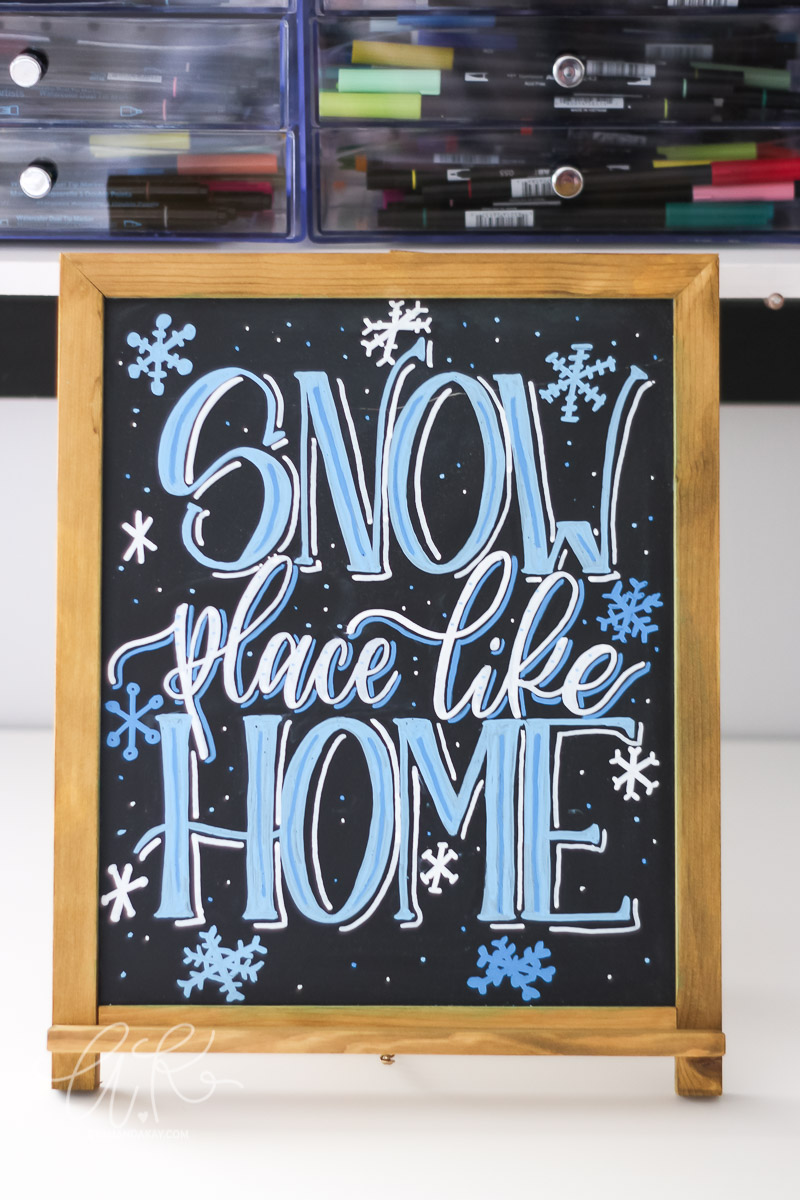
Ever wondered how you could easily get the perfect chalkboard art? Check out this super simple method to transfer your hand lettering and designs to a chalkboard to create beautiful chalk lettering.
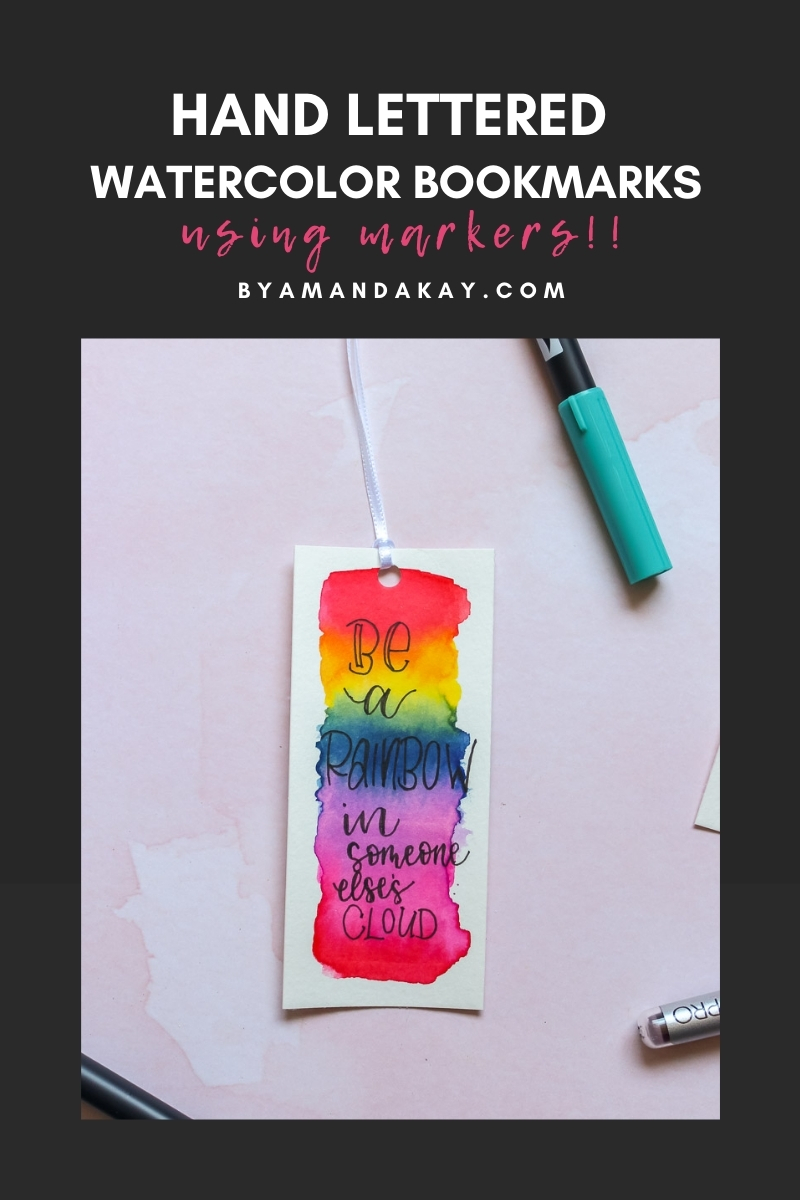
Learn the three styles used to create the watercolor bookmarks with the tutorials below. There is also a 5 minute video at the end showcasing all 3 styles of watercolor bookmarks if you’d rather watch.
How to Make Hand Lettered Watercolor Bookmarks
Supplies Needed:
- Watercolor Paper
- Paper Cutter or Scissors
- Tombow Dual Brush Pens OR
- Karin Brush Markers OR
- Crayola Markers
- Jar of clean water
- Paint brush
- Paint Palette
- Plastic bag
- Paper towels
- Permanent Ink fineliner (Micron or Faber-Castell work great)
- Optional: Single hole punch and ribbon
Before jumping to the 3 techniques for making these watercolor bookmarks, you’ll want to cut watercolor paper to bookmark size. Mine are 2″ wide by 5″ long. Use a paper cutter or scissors to do this. It is important to use watercolor paper, as cardstock or other paper may not hold up to water.
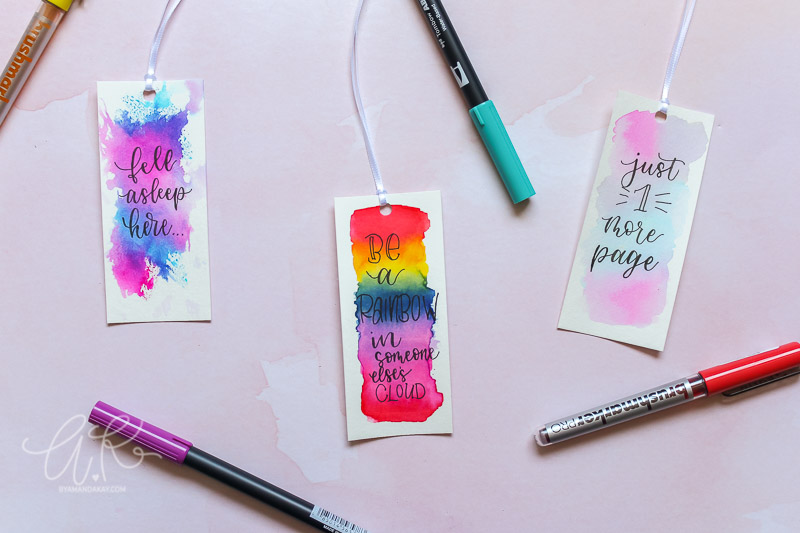
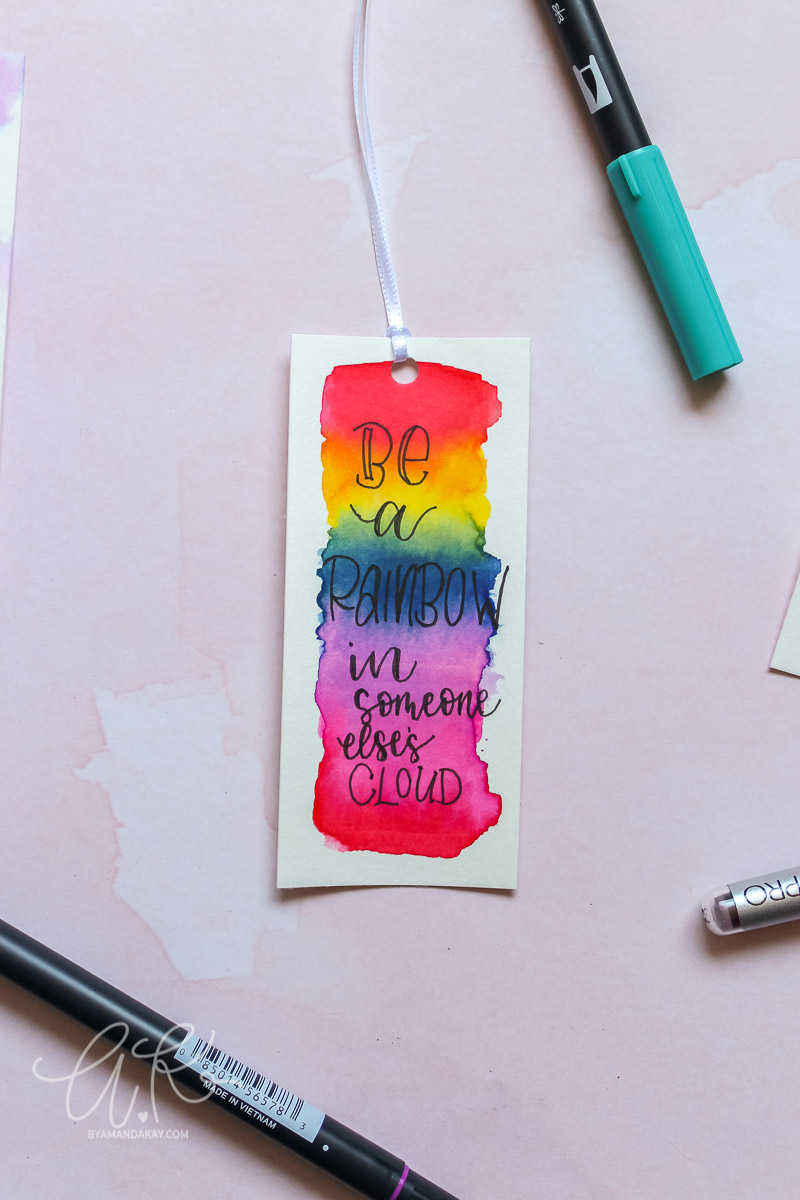
Style 1–brush pen watercolor blending
This first style is probably the most straightforward way to make a watercolor bookmark with brush pens. For this DIY bookmark, I used Karin brush markers, as their tips are meant to be used on rougher textured paper. Keep in mind that using a sensitive Tombow dual brush pen for this can cause their tips to fray a bit.
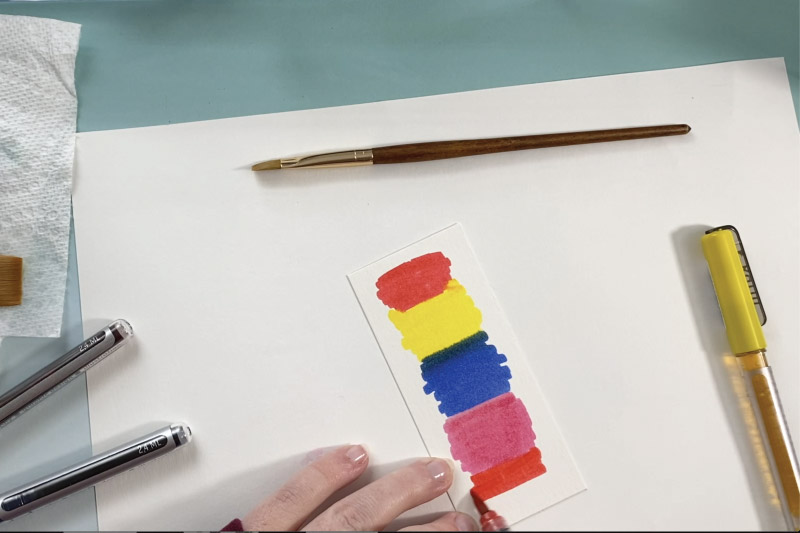
First, decide which colors you’d like to use for this technique. I chose a rainbow scheme using Red, Yellow, Blue, and Pink.
Next, color directly onto the watercolor paper. This can be random, or if you are also choosing a rainbow blend, go in the correct order.
After coloring, blend the colors together using a flat paintbrush and clean water. When blending a darker color into a lighter color, it’s best to start on the lighter color and bring it into the darker color. Otherwise, you may lose the lighter color to the darker completely.
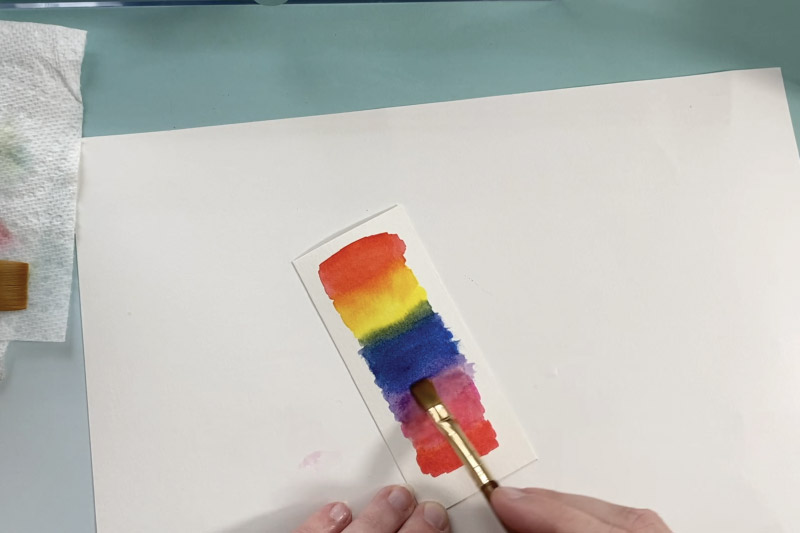
There is no wrong way to do this so have fun!
Style 2–Plastic bag watercolor blending
This style uses a plastic baggie and water to create a fun splatter effect!
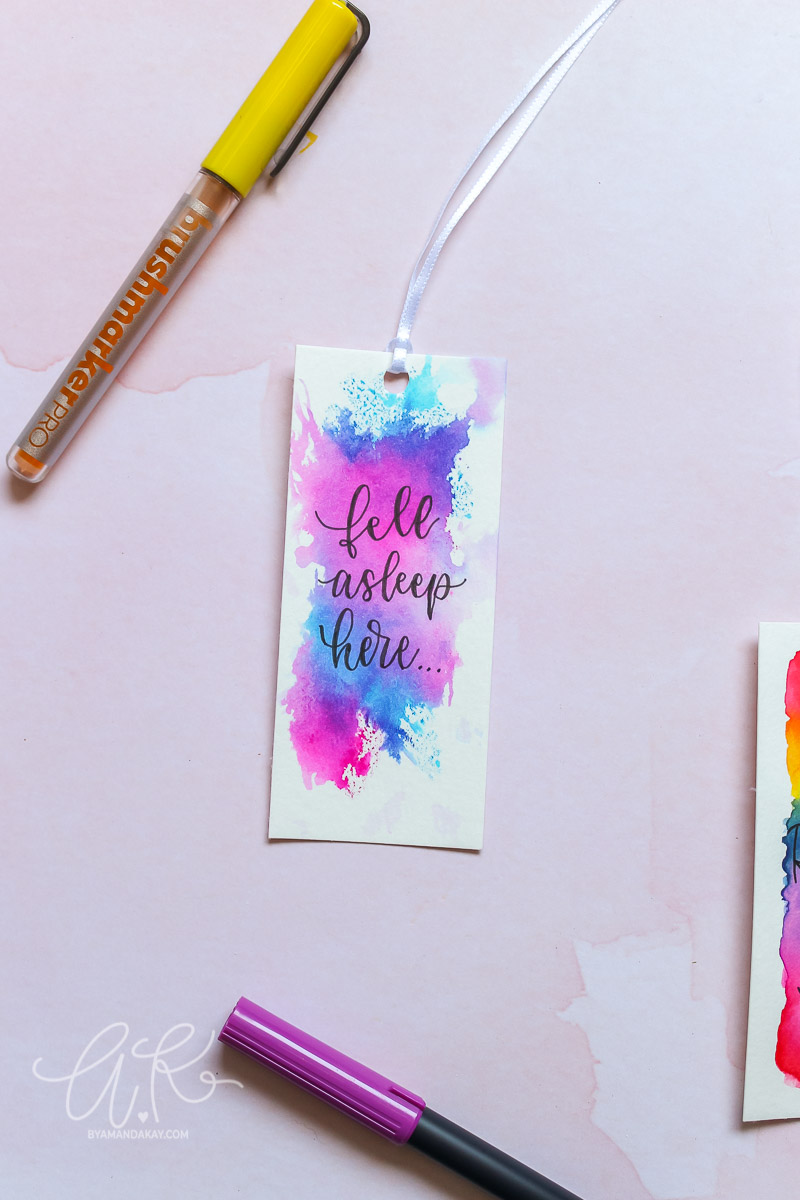
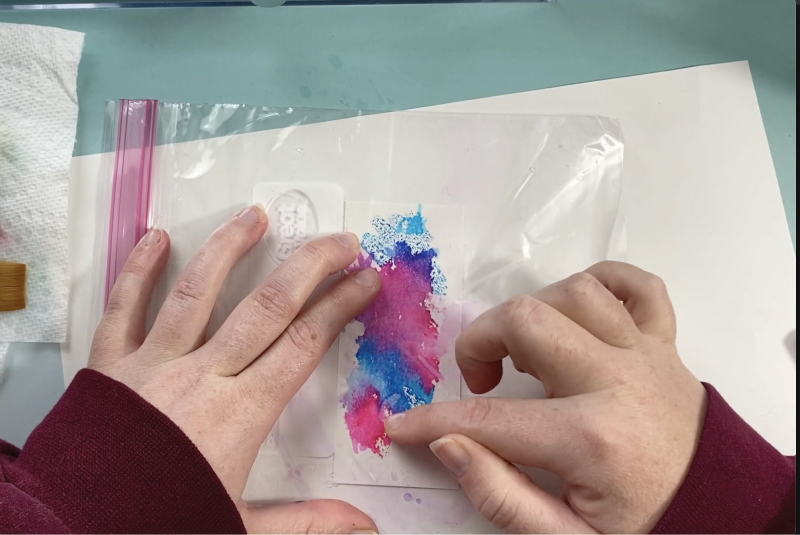
Start with a clean plastic bag (a sandwich baggie, not a shopping bag). Use water-based markers to color randomly on the bag. Choose colors that will blend well!

Use a spray bottle to spritz the bag and marker with water, or just use a paintbrush to drop water onto it. Flip the bag over onto the watercolor paper and spread the marker around with your fingers.
Style 3–Watercolor painting with brush pens
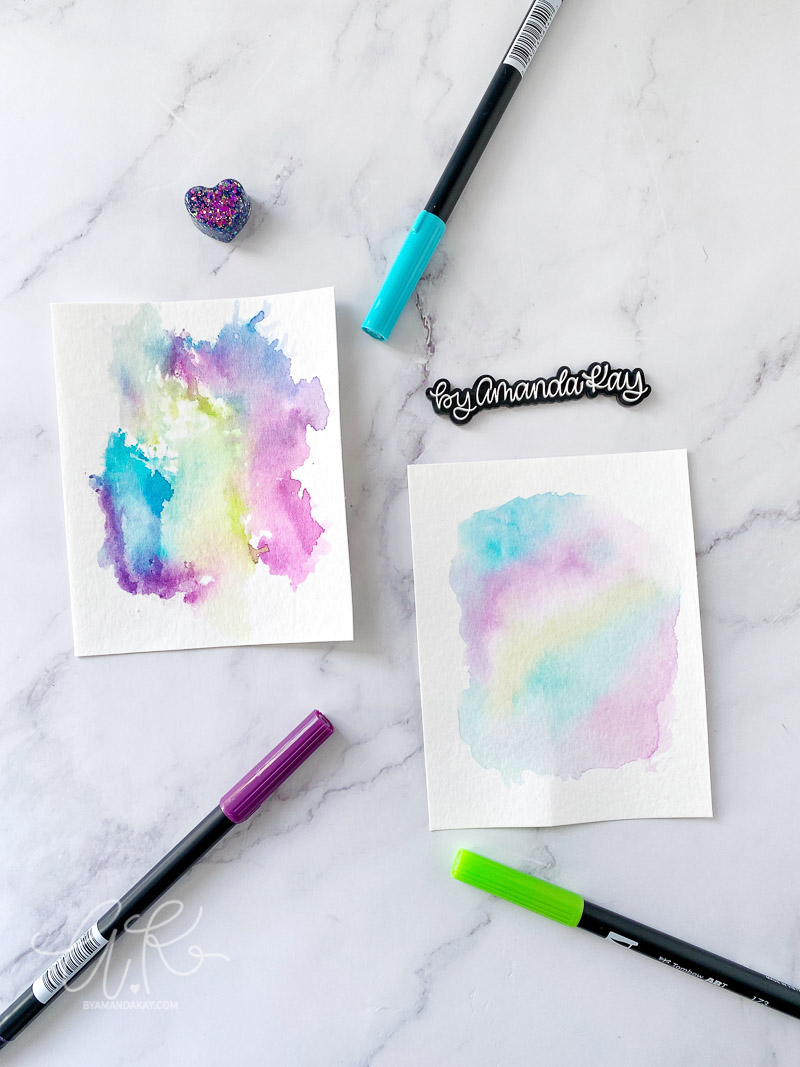
Turn regular water-based markers into watercolor paint with a plastic palette and water.
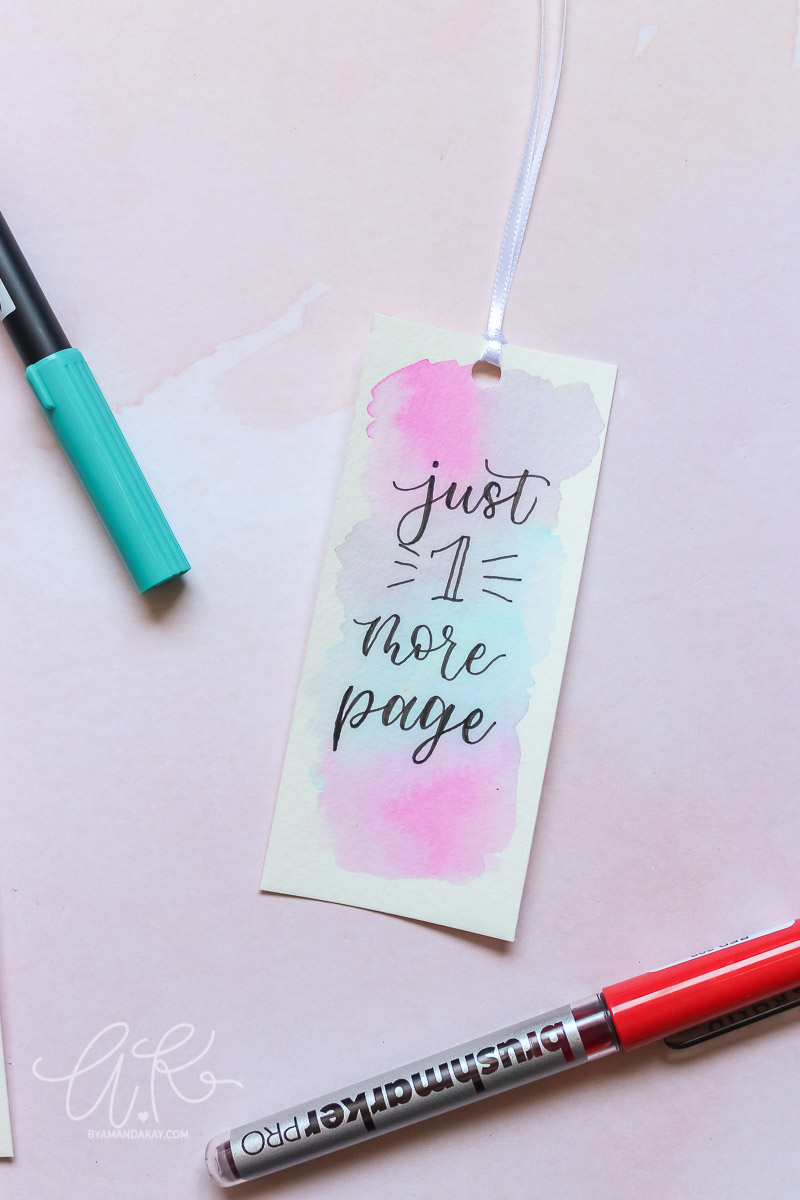
Color onto a clean paint palette with water-based marker. Then add a small amount of water to each paint well to create watercolor paints!
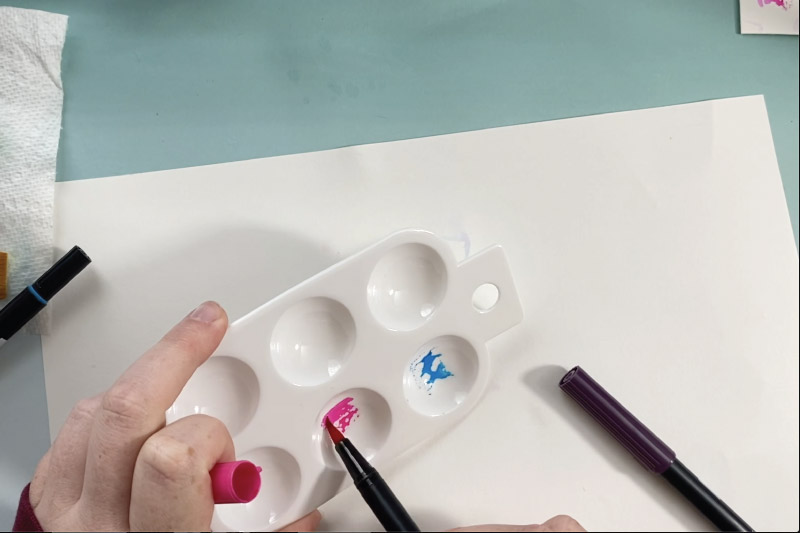
Use the paints you just created to make a fun blotchy watercolor bookmark. Again make sure to use colors that will blend together well!
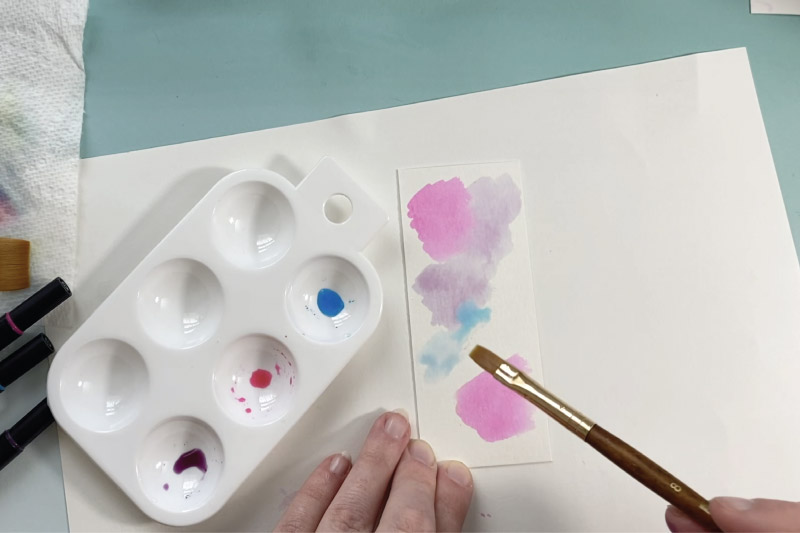
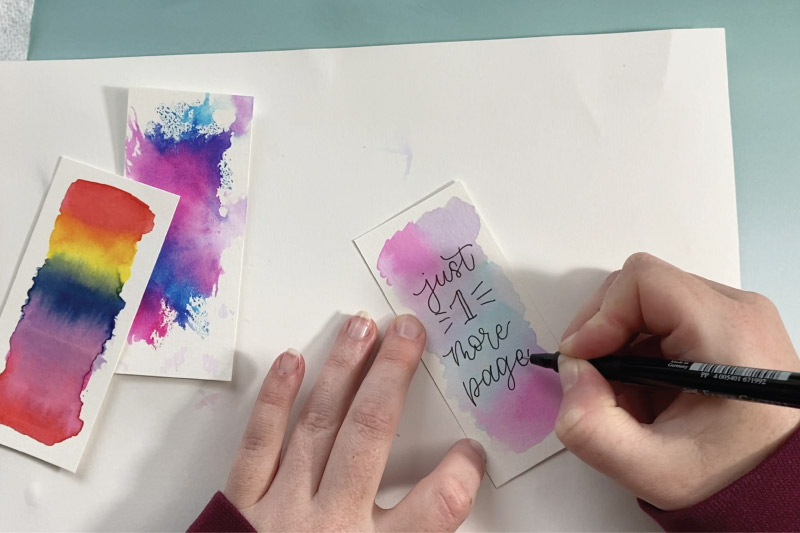
After the DIY watercolor bookmarks have dried, use a permanent ink fine liner, like Micron or Faber-Castell, to hand letter a phrase over top. Using another water-based marker can cause some bleeding.
Optional, punch a hole at the top of each and add a piece of ribbon or twine to finish these hand lettered watercolor bookmarks!
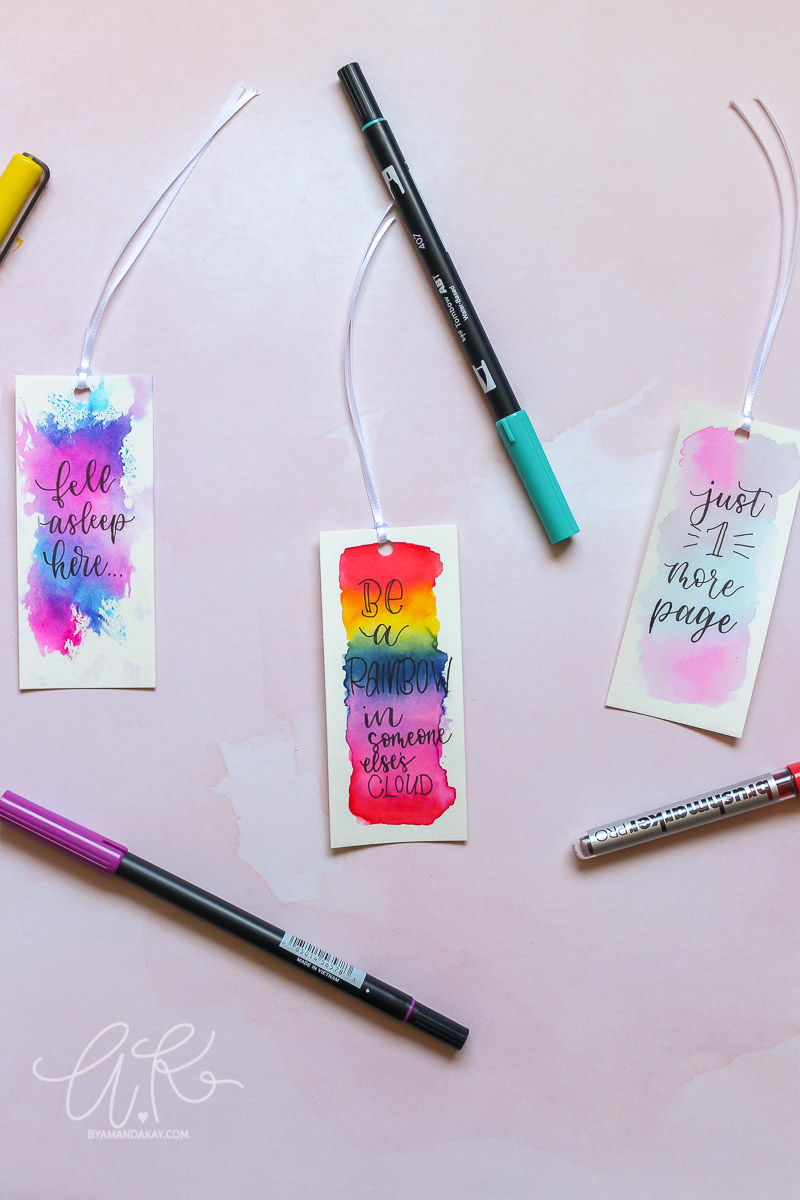
Watch the step-by-step tutorial video below to see the 3 ways to make watercolor bookmarks with markers.
You may also like:
- How to Organize Lettering and Watercolor Supplies
- Watercolor Blending Tutorial with Tombow
- The Best Paper for Brush Lettering


6 Comments