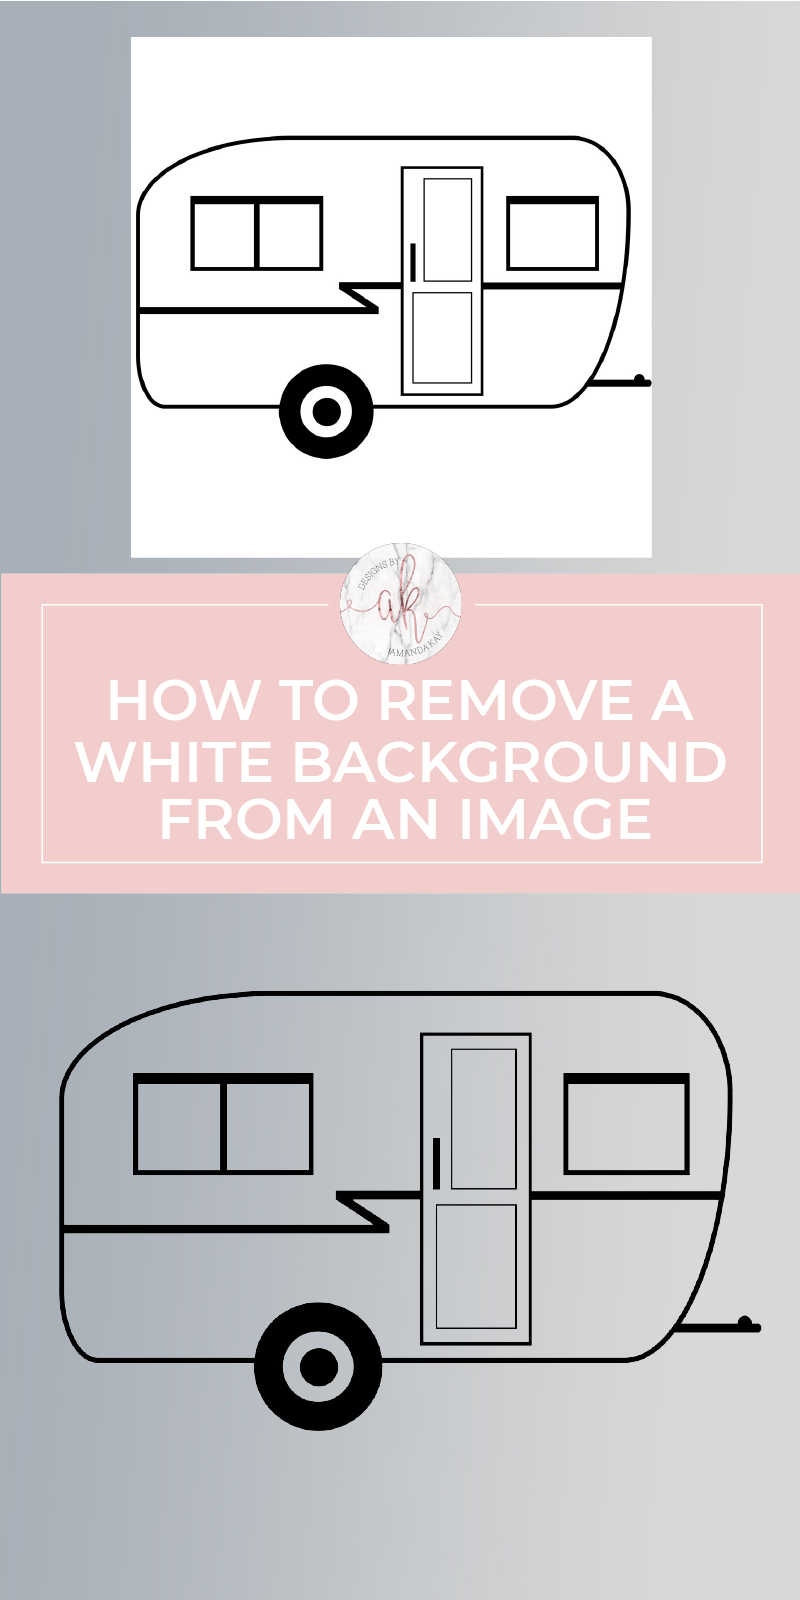
Photoshop Tutorial: Remove a White Background from an Image
If you’ve ever needed to remove a white background from an image but didn’t know how, here’s a step by step photoshop tutorial just for you.

When I first started playing around with graphics, this is one of the very first things I learned to do. So many times I would try to create a mood board for room makeovers and a lot of the product images would have a white background or border to them. Well, when I was trying to layer one image on top of another it just looked all wrong with that white background. Learning how to remove a white background from an image has saved me so many headaches!
This tutorial is specifically for Photoshop, but you could also use a similar free software called Pixlr. The steps are very similar!
I decided to use a very simple graphic of a camper I drew on my 10.5 iPad Pro with the Apple Pencil. You can do these same steps for any image that has a white or colored background you want to get rid of. In step 6 you may need to play around with the tolerance settings while using the Magic Wand Tool if you are editing a more detailed image.
How to Remove a White Background from an Image
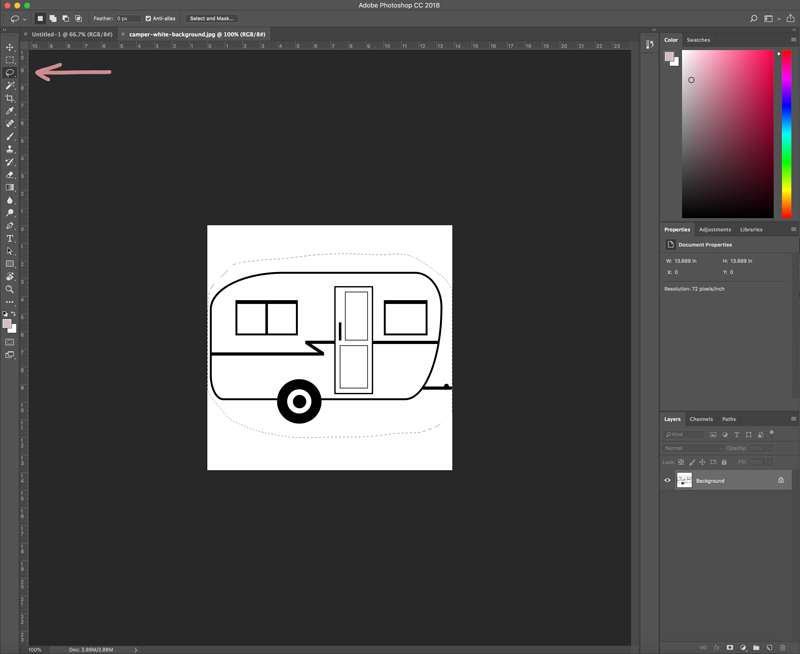
- Open the image you want to edit in Photoshop

- Using the Lasso Tool (l), draw around the object to select it. Cut the image you’ve just selected by using COMMAND X on a Mac or CTRL X on a PC.
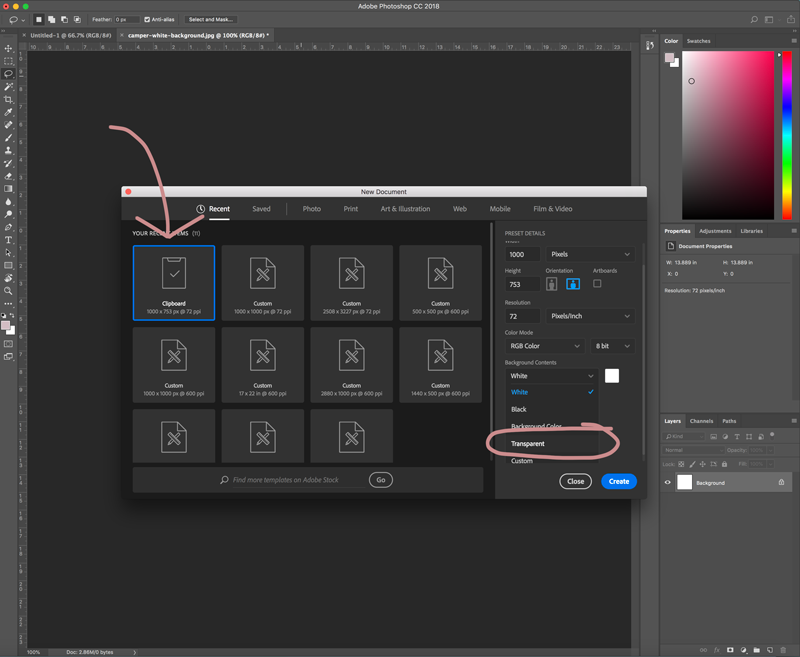
- Open a new document. Photoshop will automatically imput the dimensions of the cut image that is now on your clipboard. Make sure to choose a transparent background.
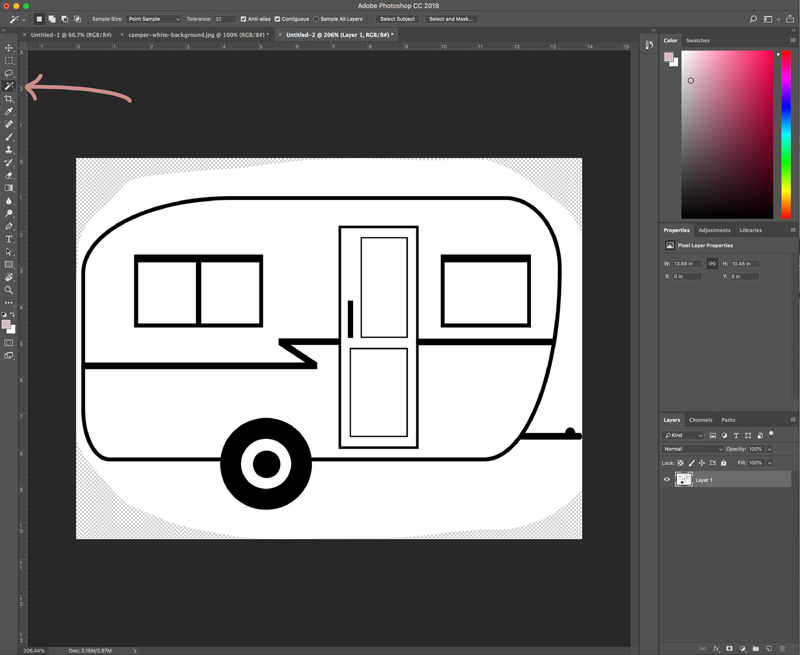
- Paste the cut image onto the screen using COMMAND V on Mac or CTRL V on PC.
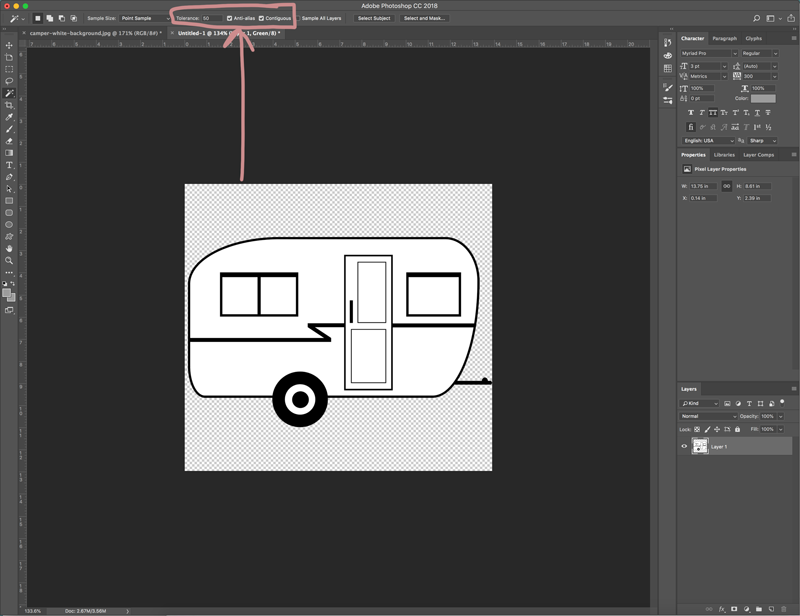
- Using the Magic Wand Tool (w) click within the white part of the image. You’ll see a dotted line appear around what is selected.
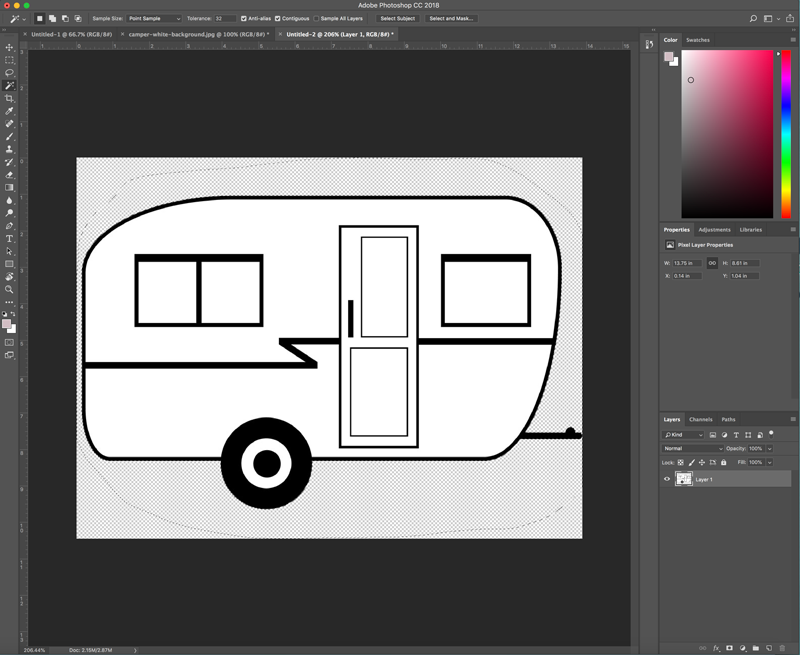
- If you notice that more than just the white part of background is selected, decrease the tolerance. If only a small amount is selected, increase the tolerance. Make sure the anti-alias and contiguous boxes are checked.
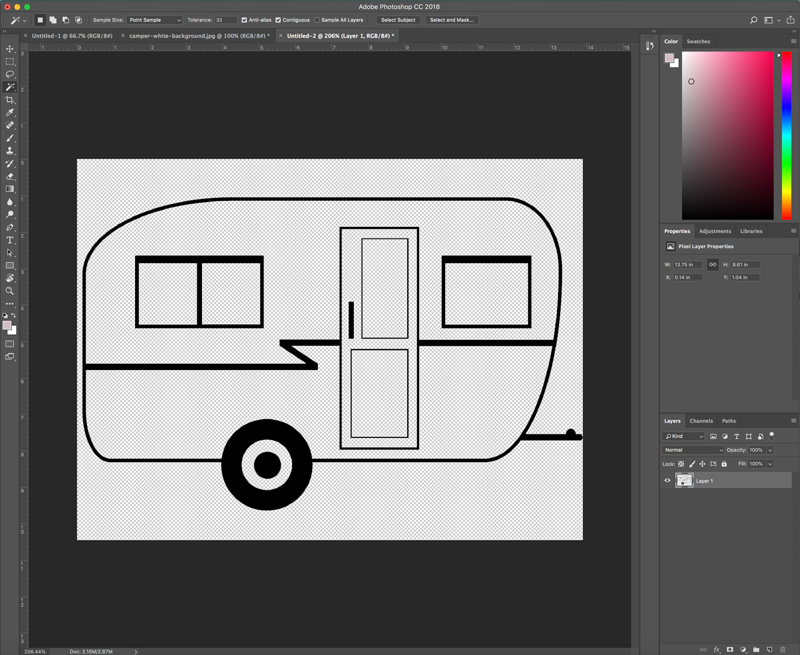
- Click delete to remove the selected parts of the background.
*Quick tip, holding down shift while you click the parts you want to delete will select multiple parts of the background at once. Then you just have to hit delete once!
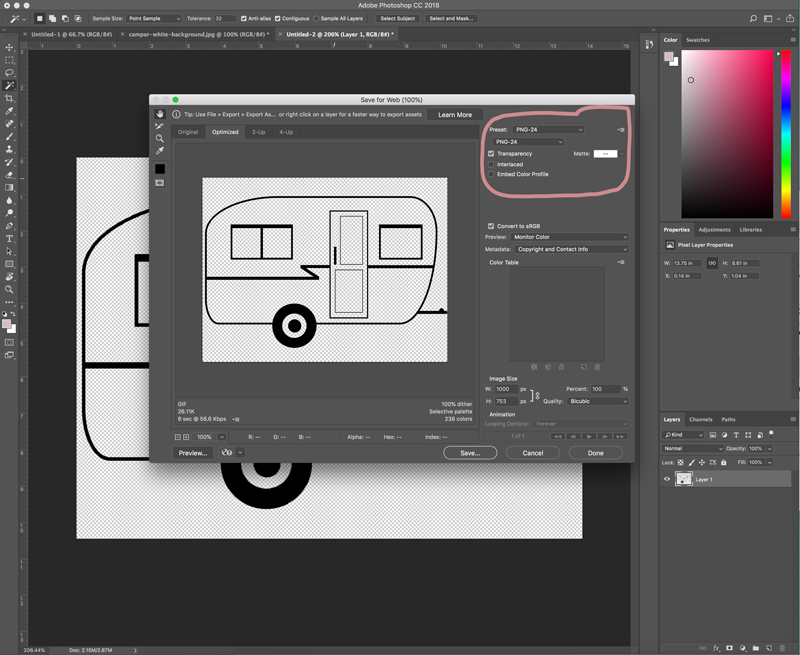
- Save the image! Click File, then Export and either Save for Web or Export As. If you plan to use the image for print, choose Export As, if you are using as a web graphic, then Save for Web is fine. Export as gives you more options as far as quality. Either way, be sure to save as a PNG and check transparency to keep the transparent background.
I also decided to do a quick little video tutorial to show you the steps in real time for those visual learners (me!) out there.
More helpful tutorials
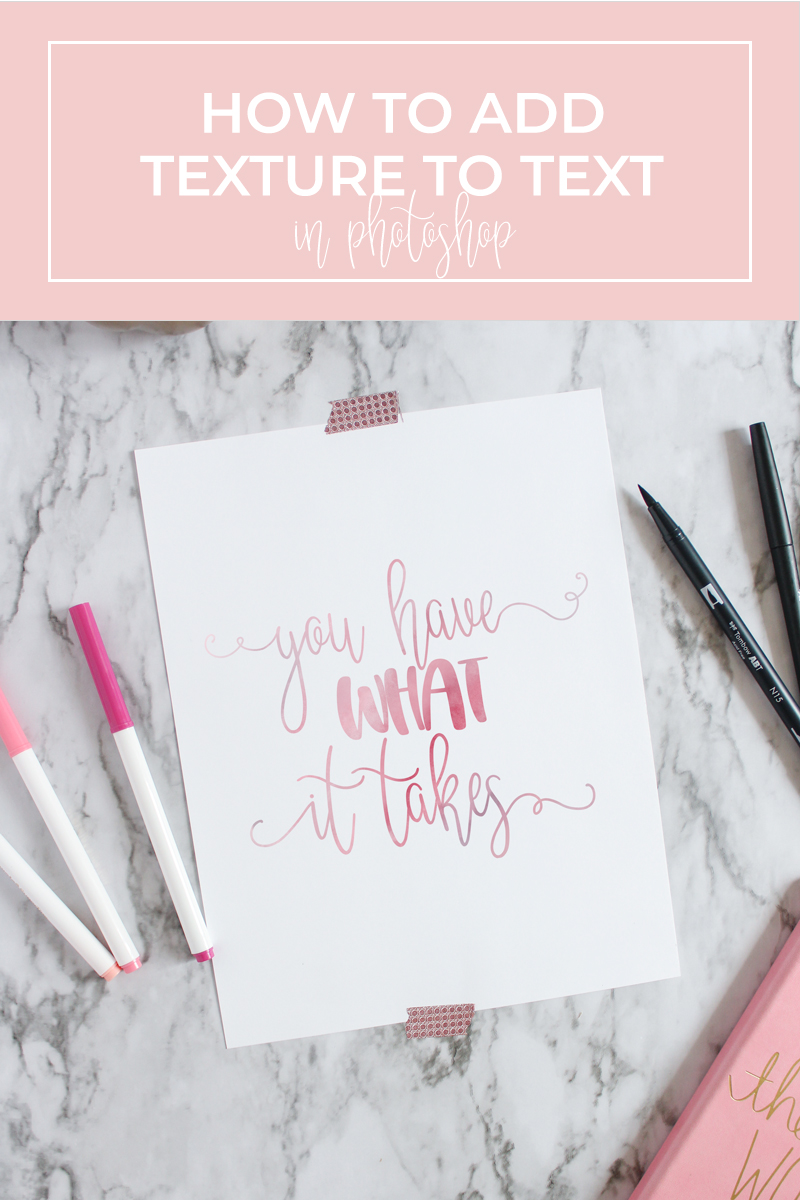
- How to Add Texture to Text in Photoshop
- How to Make Mockups and Stock Photos
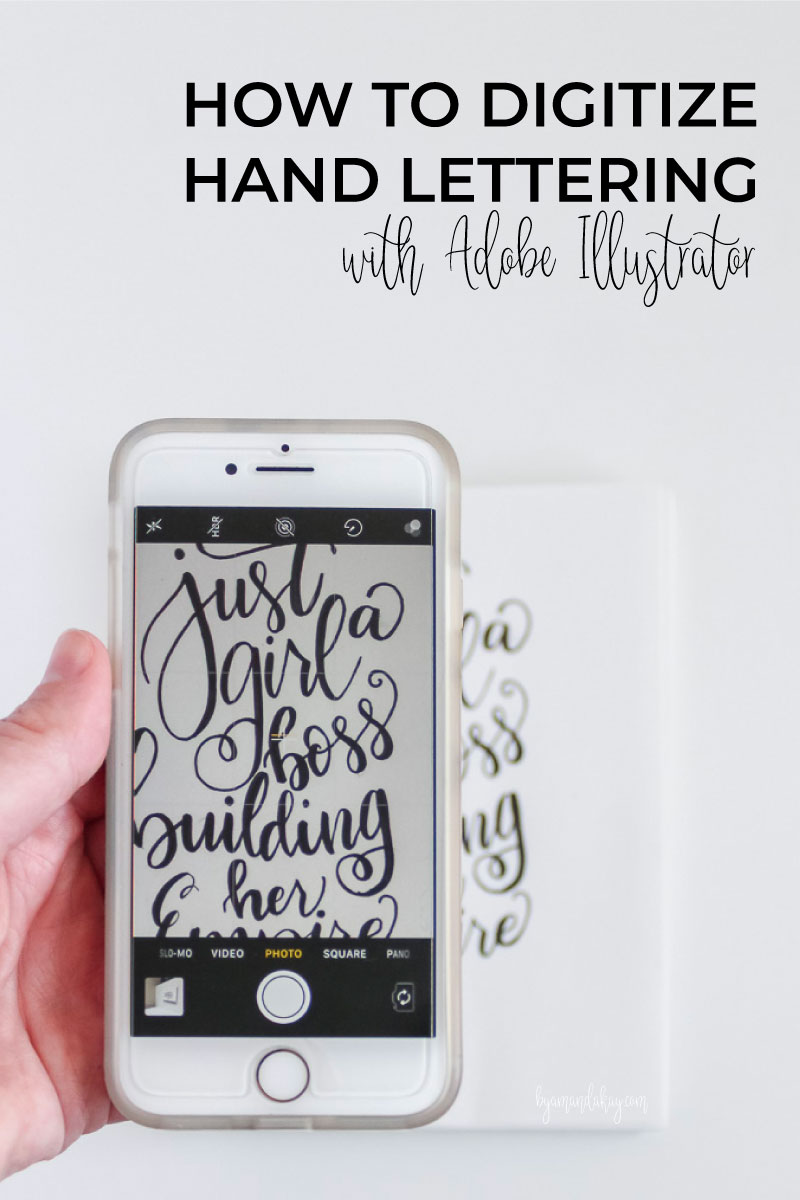
- How to Digitize Hand Lettering in Illustrator
Don’t forget to Pin it: