
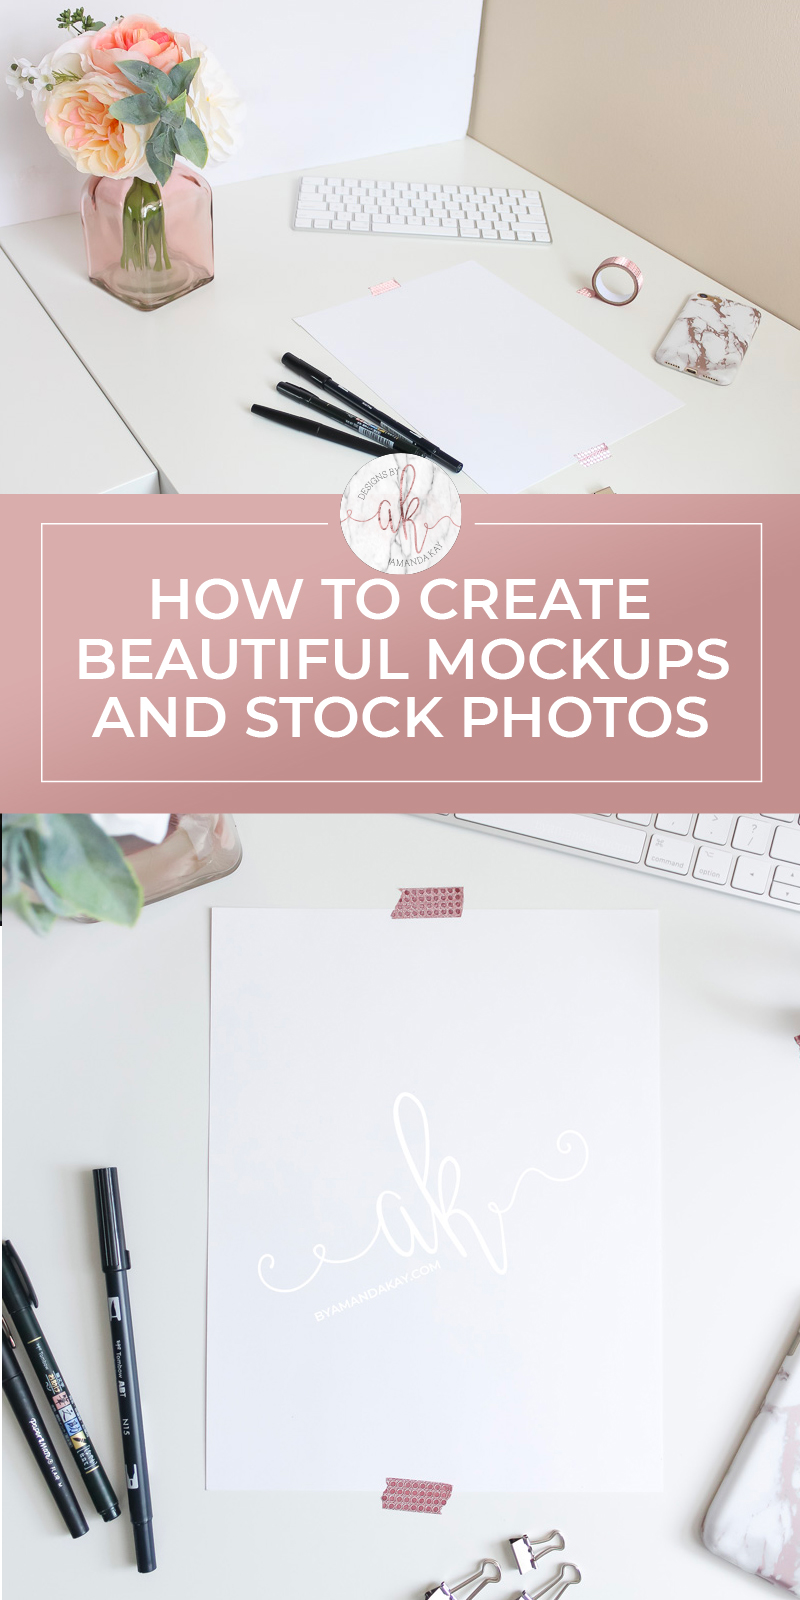
How To Create Mockups and Stock Photos
Learn how to create mockups and beautiful stock imagery you can use time and time again for your business! You don’t have to be a professional photographer or designer either!

Stock photography and styled mockups can really take your business or brand to the next level. You can create a cohesive, stylized look just by using photography that is styled in the same manner and color scheme. Don’t worry though, you can create all of these yourself and you DON’T have to be a professional photographer or designer to do so.
How to Create Mockups and Stock Photography
First, let me start off by saying that you do not need expensive equipment to take pretty stock photos or create mockups. When I started out all I had was my iPhone and there are still plenty of times that I will use that over my more expensive DSLR camera. Don’t feel like you need to rush out and drop a ton of dough on the latest technology when you are just learning how to create mockups and stock photography.

With that being said, there are still some things to consider and plan for when you are setting up your shot to create mockups. Things like lighting, styling and editing can make or break your photos.
Lighting
I don’t use any type of artificial lighting. That means no light kits or umbrellas. Most photos I take in my office. It has two large windows that let in plenty of light. I’ll wait for a sunny or partly cloudy day to take photos, and a time of day where the sun isn’t shining directly into the window I’m shooting at. In the photo below, I waited a bit too long to start shooting in my office and had to back my main shot away from the flood of light.

You can see that I also try to bounce the light coming in, back into my shot. I use white foam board for this because it’s cheap, but large white canvas works too. If you are able, try to filter the harsh light as well. I use the blinds on my window sometimes or hang a white flat sheet on the window. This gives off a nice glow instead of direct light onto the scene.
Styling
Think about how you will be using these photos once you’re finished. I chose to use a lot of whites, grays and rosy pinks for these mockups and stock photos because those are my brand colors and I’ll be using them around my website. If you are needing a mockup for a particular line of products, like Christmas coffee mugs, then your styling would reflect Christmas, warmth, and coziness. You may want someone holding the mug with mittens, wearing a sweater, or you may choose to do a flat lay (overhead shot) with a mug surrounded by loose cocoa and Christmas colored accessories.
Choose a background that will complement the subject, but also fit with the end use of the photo. I use my white desktop a lot or a fake marble board I made from MDF and marble contact paper. Some other fun backdrops you could use are chippy barnwood, faux fur or even your granite counters.
Once you have a background decided on, place your subject somewhere around the center. For this particular shot, my focus was on the paper. Since the end use of this mockup is to showcase lettering, I used the complimentary washi tape and some of my favorite brush pens in the shot as well. My phone case just so happens to fit in with the marble and rose gold branding, so I used it in the shot as well.
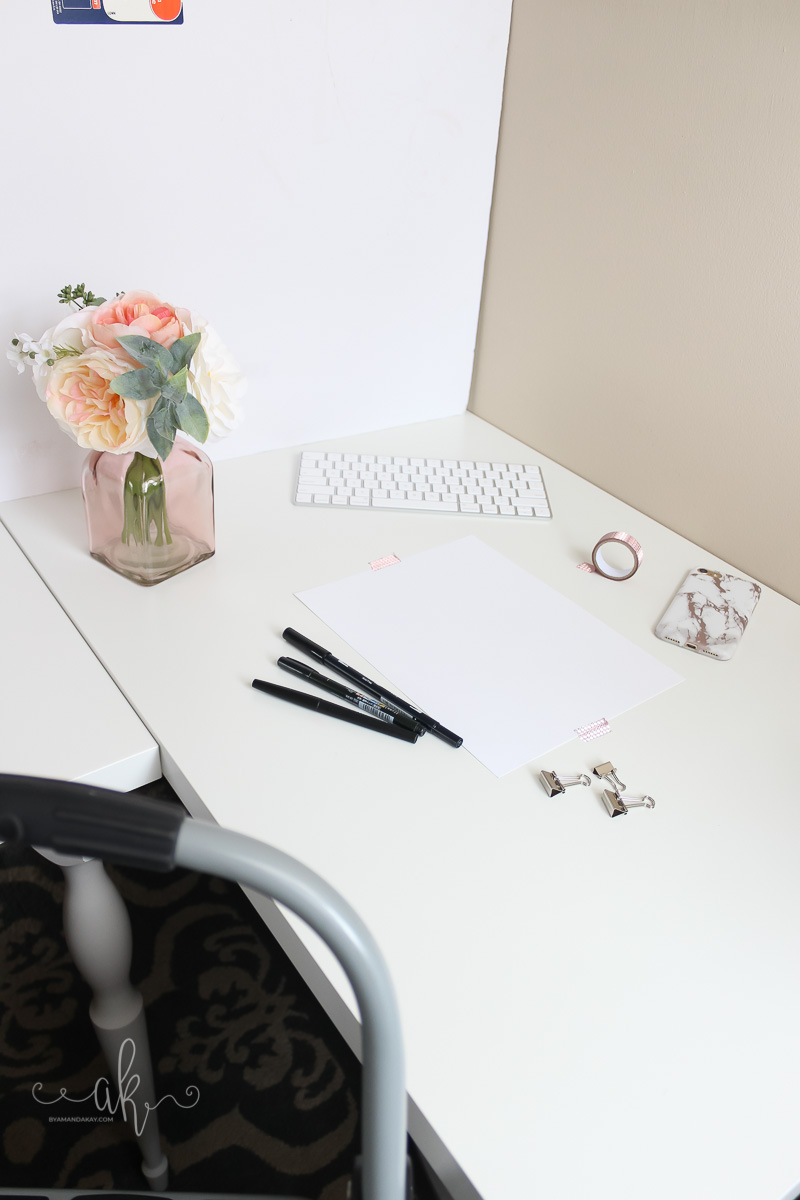
I think in mockups and stock photography that less is more. That means don’t overcrowd the photo with tons of accessories. Just choose a few things in the color scheme you are working with and go for it.
Editing
Editing can either be the easiest part of creating mockups or can be a nightmare. It all depends on how well the shots were set up, to begin with. If you use great lighting and styling, then editing your photos should be a breeze!! I edit all of my photos using Lightroom, but there are tons of free photo editing software out there. If you want to use Lightroom, you can sign up for the photography subscription of Adobe Creative Cloud. It’s $15 a month and you get Lightroom AND Photoshop in that subscription.
I will go more into depth when it comes to editing photos in Lightroom in a later post, but for now, the main areas of photo editing to focus on are white balance and exposure (brightness). Mockups that are too yellow or have a blue hue to them can look terrible and are distracting. Always make sure that your subject looks as realistic as possible (white paper, mug, the canvas should be white!). Playing with the exposure is another easy way to edit stock photography you’ve created. If the original is just a bit too dark, you can make it lighter and brighter by adjusting the exposure.

Now that you know how to create mockups and stock photography, stay tuned for a future post on how to edit them and create layered mockup files in Photoshop
You may also enjoy:
- How to Make Social Media Graphic Template in Illustrator
- How to Digitize Hand Lettering in Illustrator
- How to Remove a White Background from an Image in Photoshop
Don’t forget to pin it:
HI Amanda, These are fantastic tips. I feel like I am still struggling with finding my “style” and creating great pictures. I will be buying more foam board and I love the barn wood idea. It’s fun hosting with you at Merry Monday!
Hi Jenny! Learning to take great photos takes a lot of practice and trial and error. There’s still things I’m trying to get the hang of too but figuring out your style is definitely key! Glad you found the post helpful!