
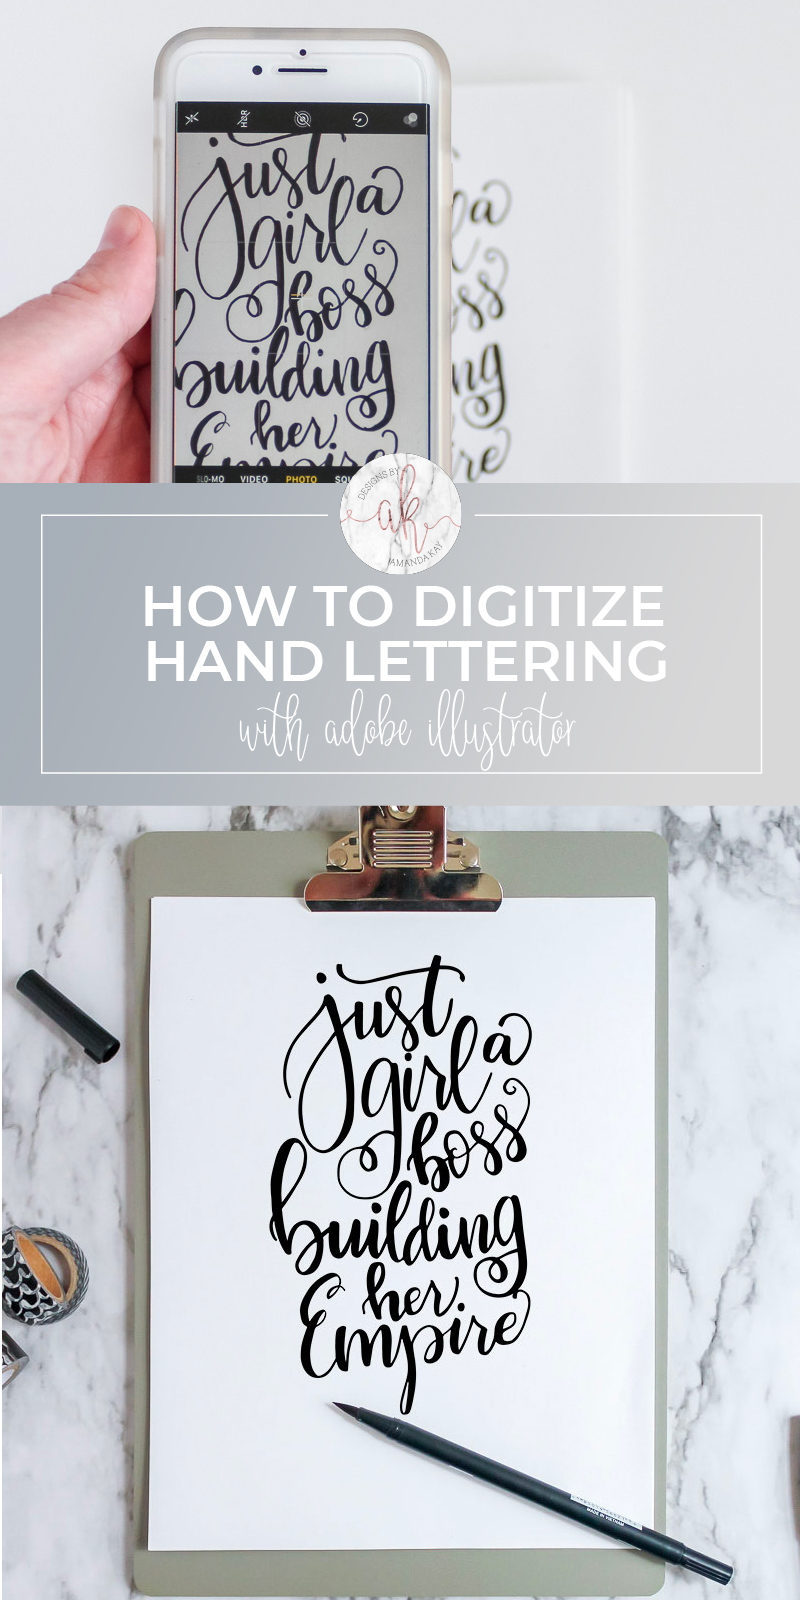
How to Digitize Hand Lettering with Illustrator
If you’ve ever hand lettered something and wondered how to get that beautiful work from paper to a digital file, then this tutorial is for you. Learn how to digitize hand lettering using Adobe Illustrator.
When I first started lettering, I quickly realized that I could create fun cut files and printables with some of the quotes I had lettered. But there was just one problem; how did I get them from paper to my computer? Luckily it’s not too complicated to digitize hand lettering, although it does take some practice getting it just right.
How to Digitize Hand Lettering
For this tutorial, you will need access to a camera or phone, Adobe Photoshop (or a photo editing software) and Adobe Illustrator. You can get a monthly subscription for both of these applications plus most of the Adobe Suite which I highly recommend!
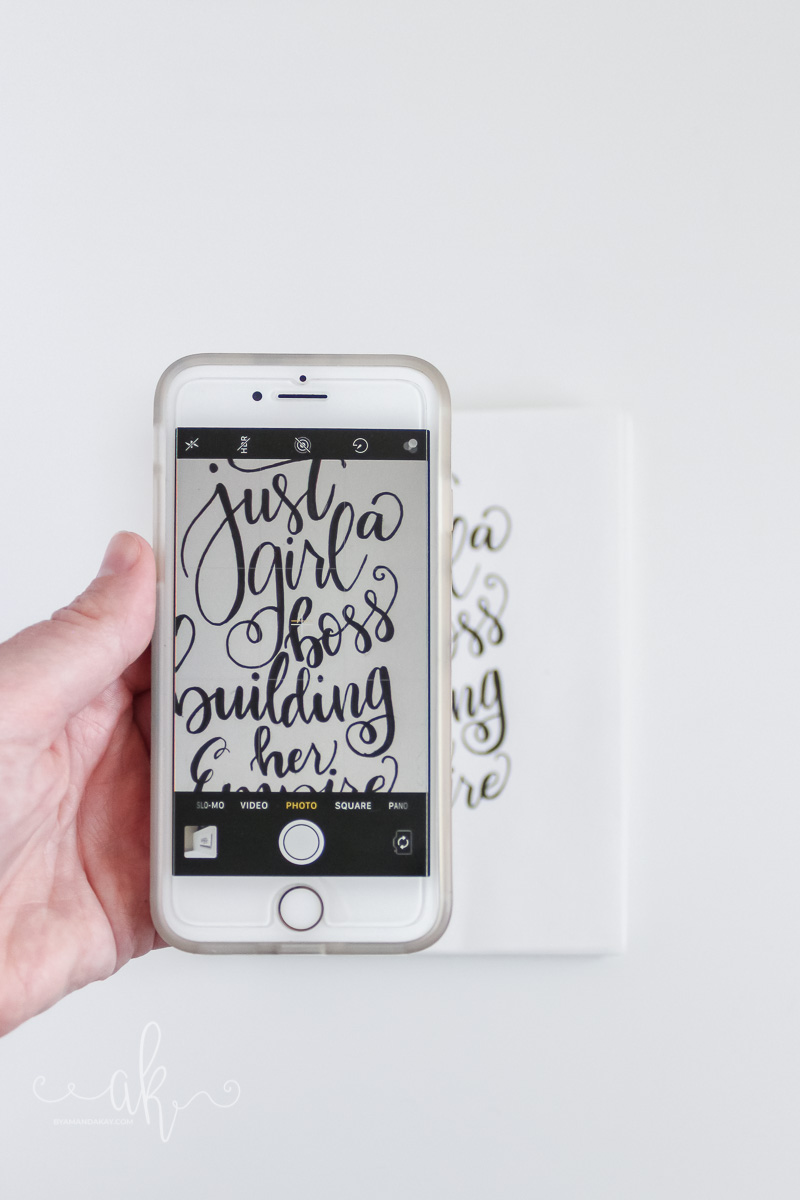
Start by taking a crisp, clear, zoomed-in photo of the hand lettering you plan to digitize. I like to use a foam board or two to bounce light back onto my lettering to make my photo editing less time-consuming.
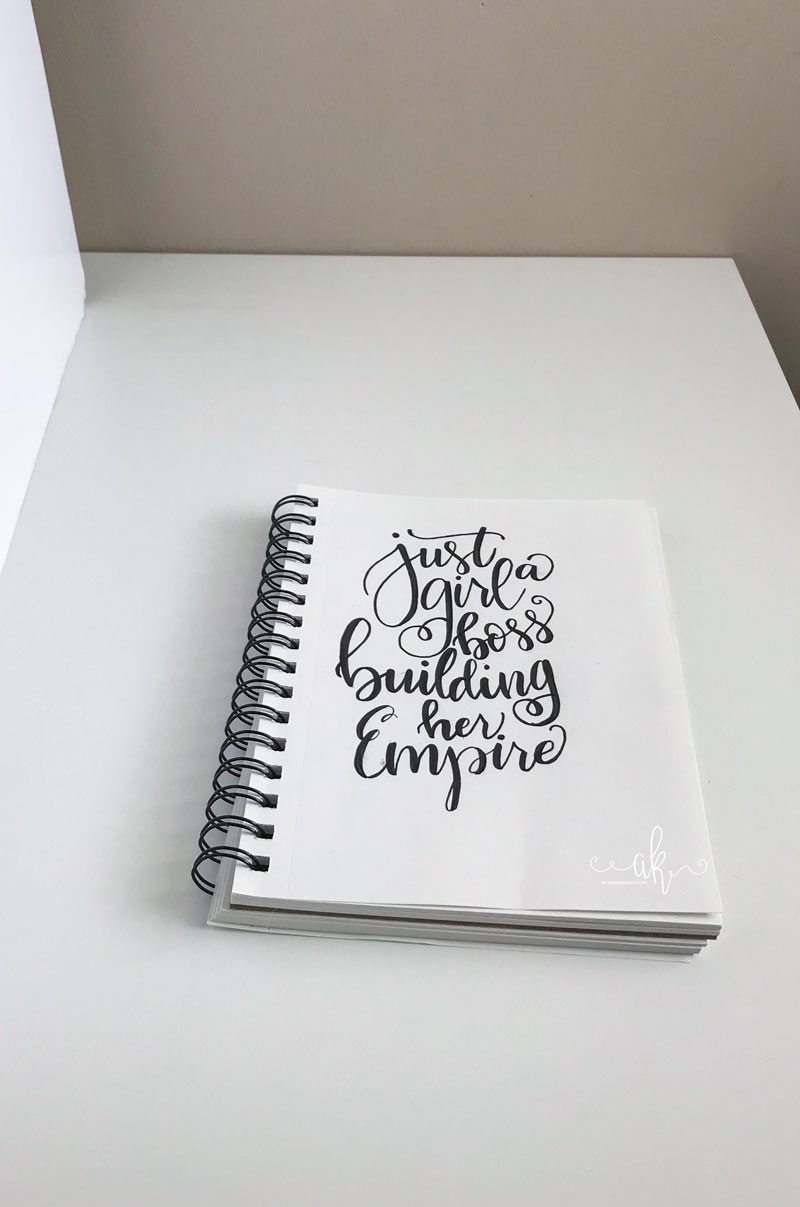
I like to take photos with my iPhone, but any phone or camera would work. It’s easy for me to snap a picture and then send it to my Mac via Airdrop. Be sure to take it as straight up and down as you can using the grid lines on your camera.
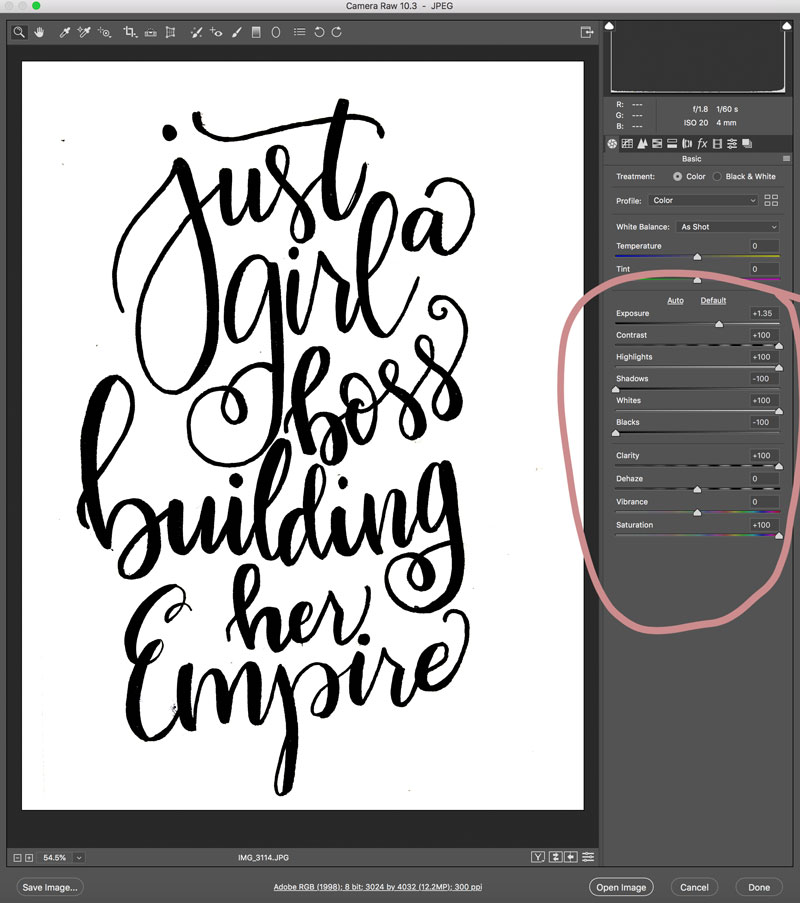
Open the photo in Adobe Photoshop in Camera Raw.

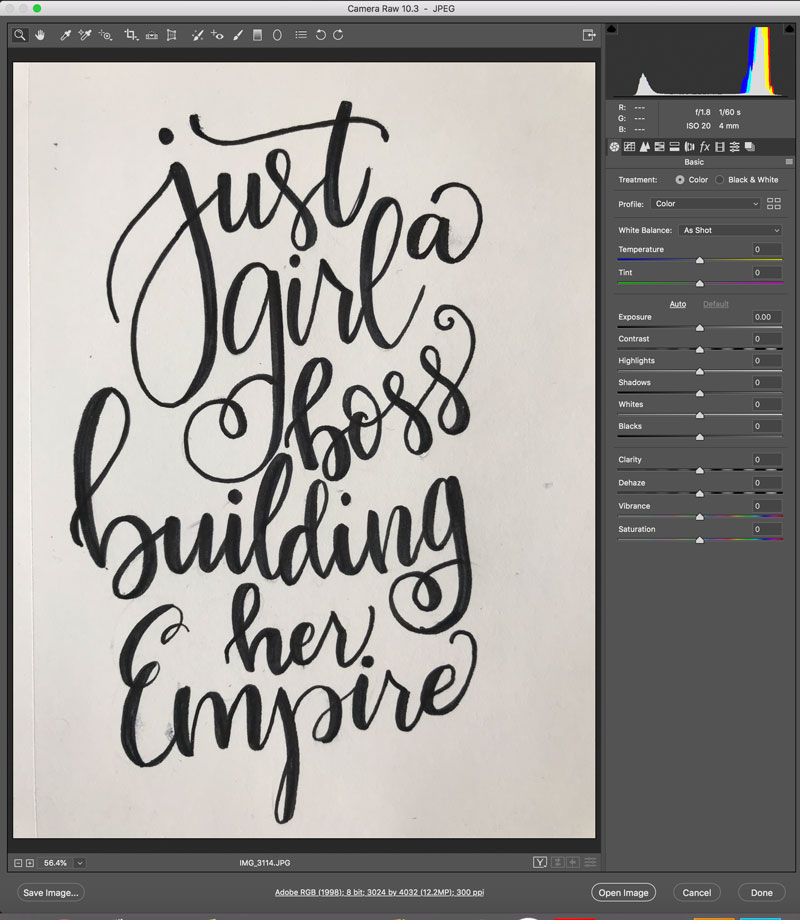
Bump up the contrast, highlights, and whites and turn down the shadows and blacks. You may also want to bump up the brightness depending on how well lit your photo was originally. The goal is to get a crisp white background as possible with the text being as dark as possible. You can do this using any photo editing app, but I prefer to use Adobe Photoshop.
Once the background is as white as possible with the text crisp and black, open the image. Use the eraser tool to erase any extra pen marks or smudges. Don’t worry about trying to smooth out any jagged lines, just erase the extra marks that aren’t needed.

When you are finished, save the image as a PNG file and open the new file in Adobe Illustrator.
Now it’s time to trace, smooth out and digitize your hand lettering!
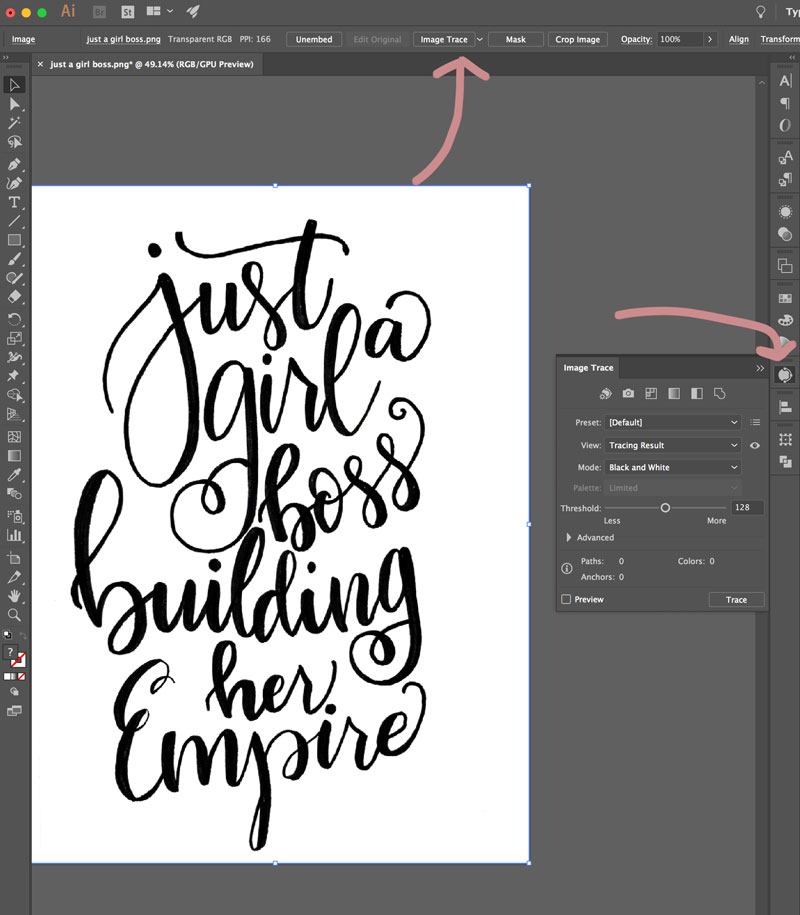
Use the Image Trace option and the preset of your choice. I have a custom Lettering preset that I use, but for your first time just choose the default. This will essentially trace around each stroke of your hand lettering to create points and paths.
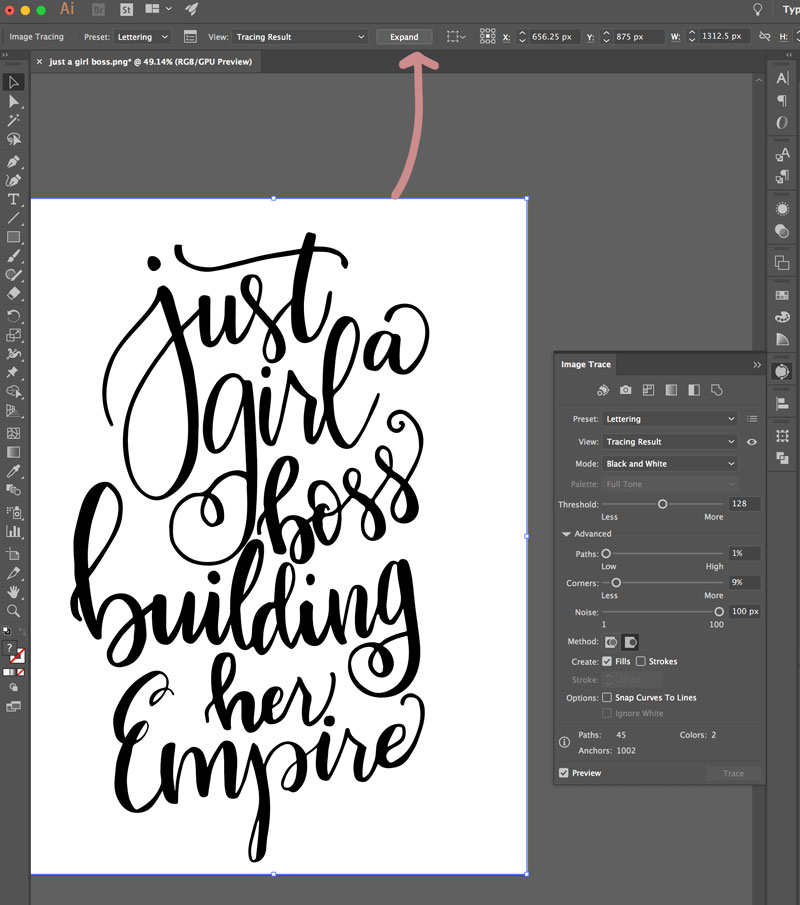
Play around with the advanced slider options until you like the way the lettering looks. It should be as smooth as possible without skewing the original work. Once you are happy with how it looks, click the expand button.
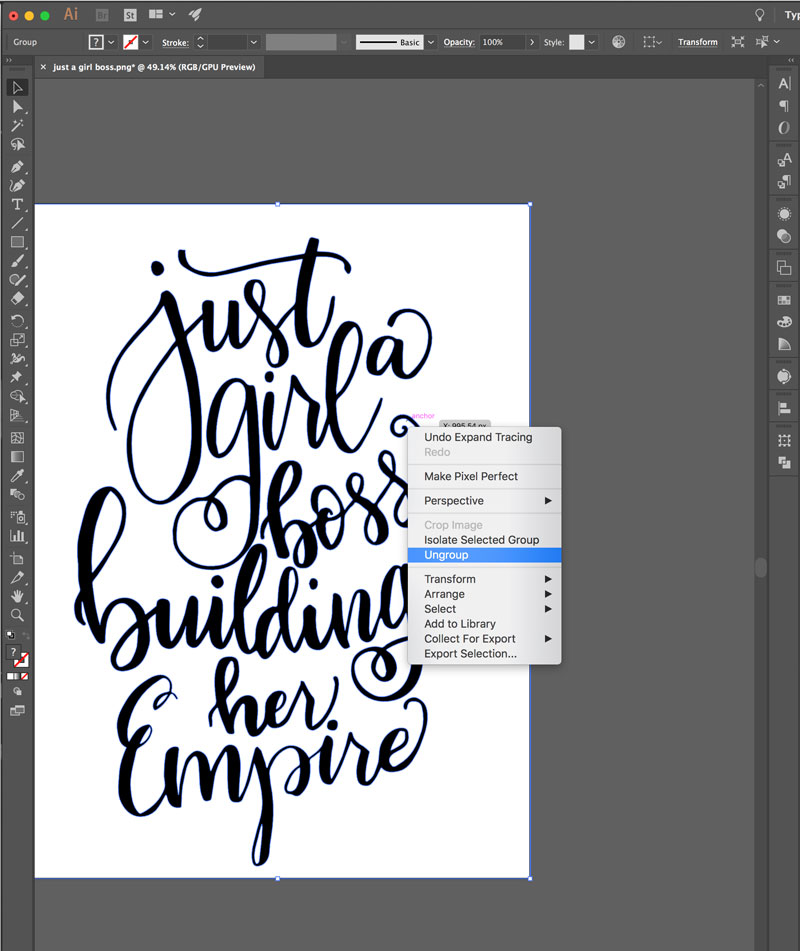
Now you have paths and points (shapes) that make up your digital lettering all grouped together. The next step is to ungroup the lettering to be able to manipulate the individual points. Right click and select ungroup.
Now you should be able to delete the background. Just click on it and delete it. You will still be left with the artboard.
Next, move the whole image off of the artboard by selecting it all, and dragging it to move. This will allow you to see all of the white spaces that are left, inside of “g” “a” “o” etc. You can also use the outline view (CTRL + Y) but I prefer this method.

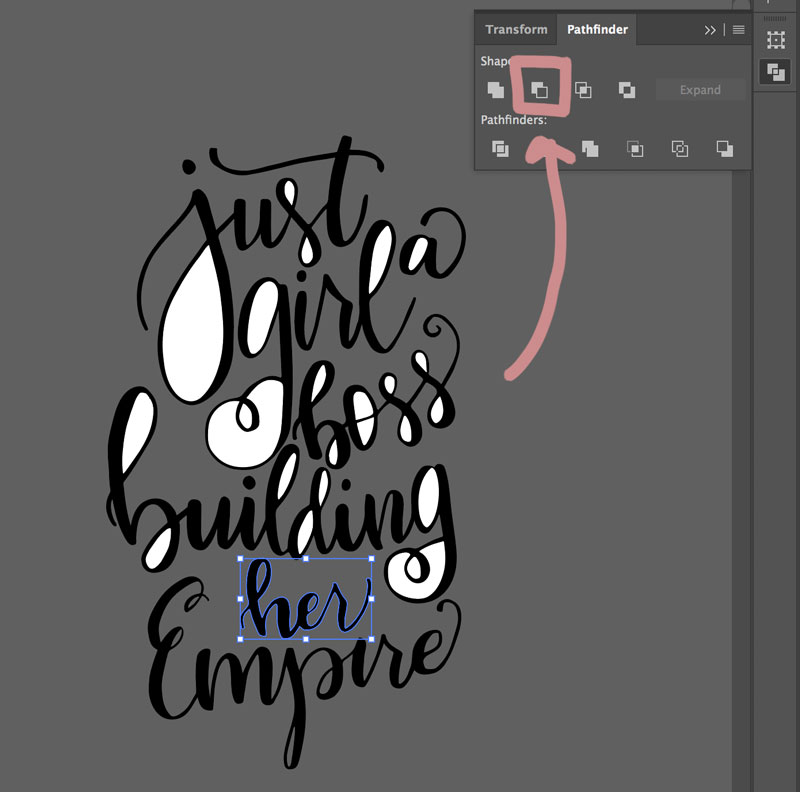
Use the pathfinder tool to remove those. If you just click on the shape and delete, the space will most likely fill in black. Use the “minus front” option to remove the white space and still leave the open areas. If you have trouble with this step working correctly, you may have to group the shapes first and then click the “Minus Front” option.
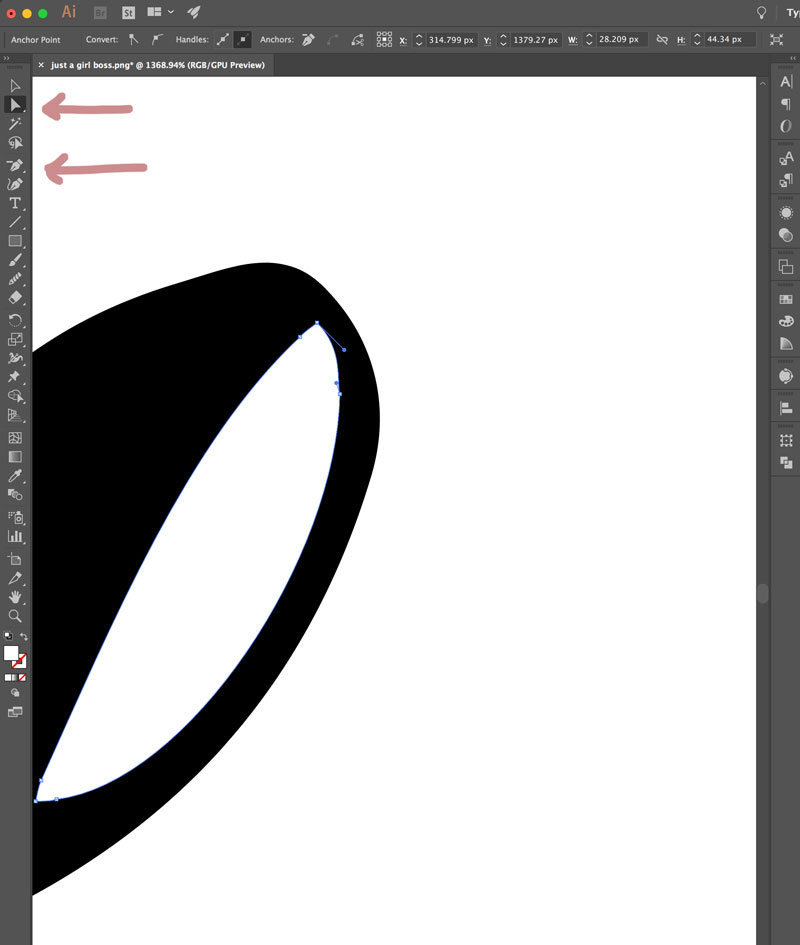
Once the white spaces are gone, drag the image back onto your artboard. You can see in the photo that some of my paths and curves are a little jagged. Use the direct selection tool (A) to move points and change curves. You can also use the delete anchor point tool (-) and the add anchor point tool (+) under the pen tool menu to manipulate it further.
This step can take a bit of time depending on how steady and even your original hand lettering was. Play around with the points until you get the look you want.
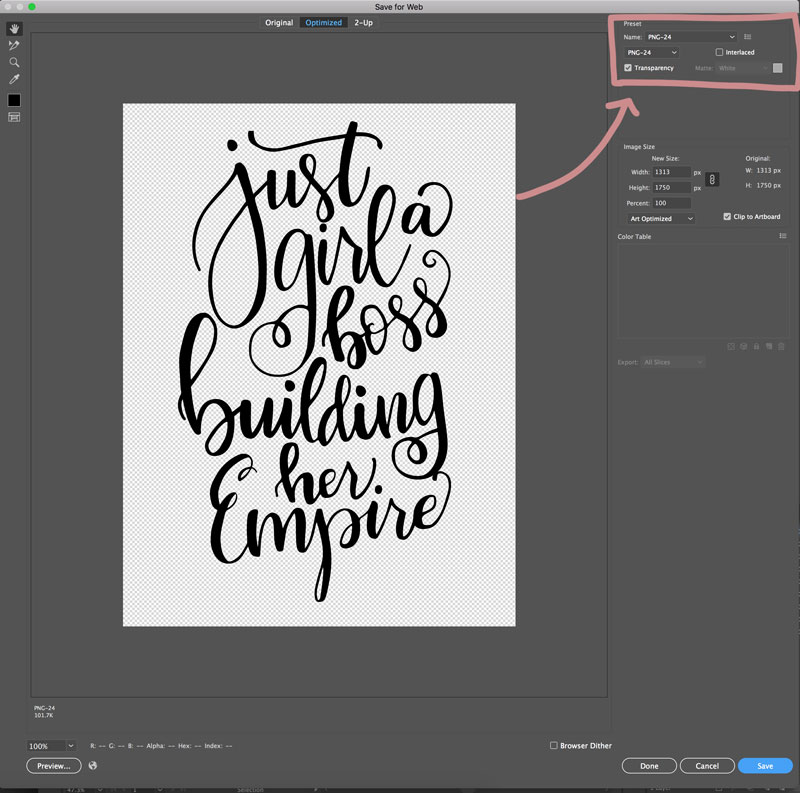
Once everything looks the way you want, select the entire thing and use the “unite” option in the pathfinder tools. Export the image as a PNG, making sure that “use artboard” is checked. You will want the background to be transparent. Save for web is OK, but if you will be using the new image for print then I would export as PNG for higher quality.
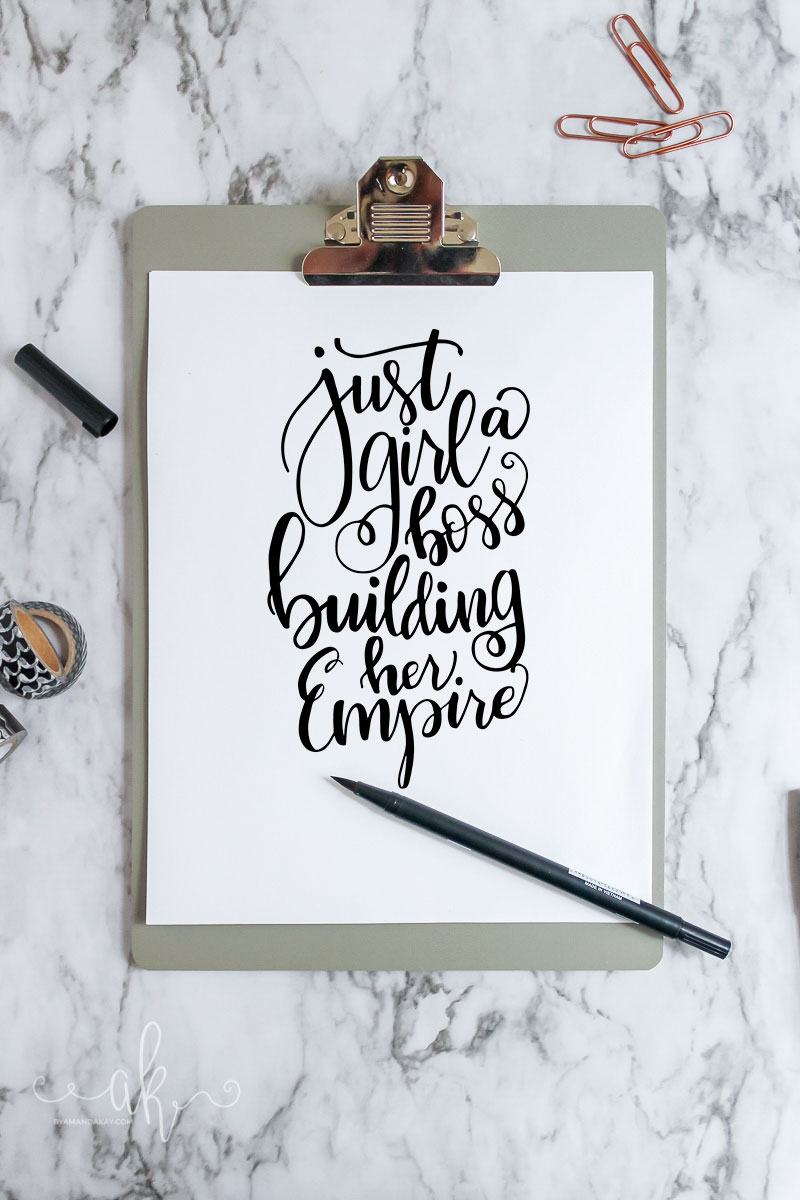
Now pat yourself on the back because you just successfully learned how to digitize hand lettering!! You can use that PNG file to place your letterings in mockups, or post to Instagram or use them to do whatever you want!
Want to learn more about hand lettering? Check out my other hand lettering tutorials and subscribe to the free resource library.
You may also enjoy:
- How To Add Texture to Text in Photoshop
- The Best Resources for Fonts and Graphics
- Why I Love Using Procreate for Lettering
Don’t forget to pin it!


Awesome tutorial! What would be the next step to turn it into a cut file for circuit or sillouetter? Thank you for help:)
Glad you found the tutorial helpful Georgia! You can simply save the file as an SVG file through Illustrator. I go a little bit more in depth on that in this post here: https://byamandakay.com/turn-procreate-lettering-into-svg-cut-files/ . Hope that helps!!