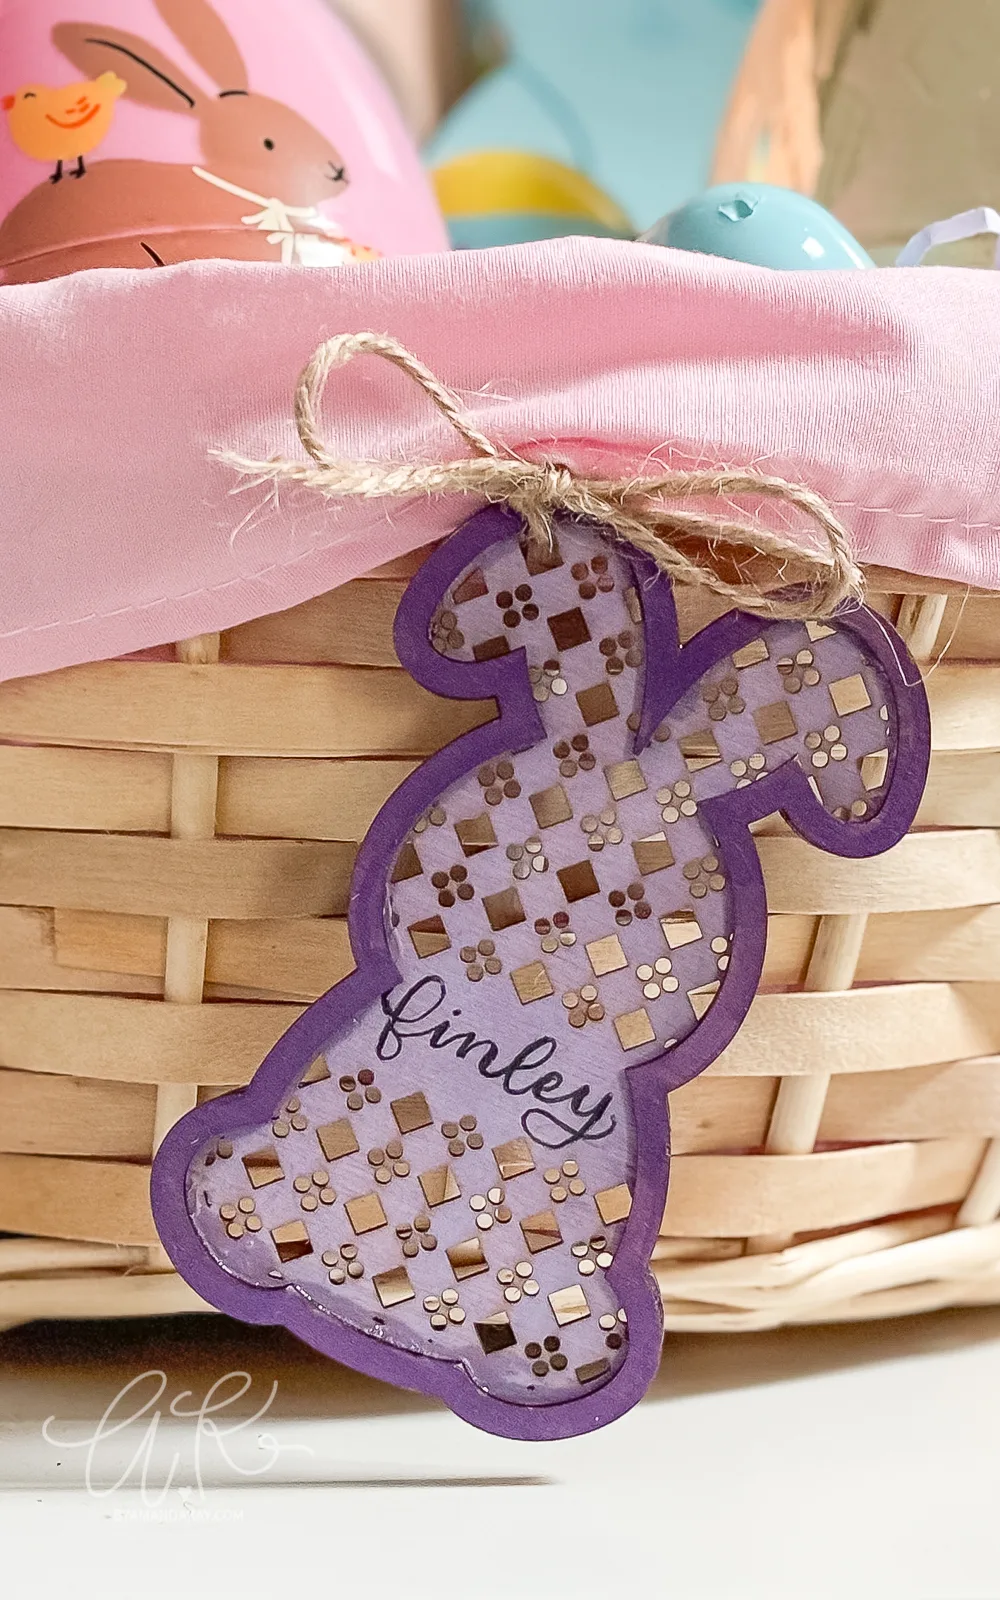
DIY Laser Engraved Watercolor Journal
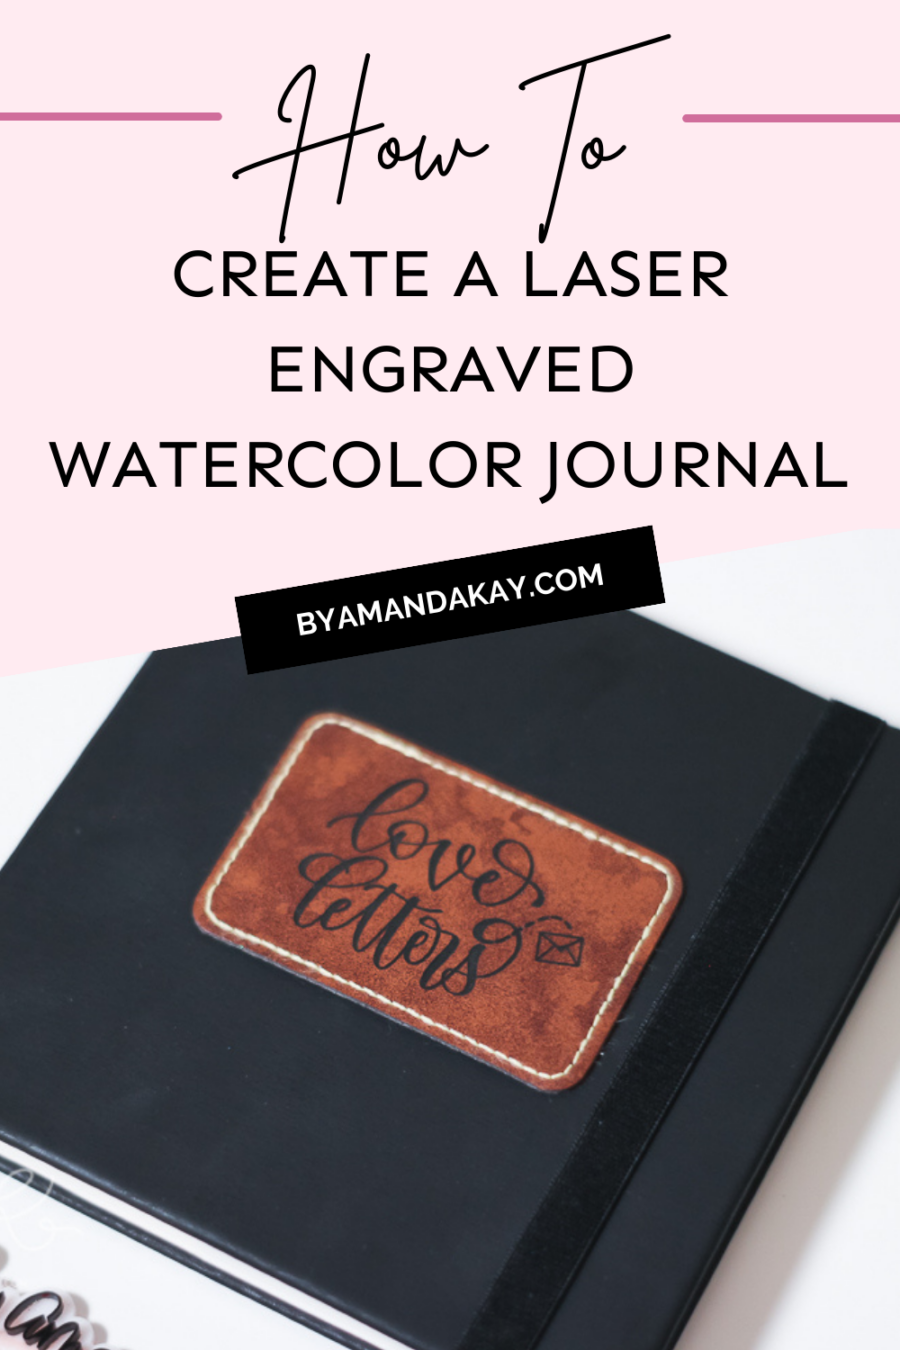
Learn how to laser engrave on faux leather to create your very own custom watercolor journal with this step-by-step tutorial using the m1 laser by xTool.
I recently became the proud owner of an m1 craft laser from xTool and I am so excited to share some projects I’ve been working on. Full disclosure; I was sent the m1 by xTool to test out and write about, but all opinions are my own! I only share products I love using, and this one is no exception.
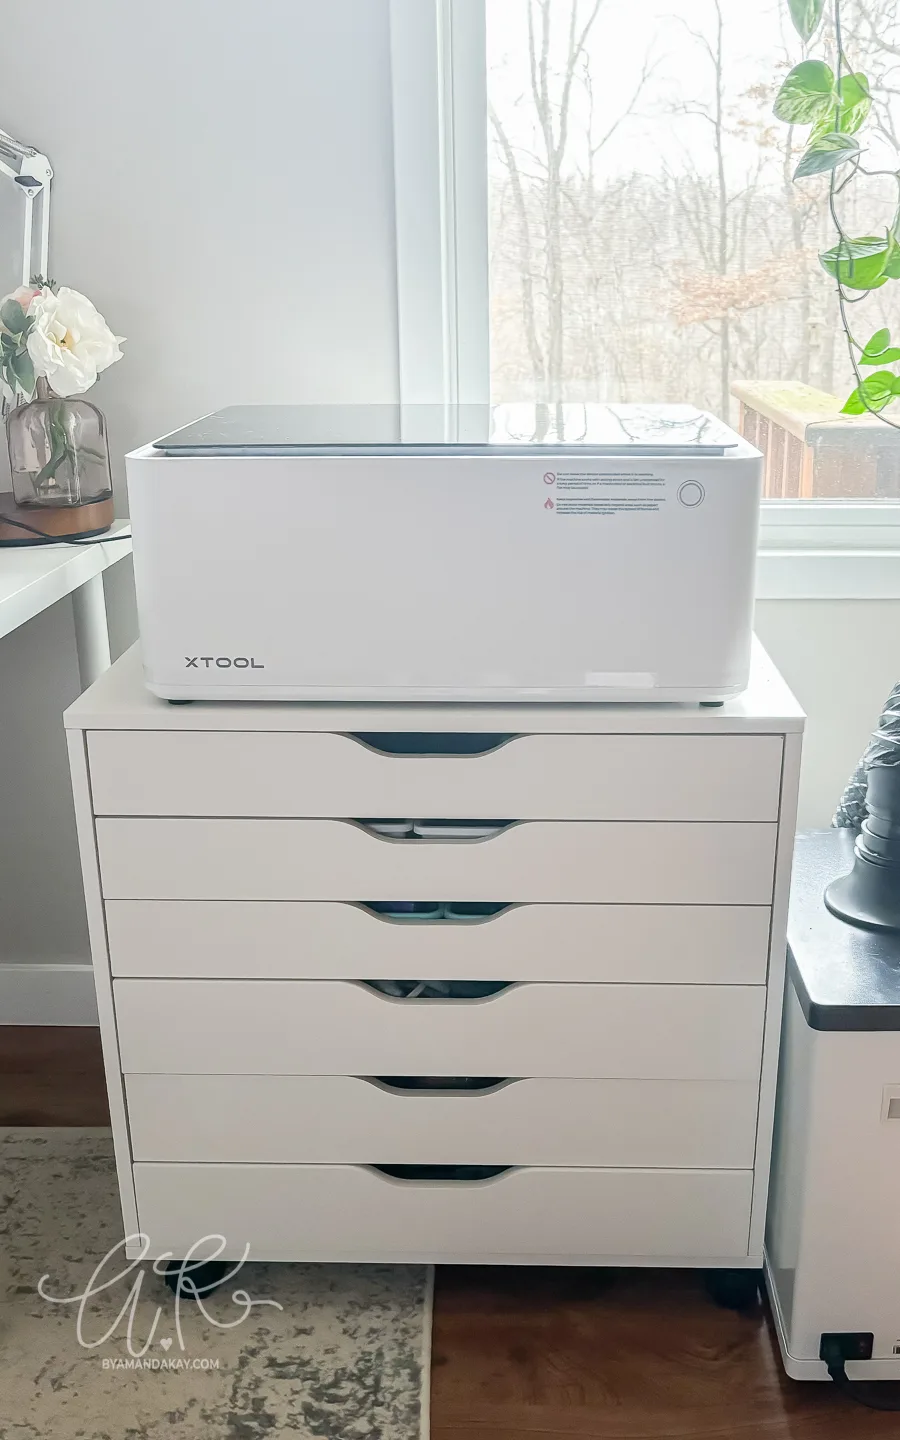
Right now you can get $80 off your purchase of $999 or more using code AMANDA80 on xtool.com
For my first project, I wanted to try laser engraving on leather. I had a faux leather sketchbook that was going to be perfect for this project, but after doing some research, I quickly learned that one must exercise caution when using a laser to engrave faux leather. If the leatherette is made with PU then it is safe to engrave with a laser, but if the leatherette has PVC, that can cause toxic fumes when laser engraving.
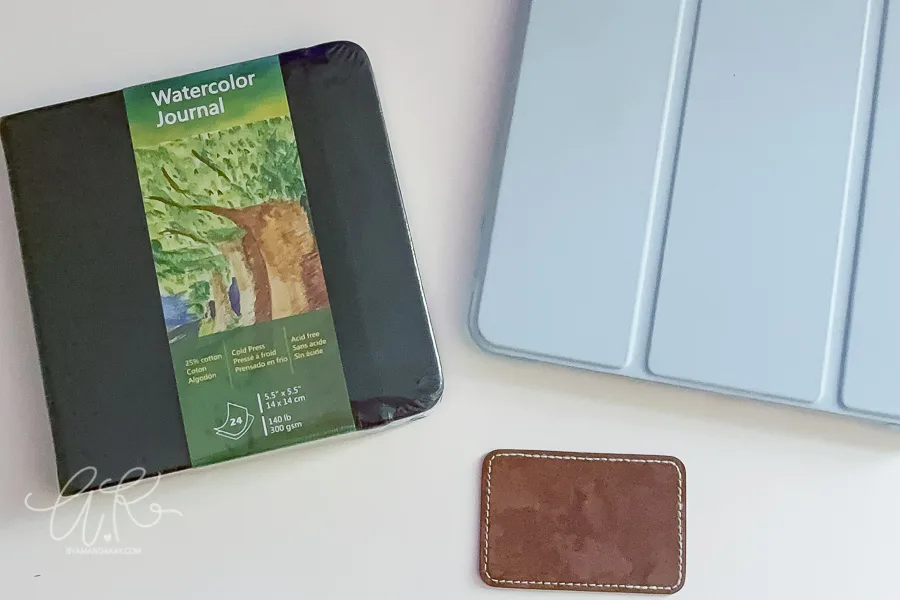
Since I wasn’t sure what material my “leather” notebook was, I opted to play it safe. Instead, I purchased laser-safe, PU leatherette iron-on patches for this project and I am thrilled with how well the engraving turned out.
How to Laser Engrave on Faux Leather to Create a Custom Watercolor Journal
Supplies Needed:
- xTool m1 craft laser
- Faux leather patches
- Digital design (or create your own with text)
- blank watercolor journal
- Iron, heat press or Easy Press
The first step is to make the design. Since Valentine’s Day is right around the corner, I chose to make this sort of cheesy custom watercolor journal – for myself. This is where I’ll create little quotes about self-love and self-esteem throughout the year.
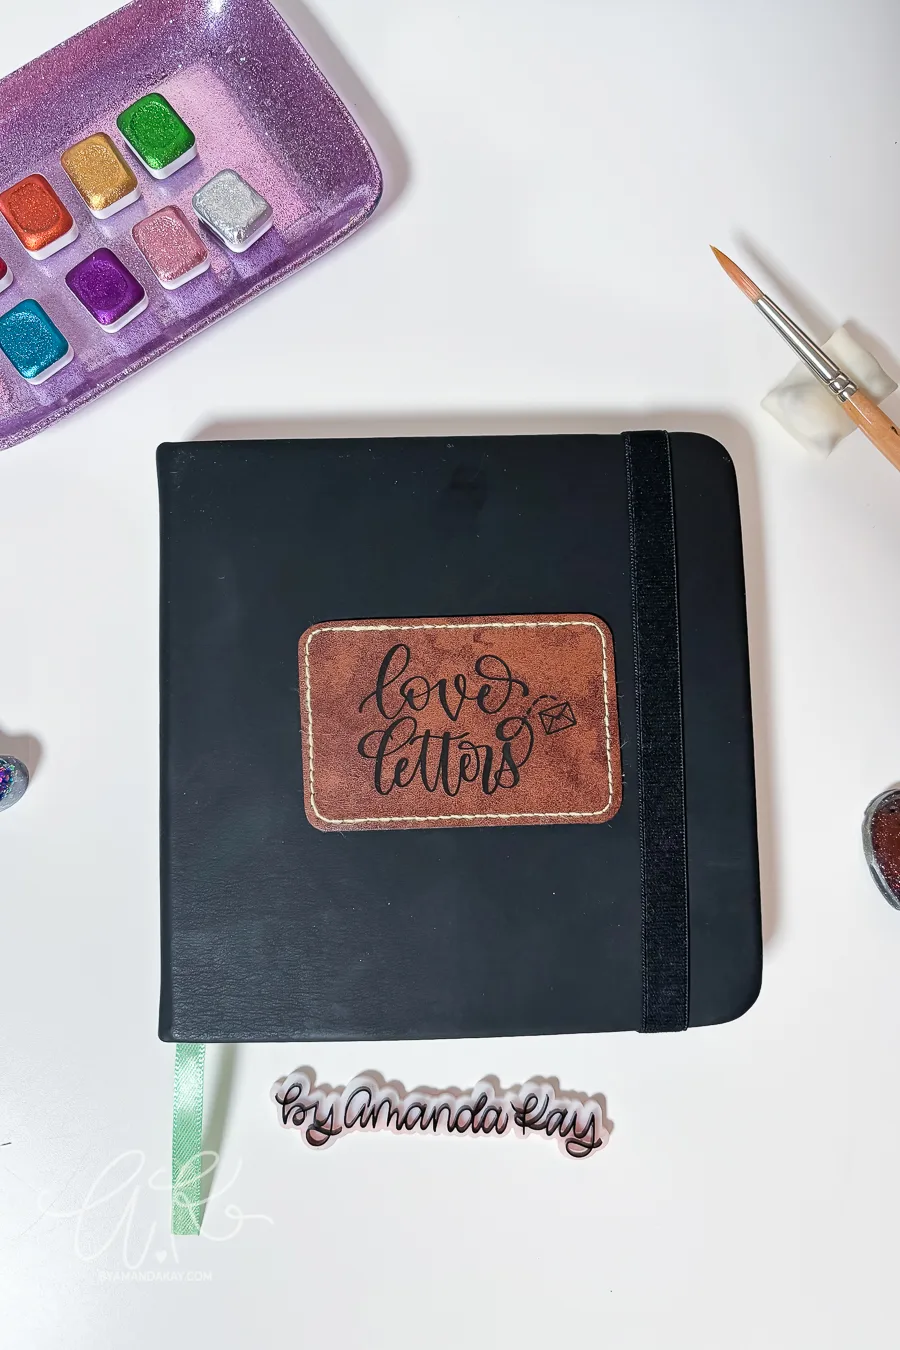
With that in mind, I created a hand-lettered design for this project that reads “love letters”. I created it in Procreate on my iPad first and then transferred it into xTool’s Creative Space. Feel free to create any design you wish for this project.
Bring the design into Creative Space using the “image” tool. This will bring up the image tracing option to create bitmap images. Use the black and white selection and then choose “trace image”. Creative Space will do the rest by creating outlines.
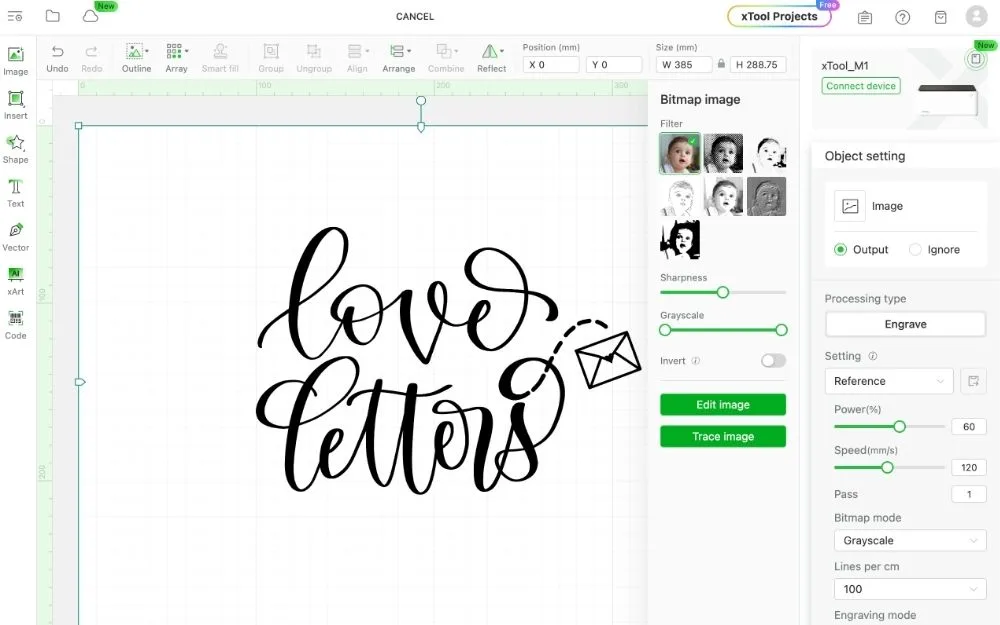
Another option is to create an SVG from the hand-lettered design using Adobe Illustrator or another software. You can read how to turn Procreate files into SVG files in this tutorial.
The next step is to place the leatherette patch in the m1 laser base. Once the patch is in the laser, an image of the patch (and laser bed) will populate in Creative Space. Resize the design to fit on the leatherette patch.
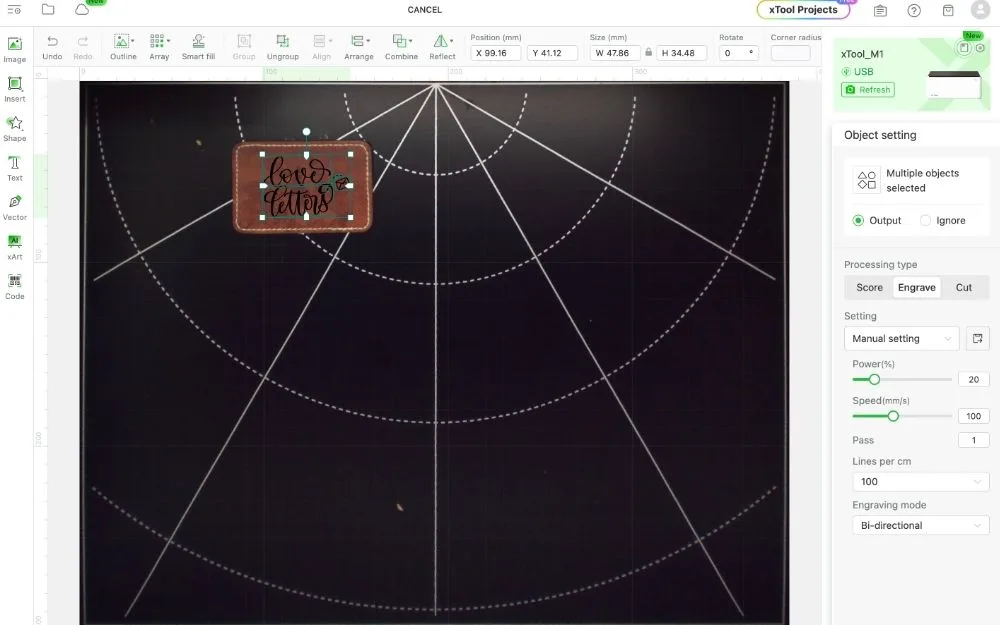
Before processing, choose “engrave”. Then choose 20% for power and 100 for speed. I also kept the lines per cm at 100. To choose the material settings, unselect the design first. For material settings, I chose “user-defined”, and used 1.5mm for thickness and no height raised.
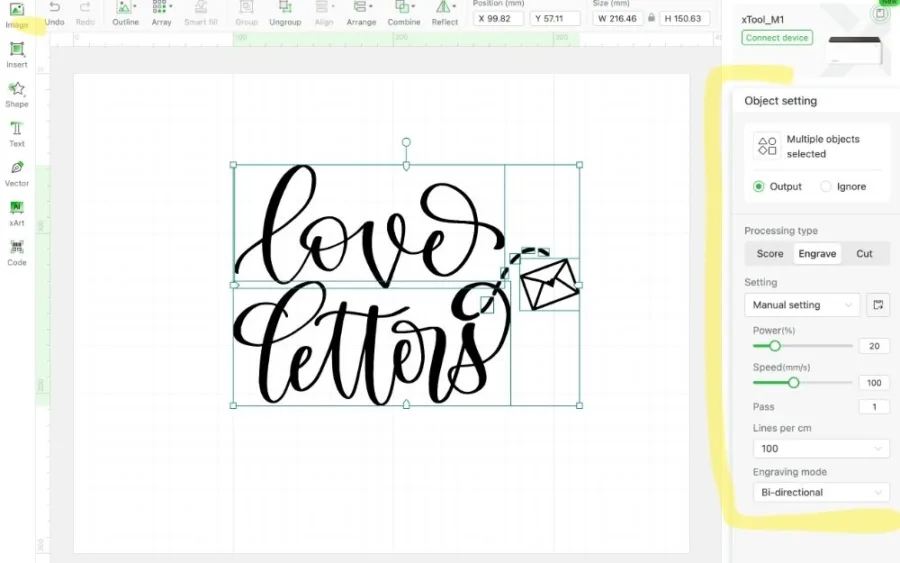
Now for the fun part. LASER! Press the button and watch the machine work its magic!
When it is finished, make sure everything looks good before removing the leatherette patch from the laser bed, so if you need to make another pass, everything is in the same place.

Now the last and final part of making this custom watercolor journal is to iron on the laser-engraved leather patch. This is so simple! I used a Cricut Easy Press, but an iron will also work. The manufacturer recommended lightly heating the backing first and then applying the patch with 270 degrees of heat. I pressed for 30 seconds and that was plenty.
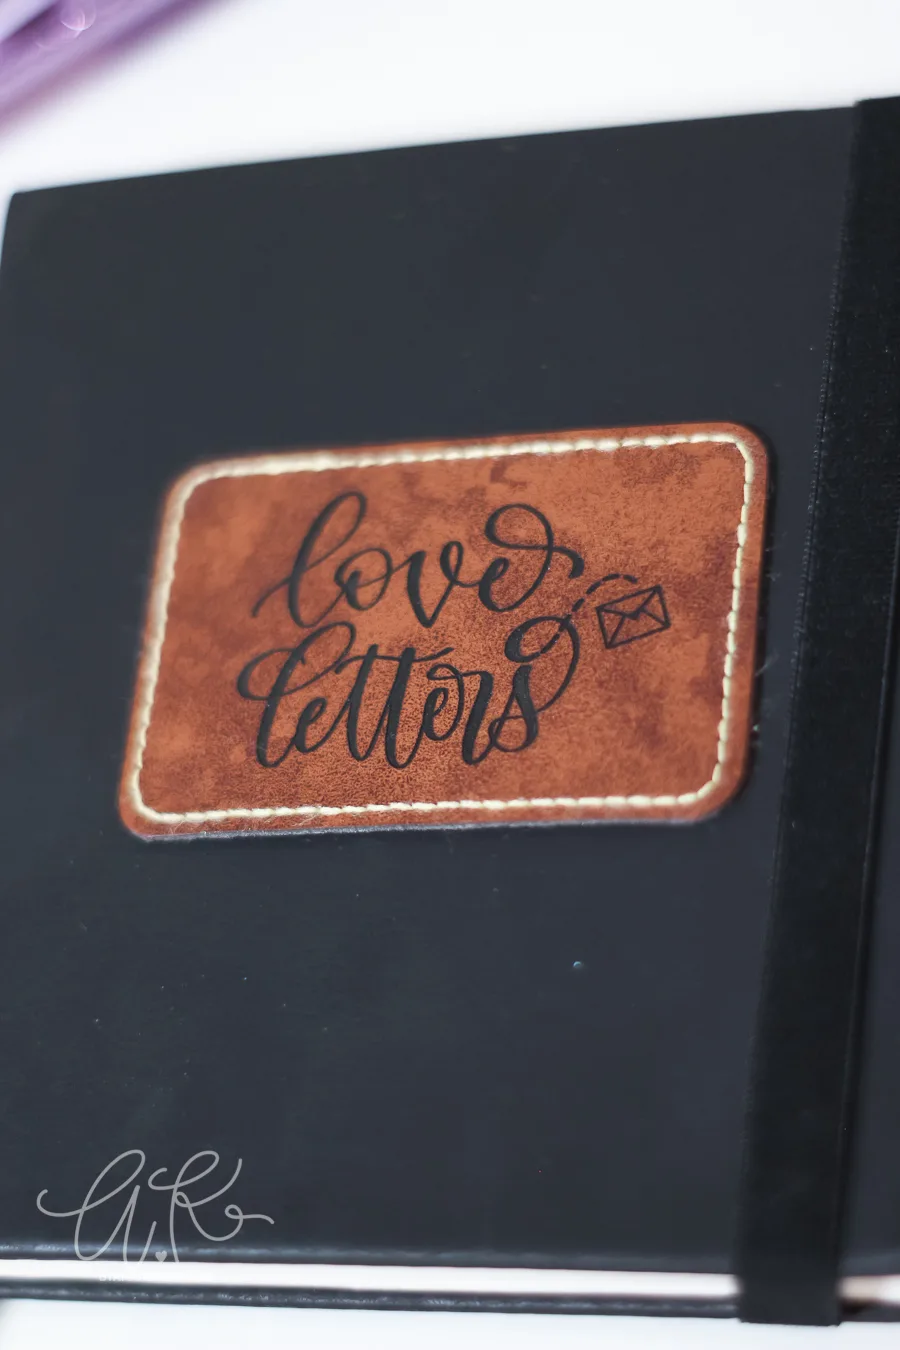
I am so happy with how this DIY watercolor journal turned out, and it makes me want to put laser-engraved leather patches on EVERYTHING. I’ve already completed some watercolor quotes and the quality of the paper is great!

Need more visual? Watch the TikTok video below, and make sure to follow for future videos!
More crafts you’ll love!
Pin it for later:
