How to Use Subtractive Method for Lettering in Procreate
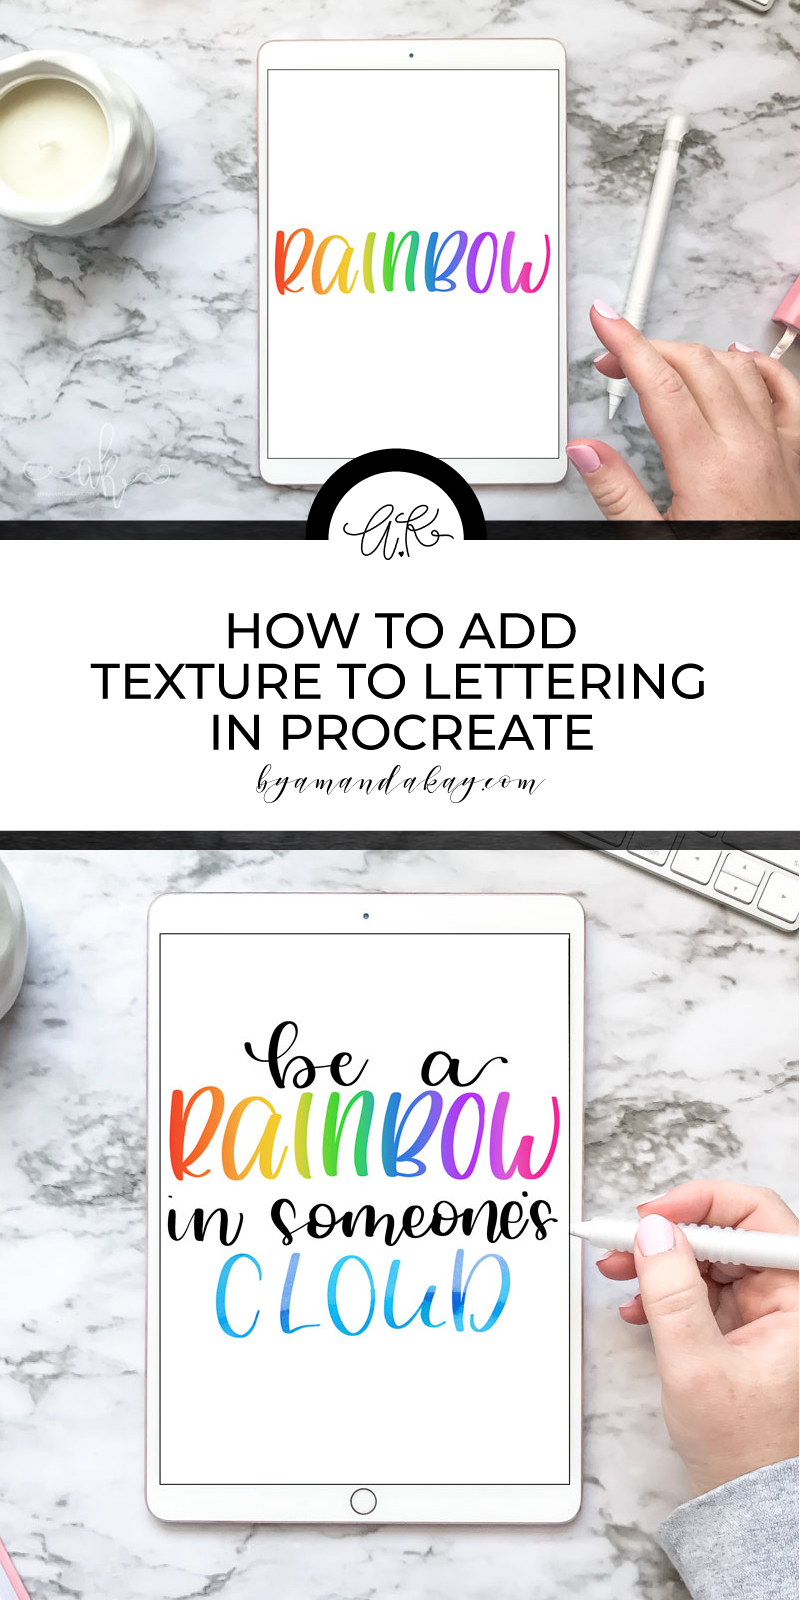
Using a subtractive method for lettering in Procreate is actually much easier than it sounds and helps you create some fun, colorful and textured pieces.
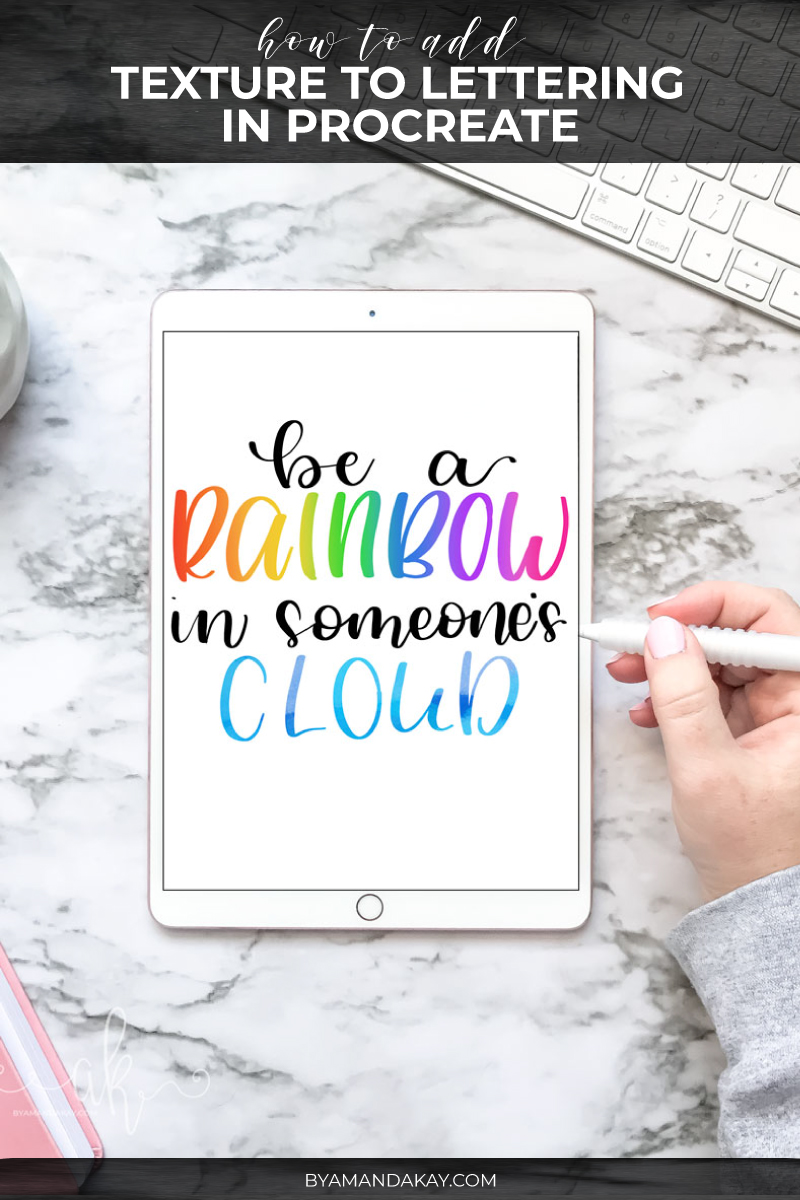
I love using the subtractive method in the Procreate app to create fun and colorful backgrounds for my lettering. It’s so easy to do and only requires a few skills. You’ll need an Apple Pencil, an iPad compatible with the pencil and the Procreate app for this tutorial.
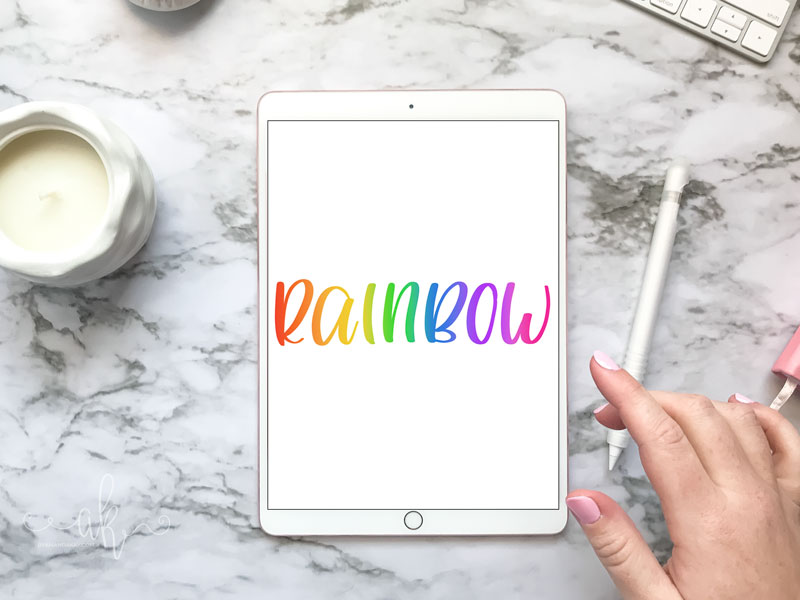
Subtractive method for lettering in Procreate
Start by creating a brand new artboard. Be sure to make your artboard the size, resolution and print quality your final piece will need to be.
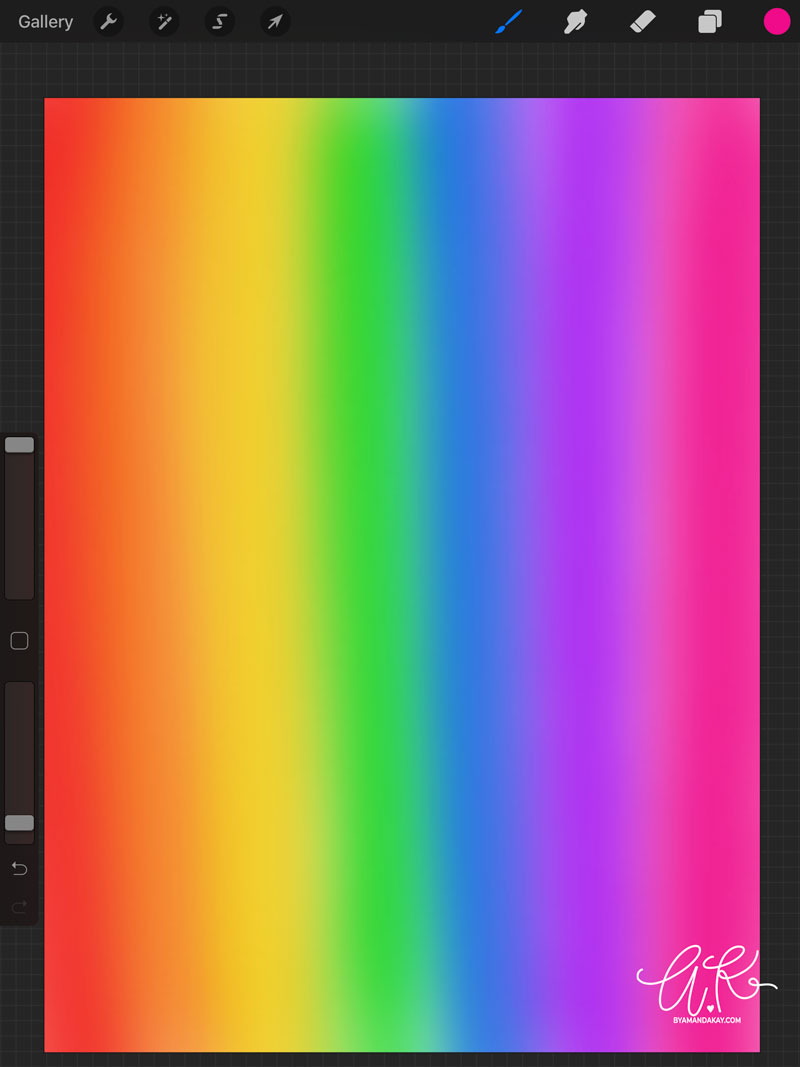
Next, create a new layer and rename it “texture”. This will be the colorful texture that appears to be in the lettering of the final project. For my background, I went with a rainbow color scheme. I chose a textured paint brush to make each color, then used the gausian blur tool to blur the colors together.
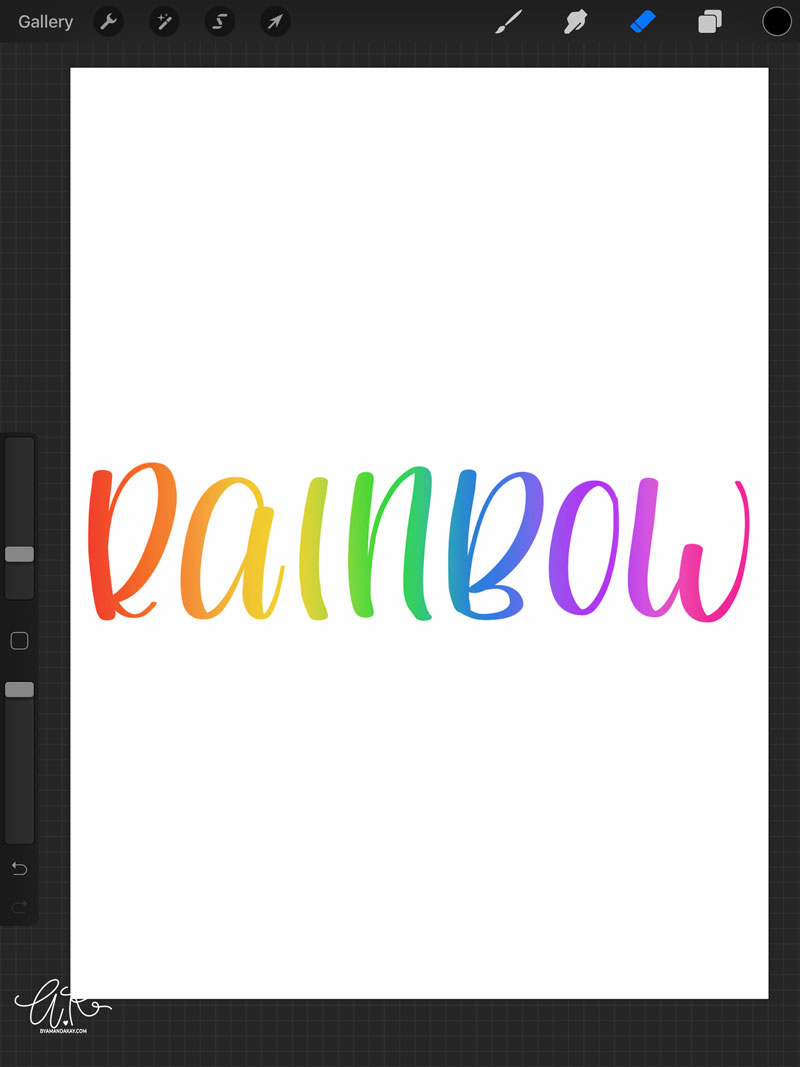
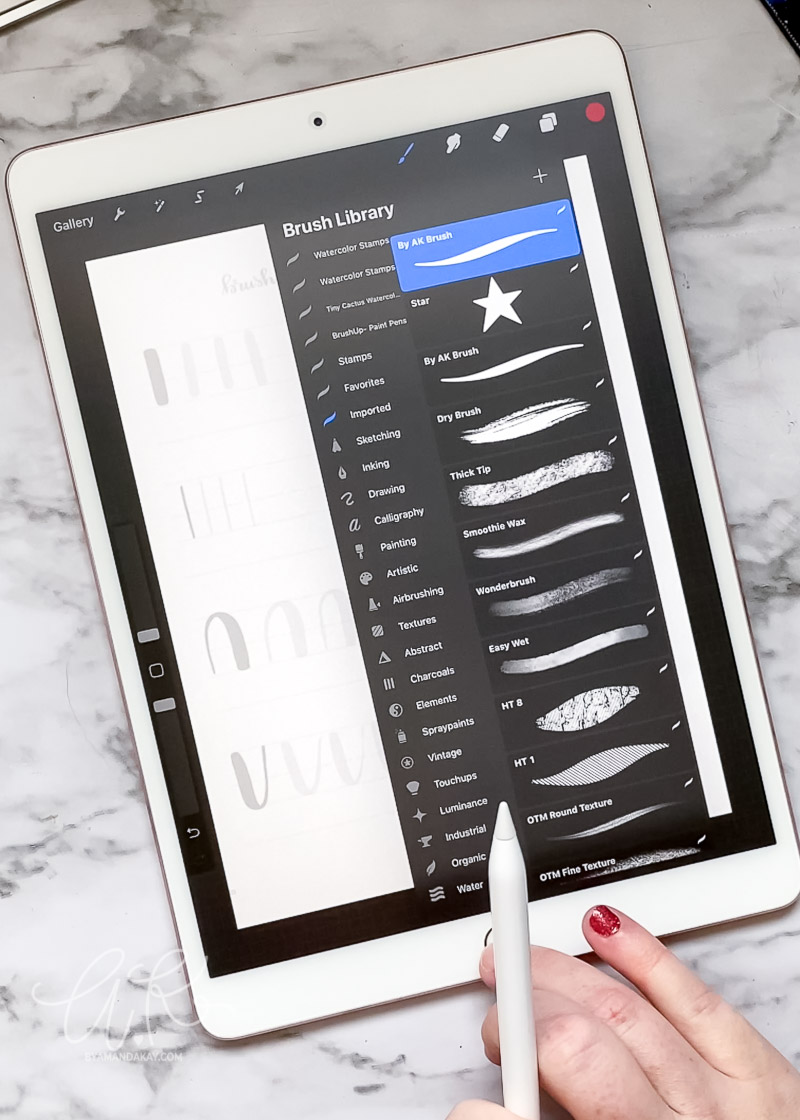
Create a new layer on top of the texture layer and name it “lettering”. Now, choose the eraser tool and select the brush you would like to use for the lettering. I chose my BAK brush for this tutorial.
Write out the quote you are using for your piece using the eraser tool. You are erasing away the white layer (or whatever color you choose to make it) to reveal the colorful texture layer underneath. That’s why it’s called subtractive!
Pretty cool right? Easy too!
I decided to shoot this quick little time-lapse video showing you the steps if you are interested in a video version.
More helpful Procreate tutorials:
- How To Turn Procreate Lettering into SVG Cut Files
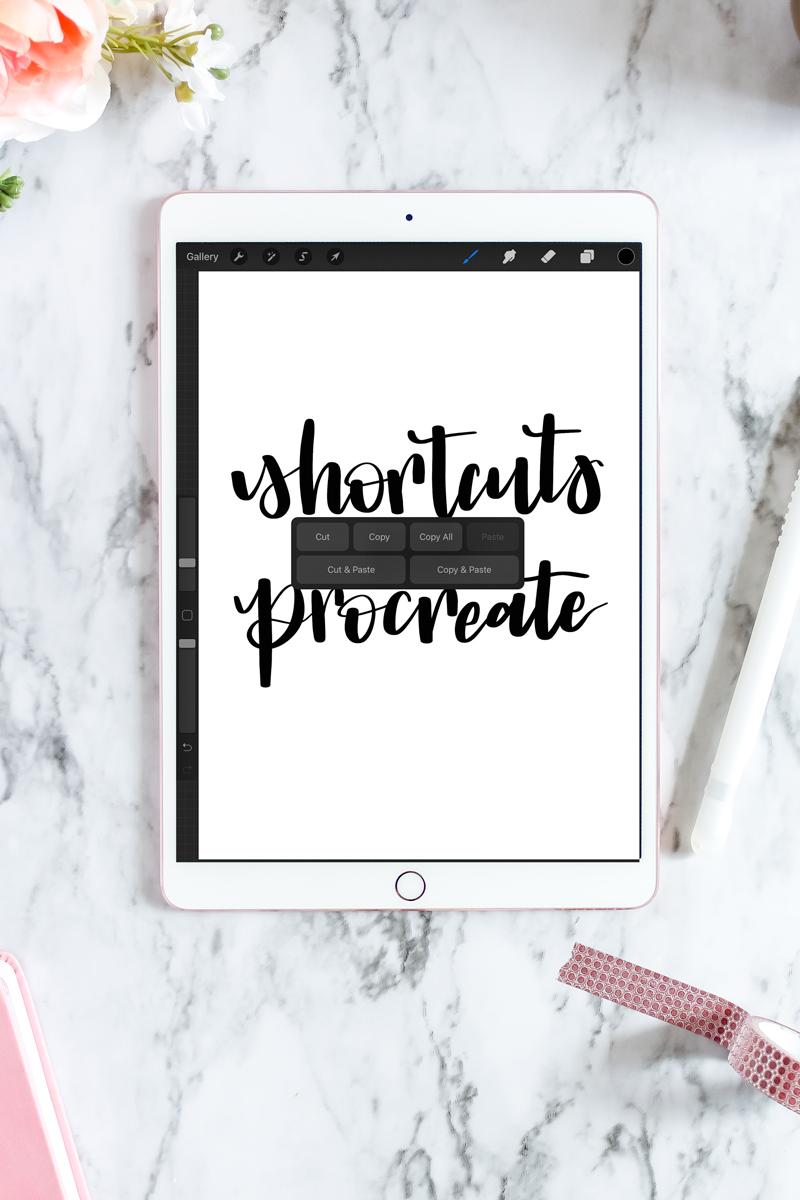
- Helpful Shortcuts for Procreate
- How to Add a Drop Shadow in Procreate {VIDEO}
- Why I Love Using Procreate for Lettering
Don’t forget to pin it!
5 Comments