How to Create a Stamp Brush in Procreate {VIDEO}
Simple tutorial to teach you how to create a stamp brush in Procreate. Make it a fun shape or doodle, or create a stamp with your logo to brand your work on Instagram!
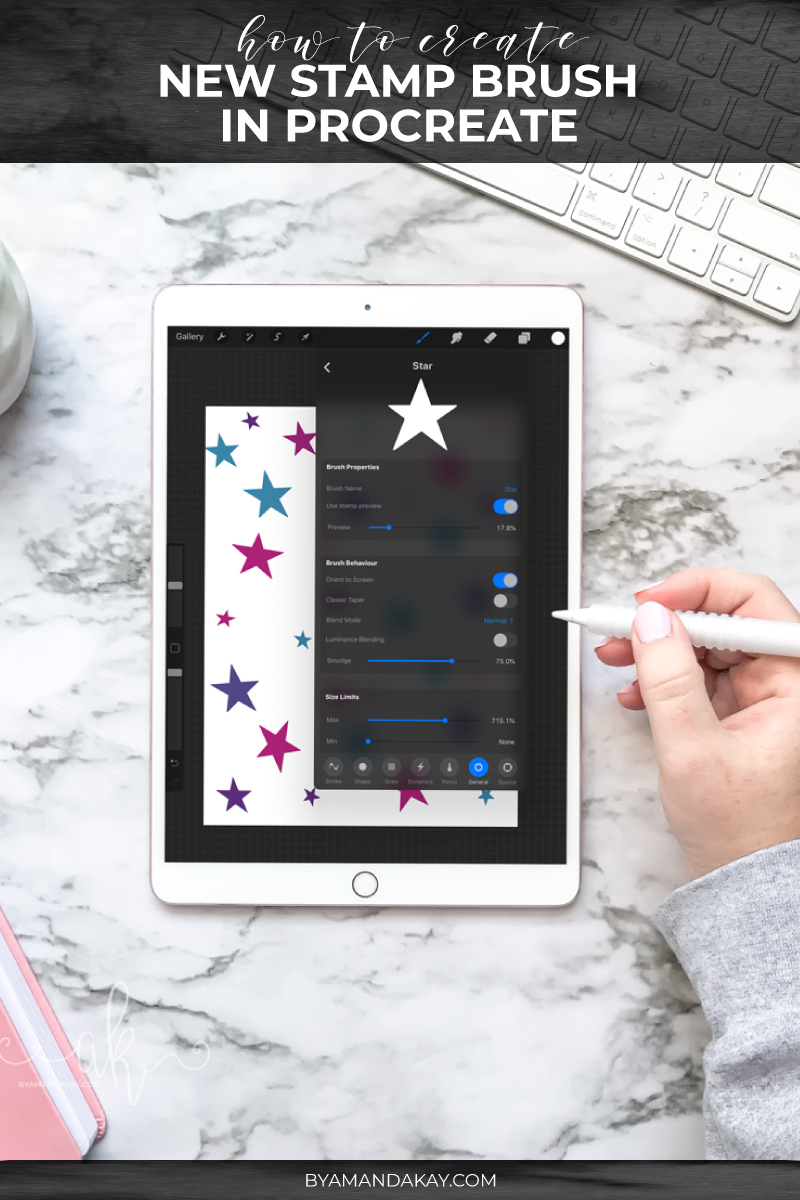
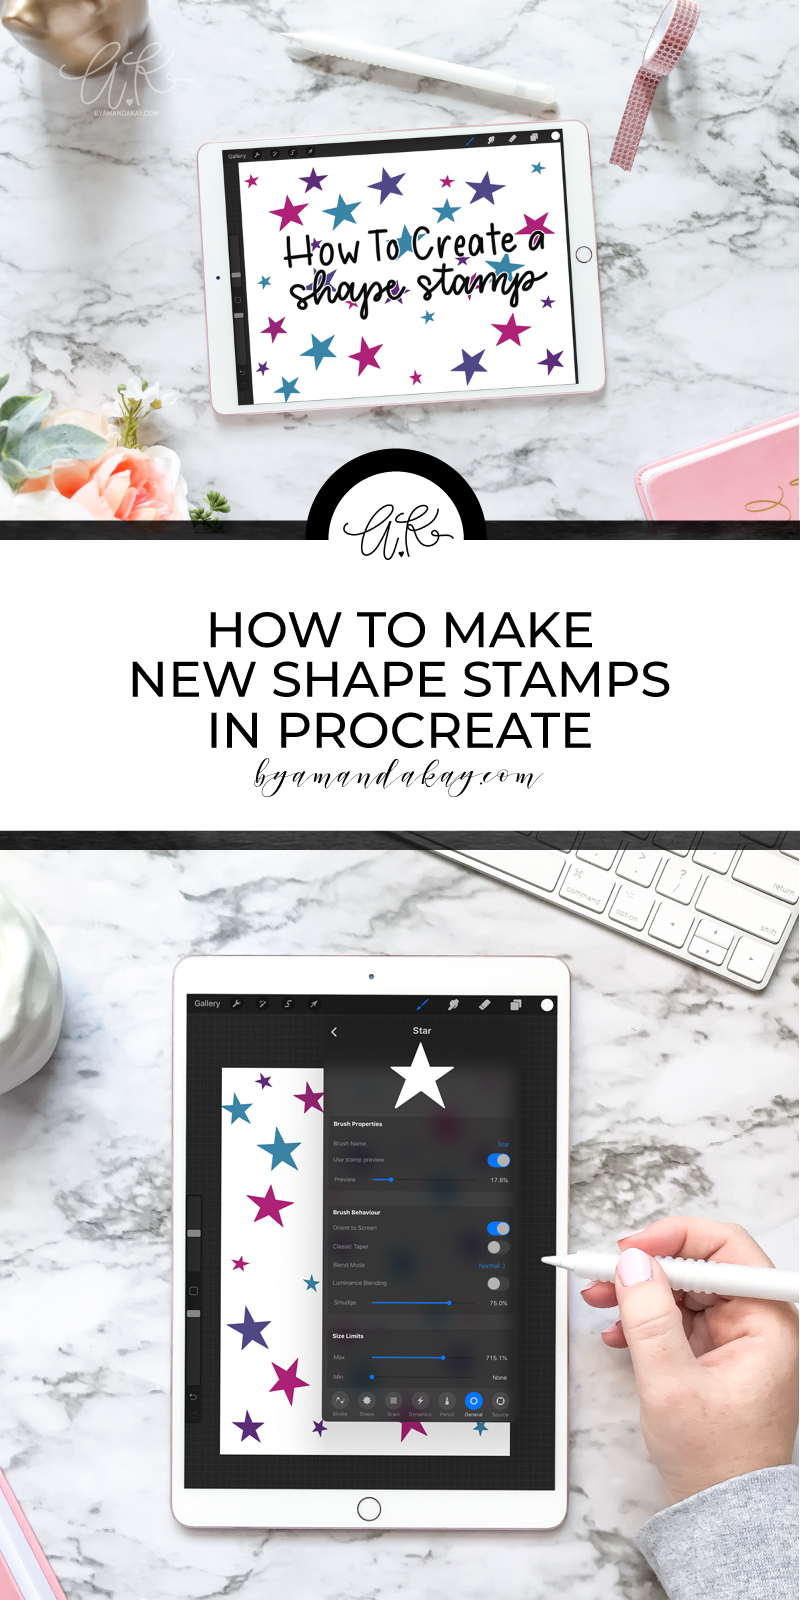
Creating a new brush in Procreate is not as hard as it may seem. This week I’m sharing the simple steps to create a new stamp brush in the Procreate app. You can use this tutorial to create fun shape stamps to add to your pieces.
You can also use this same tutorial for creating a quick logo or watermark stamp brush. The steps are the same for both. Check out the written tutorial below or scroll to the bottom to watch the quick video.
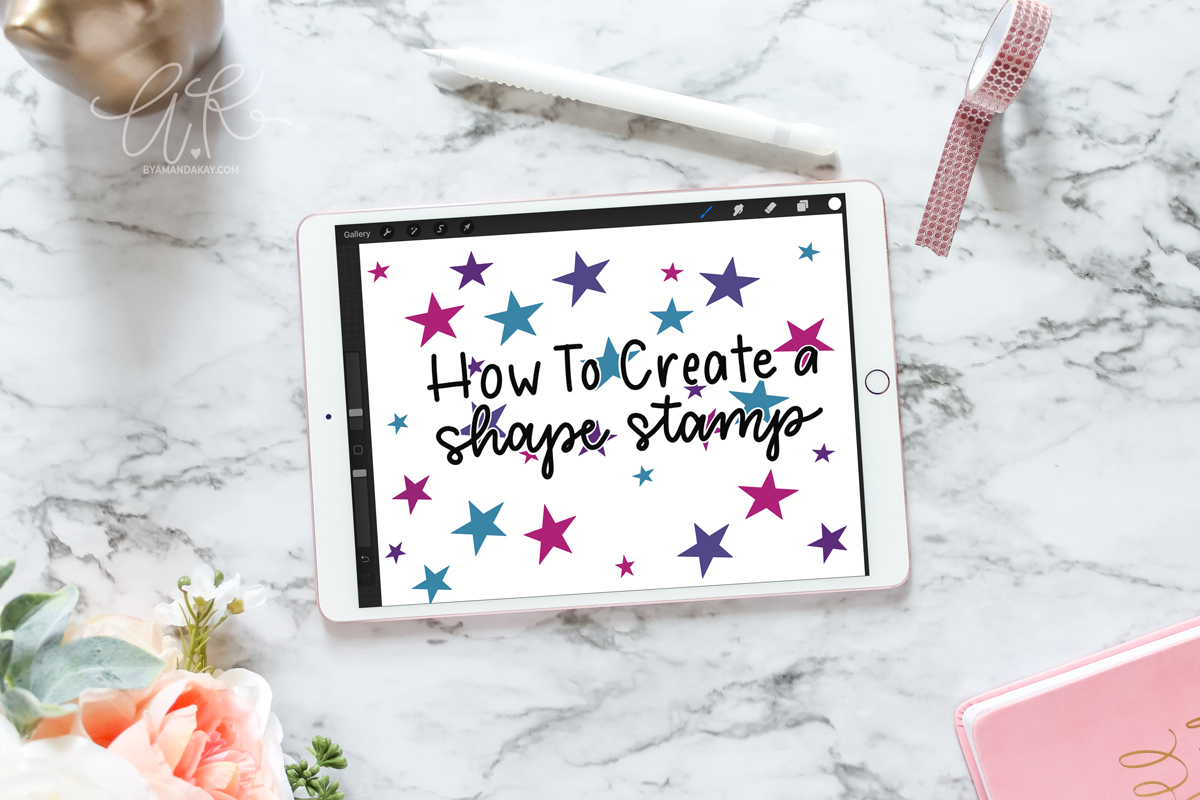
How to create a NEW stamp brush in Procreate
First, you’ll need the actual image you want to make into a stamp brush.
You could use your logo, a hand-lettered word, or just a simple shape.
Open up the Procreate app and create a SQUARE document.
Turn on the canvas grid to help draw in straight or even lines.
Draw the shape, word, or image you want to use to create a new stamp brush. I prefer to use the color black so I can see what I am doing. Make sure to clean up any stray lines!
Go to the layers tab, and turn off the background layer (uncheck the box next to it).
Recolor the image in white. You can do this in a few different ways. If your image is pretty simple, like this star in my example, simply drag the white color from the top right corner onto your shape. If your image is a little more detailed, this way may be easier. Go to the color wheel and change your brush color to white. Then click on the layers tab, tap the layer image (the little thumbnail) and choose “select”. Create a new layer, tap the thumbnail next to it and select “fill layer”. This will create a new layer with all elements of the image recolored to white. Delete the original layer.
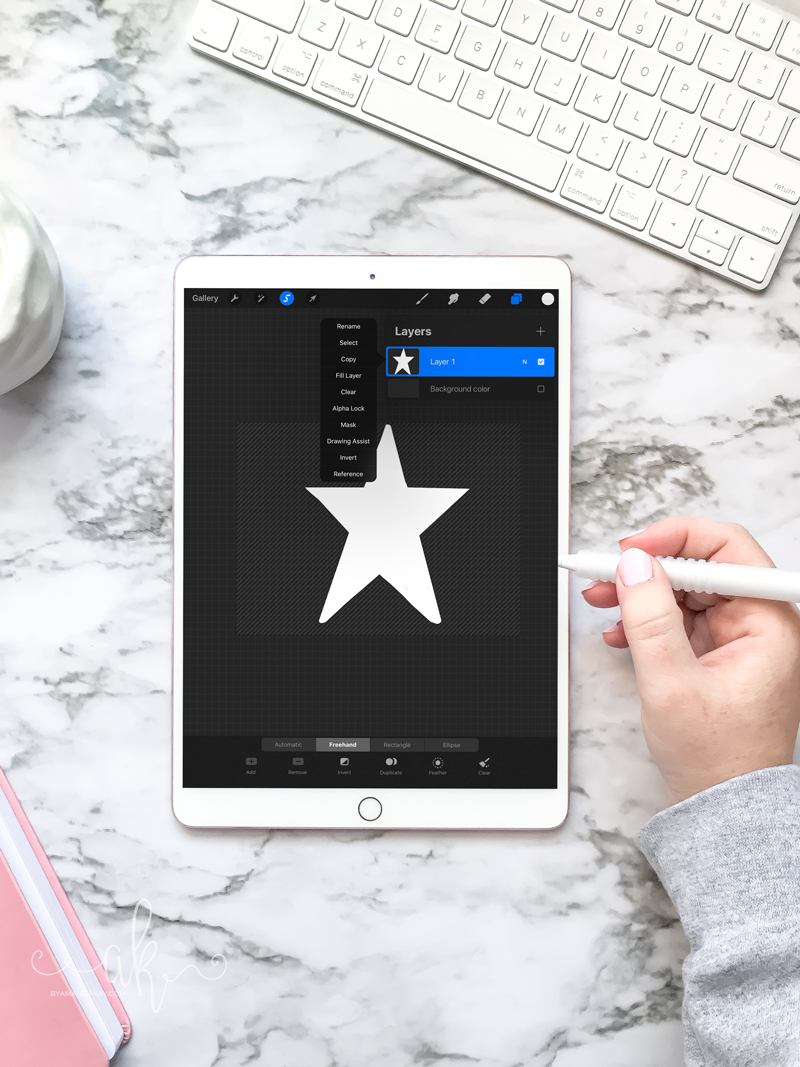
Save your image as a PNG file. To do this tap the wrench icon and choose the share tab. Then select PNG. A pop up will ask you where to save it, just simply choose to save image and this will save it to your device.
Now let’s create a new stamp brush with that image.
- Select the brush tool, and then tap the “+” to create a new brush.
- Name the new stamp brush accordingly.
- Under the source tab and Shape Source choose “Insert Photo” and search for the image you saved in the above step 6.
- For the Grain Source, choose “Swap from Pro Library” and select the Blank grain (this will be a white square) If you want your new shape stamp to have a different grain certainly play around with the different selections within the Procreate library!
- Adjust the sliders to get the right look. In my video below you can see the settings I used. Most of the settings will be left alone, like the dynamics and the pencil settings. The general settings is where you can set the max size and min size of the stamp.
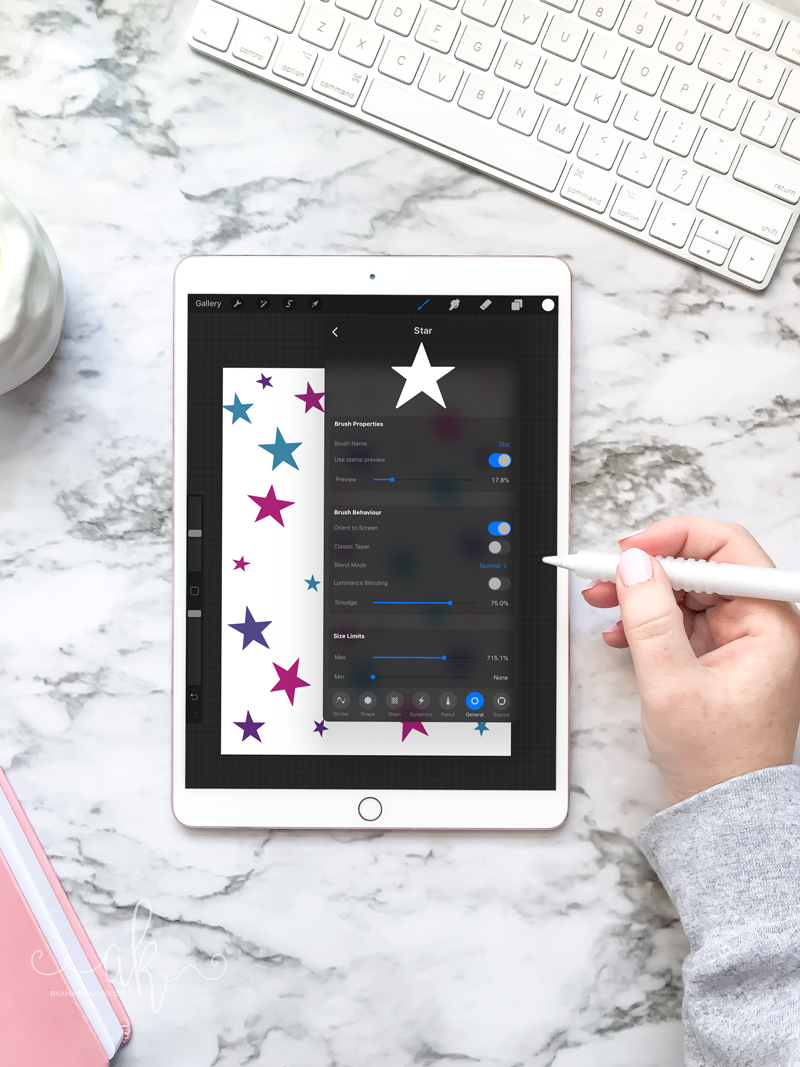
And that’s it! It’s really simple to create a new stamp brush to use in the Procreate app, and now that you know how to do it, the possibilities are endless!
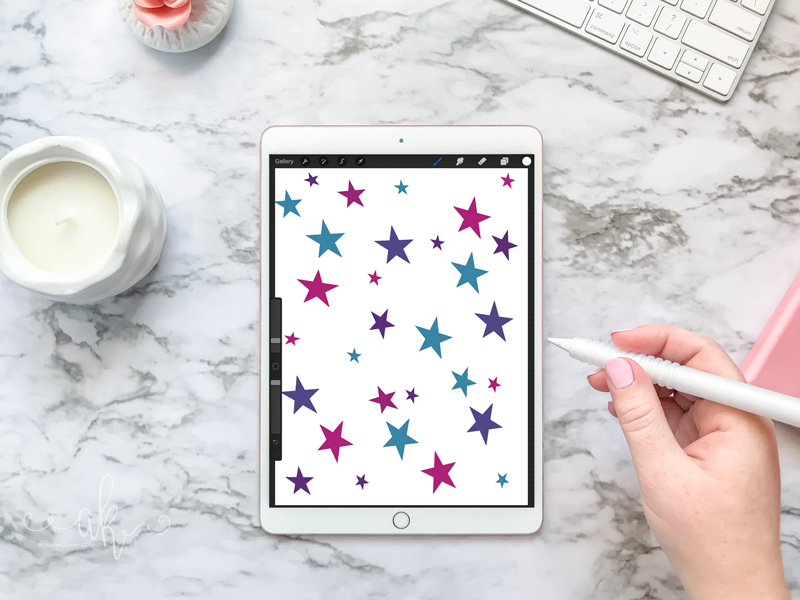
TLDR?
Check out this video to see the EASY process to create your own stamp brush in the Procreate app!
If you would like to download the Star Stamp brush created in the video, I am offering it to my email subscribers for FREE! Sign up below for my weekly newsletters which are full of fresh tutorials, freebies, exclusive discounts, and other tidbits that you won’t find on the blog. You’ll also gain access to the Subscriber Only Freebie Library which is filled with SVG files, printables, watercolor textures and more.
More Procreate App Tutorials:
- How to Use Subtractive Method for Lettering in Procreate
- My Favorite Procreate Brushes for Lettering
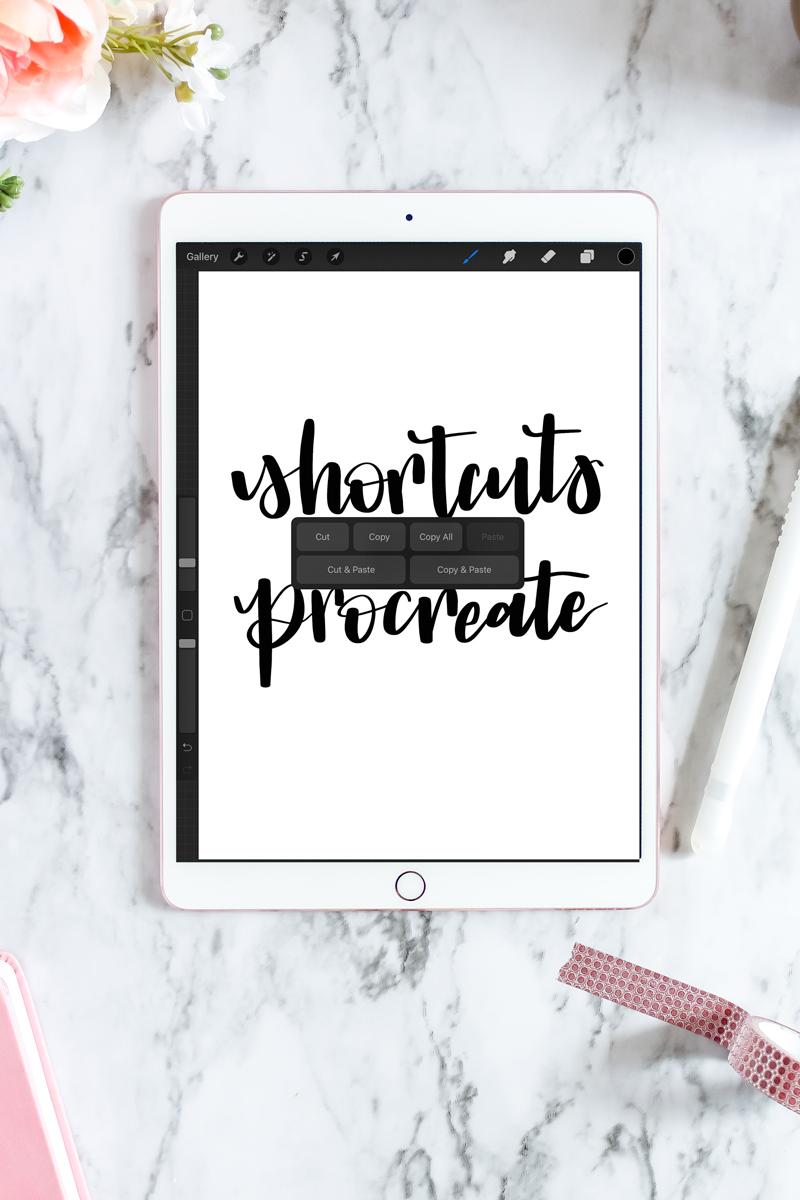
- Helpful Shortcuts for Procreate
- How to Add a Drop Shadow in Procreate {VIDEO}
Looking for Supplies?
Check out my Amazon Storefront where I’ve saved all of the products I use in my projects. These are all supplies that I use and would recommend!
Don’t forget to pin it!

thank you SO much for this!!!!! so helpful💛☀️🌼🌺