
Galaxy Lettering Tutorial
Learn how to create beautiful galaxy-style letters with this step-by-step galaxy lettering tutorial and video.
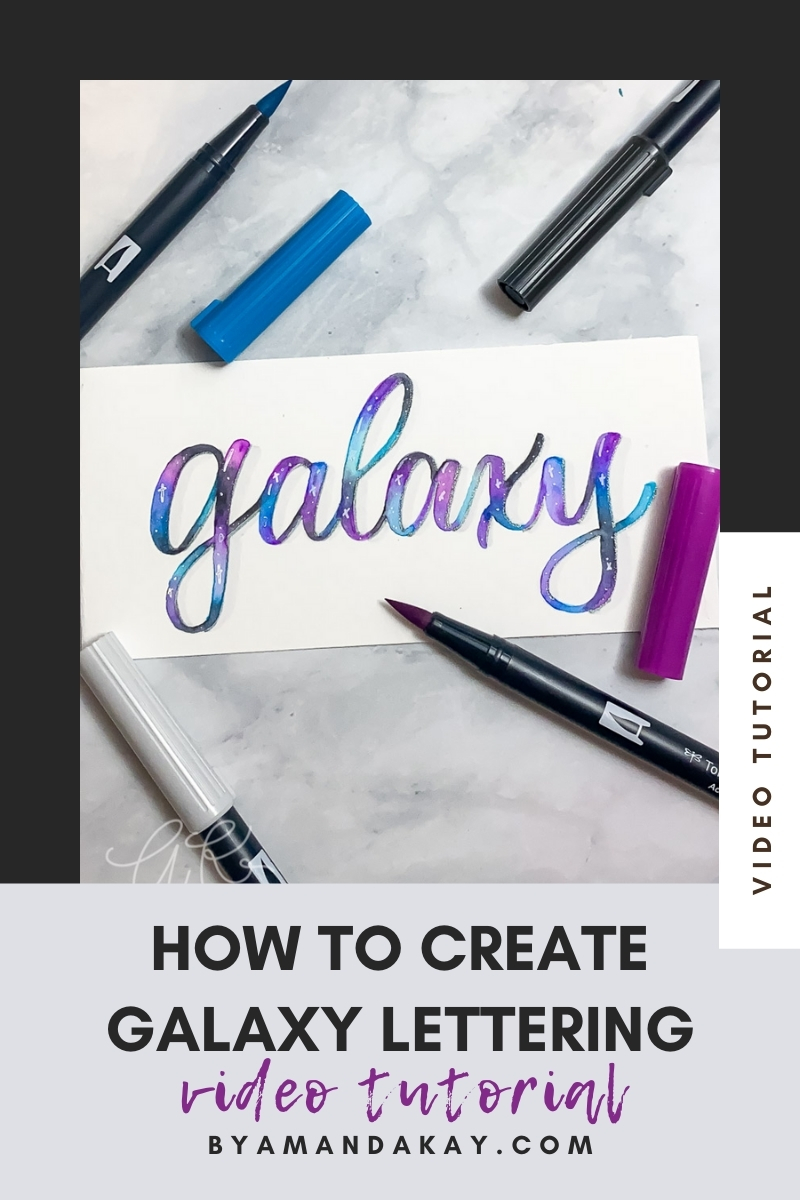
Have you seen all of these amazing galaxy inspired lettering blends floating around on Instagram and Pinterest? Today I’m showing you the step-by-step process to make your own!
If you don’t have time to read, or prefer to watch a video instead, you can find that towards the bottom of the page!
Galaxy Lettering Step-by-Step Tutorial
Supplies Needed:
- Canson Lettering Marker Paper
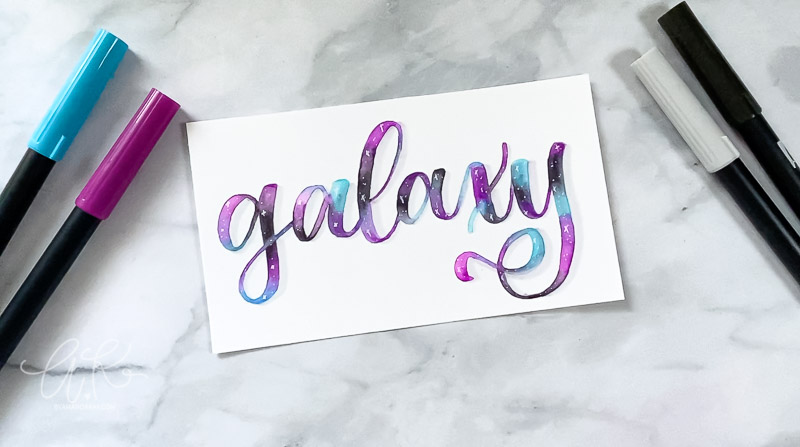
- Tombow Dual Brush Pens– 665, 452, N25, N95
- Winsor & Newton Cotman Round Brush #2
- White Gelly Roll Pen
- Glass of water
- paper towel
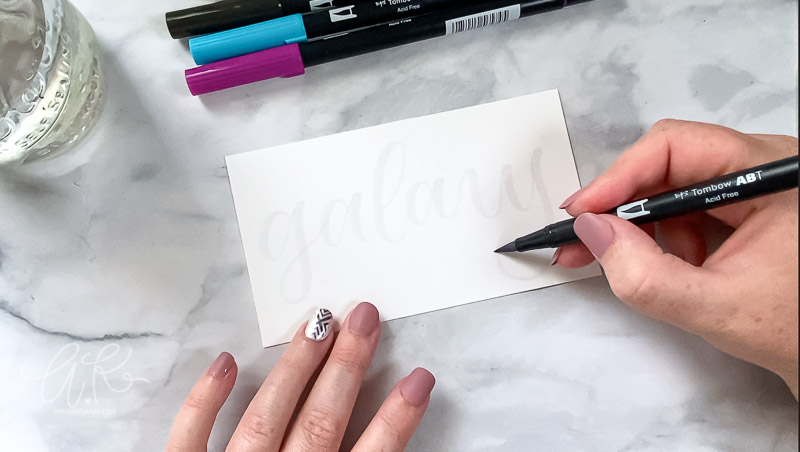
Step 1
Start by lettering your word on to the Canson marker paper (or your favorite paper for brush lettering) in a light gray (N95). This will serve as a template or guide for the next steps.
Step 2
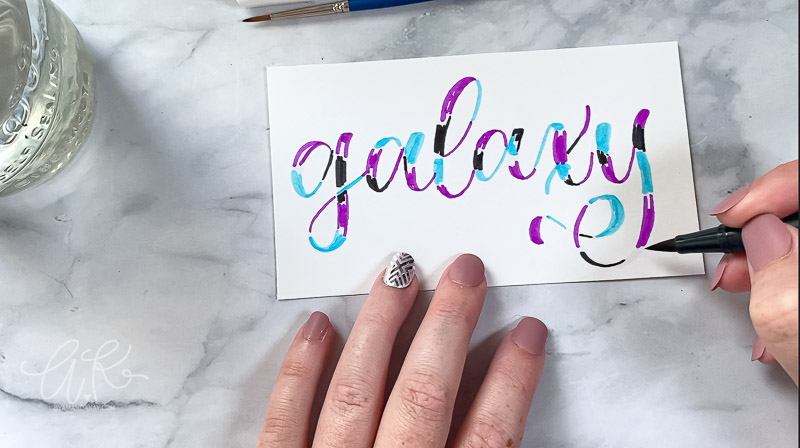
Next, using the first color Tombow dual brush pen (665 for this example), place random swatches of color on the base lettering. It doesn’t need to be methodical, just make sure you are staying within the letters.
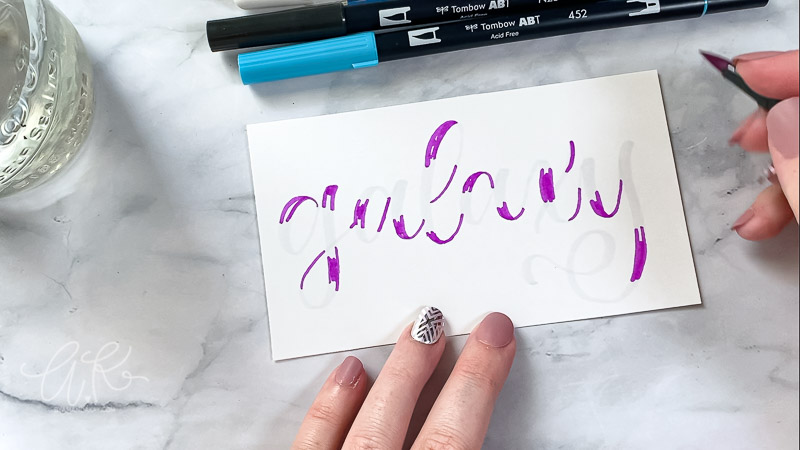
Step 3
Repeat the previous step with the second color (452). Take care to leave a little bit of space between the colors to help with blending later on.
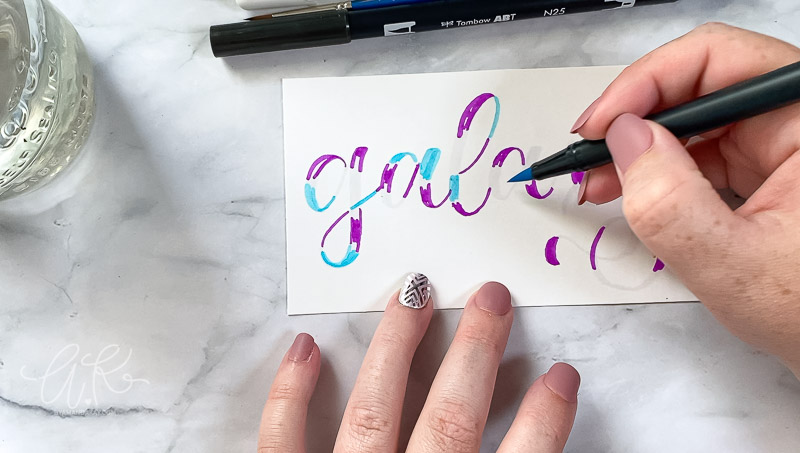
Step 4
Repeat the process again for the final color (N25).
Step 5
Now it’s time to blend! Use clean water and a small round brush. You could also use a fine tip water brush. The trick here is not to saturate the brush, but just get it damp. You want to avoid adding too much water as that can leave runs and blotches.
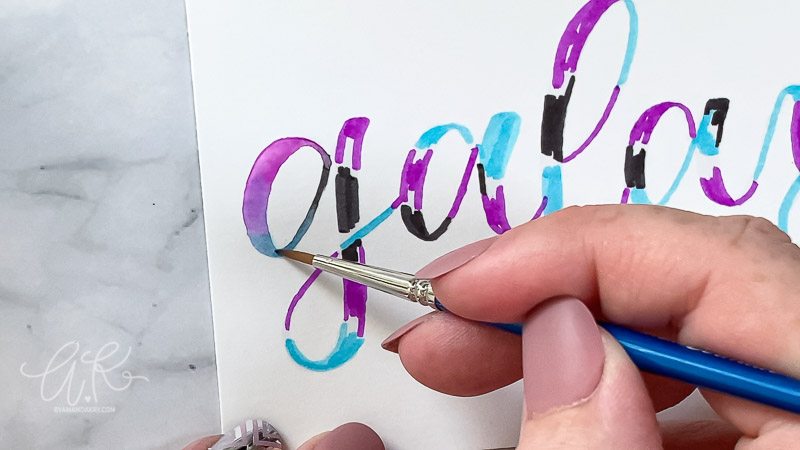
Start with one color, get it damp with water just until the ink starts to move, then bring it down into another color. Then wipe your brush off on the paper towel, get a little bit more water and bring that second color up into the first color.
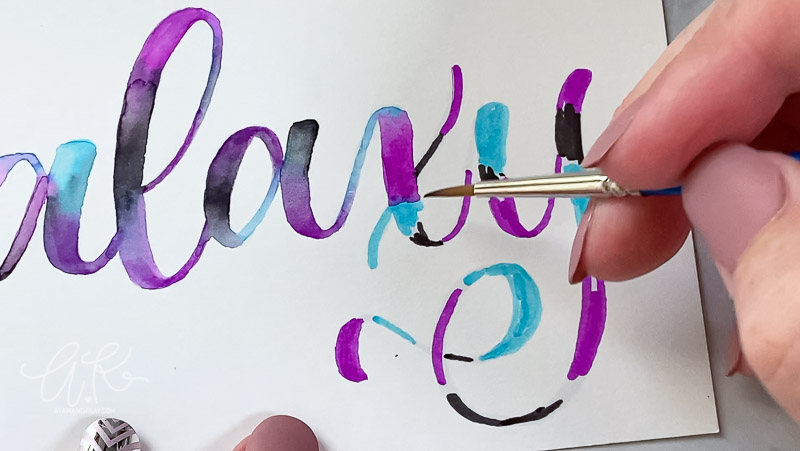
To retain the original colors, without “muddying” them up, it’s important to wipe your brush off on the paper towel often.
Step 6
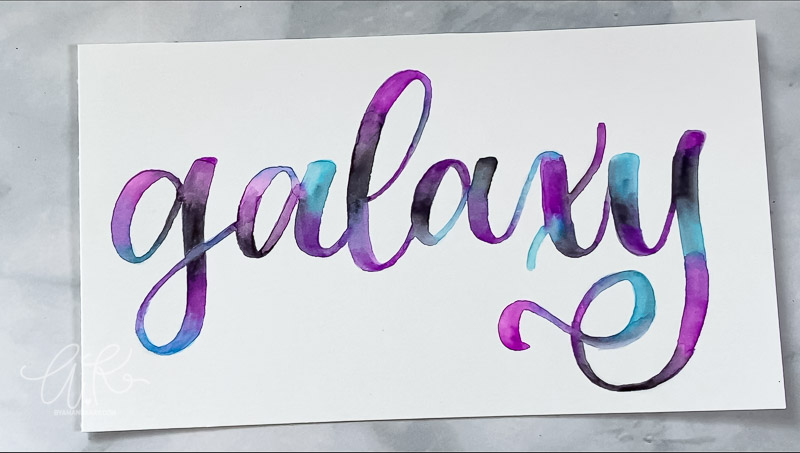
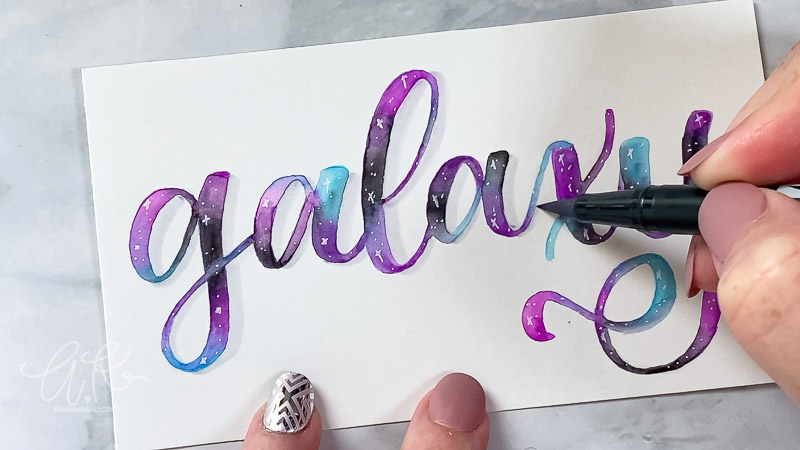
After everything is blended, and COMPLETELY dry, it’s time to add some stars! I used a white gelly roll pen. You could also use a Signo gel pen or Bleed Proof White.
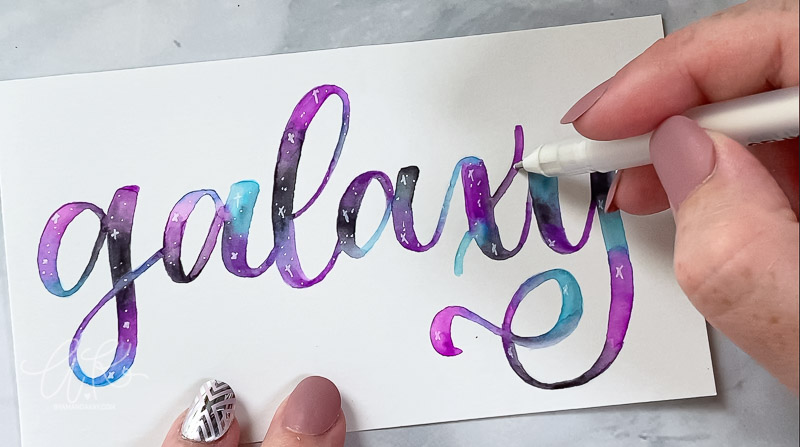
Step 7
Last, add a shadow if you’d like! When it comes to shadows, decide on where your light source is coming from. I typically “make” my light source come from the upper left corner. That means, the shadows would be on the opposite side of the light source. That would put the shadows on the right side of the letters and slightly around the bottom like in this photo below.
Step 8
And you’re done! Congratulations you just created some beautiful galaxy lettering!
If you need more clarification on any of these steps, make sure you check out my Youtube video linked below. Hit the thumbs up, subscribe and the bell to be notified when I post new videos!
Watch the step-by-step tutorial video below to see the how to create galaxy style lettering with brush pens.
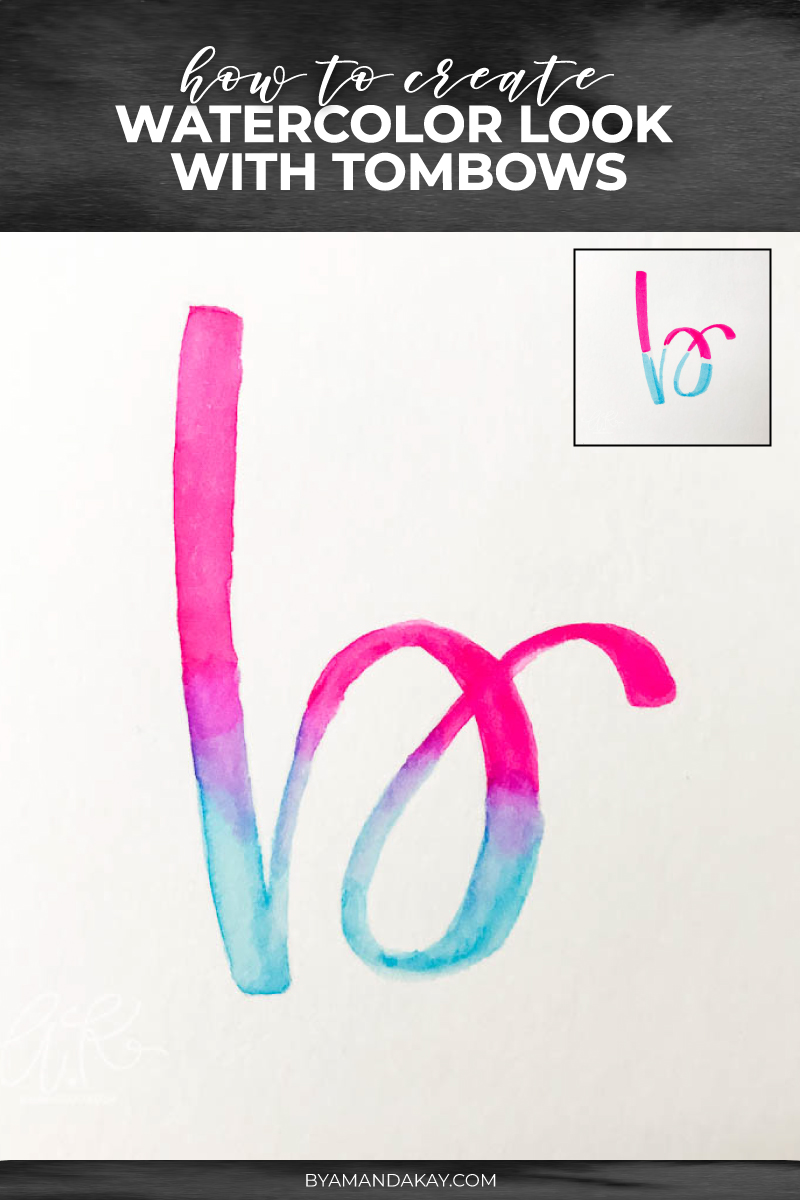
You’ll also like:
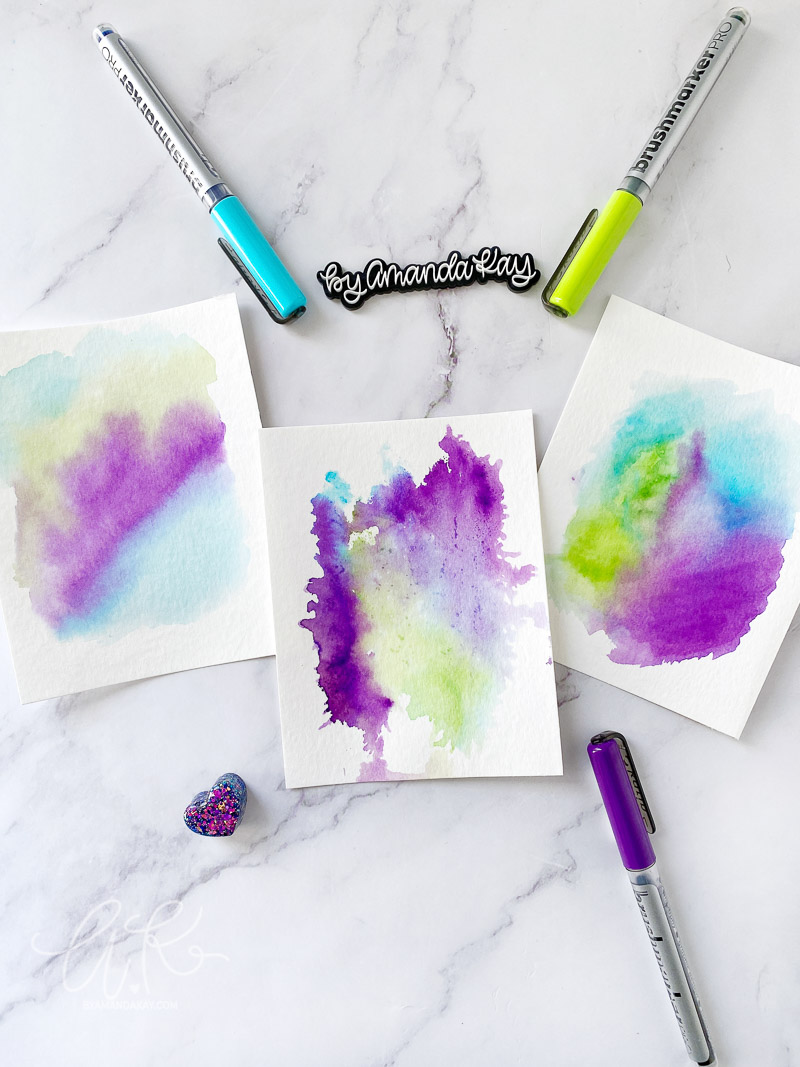
- Watercolor Blending with Tombows
- Tombow Dual Brush Pen Review
- DIY Hand Lettered Watercolor Bookmarks


4 Comments