
Basics of Brush Lettering Series | Brush Lettering Introduction
This 4 part series will give you an overall concept of the Basics of Brush Lettering. Part one is a brush lettering introduction covering the what and how of lettering.

For the next few weeks, I’ll be covering a huge trending topic and that is brush lettering. Sometimes it’s referred to as hand lettering, although technically hand lettering is really any sort of typographic illustration done by hand. Brush lettering is a little bit more technical, although a very easy concept to grasp.
See next: Basics of Brush Lettering | Simple Lettering Terminology
The kick off to this basics of brush lettering series is a brush lettering introduction. We’ll talk about what it is exactly and how to get started. I’ve even got a little video at the end where I show you basic concepts of brush lettering. Let’s get started!
What is Brush Lettering
Think of brush lettering as a more modern approach to traditional calligraphy. Some of the principles are the same, but instead of using pointed pen, you typically use a brush pen. A brush pen has a tapered brush looking tip. Some pens will have an actual brush with fibers that move individually (like a paintbrush), while other pens are a flexible tip that is more marker like and made up of tiny fibers (the Tombow Dual Tip Pens are an example).
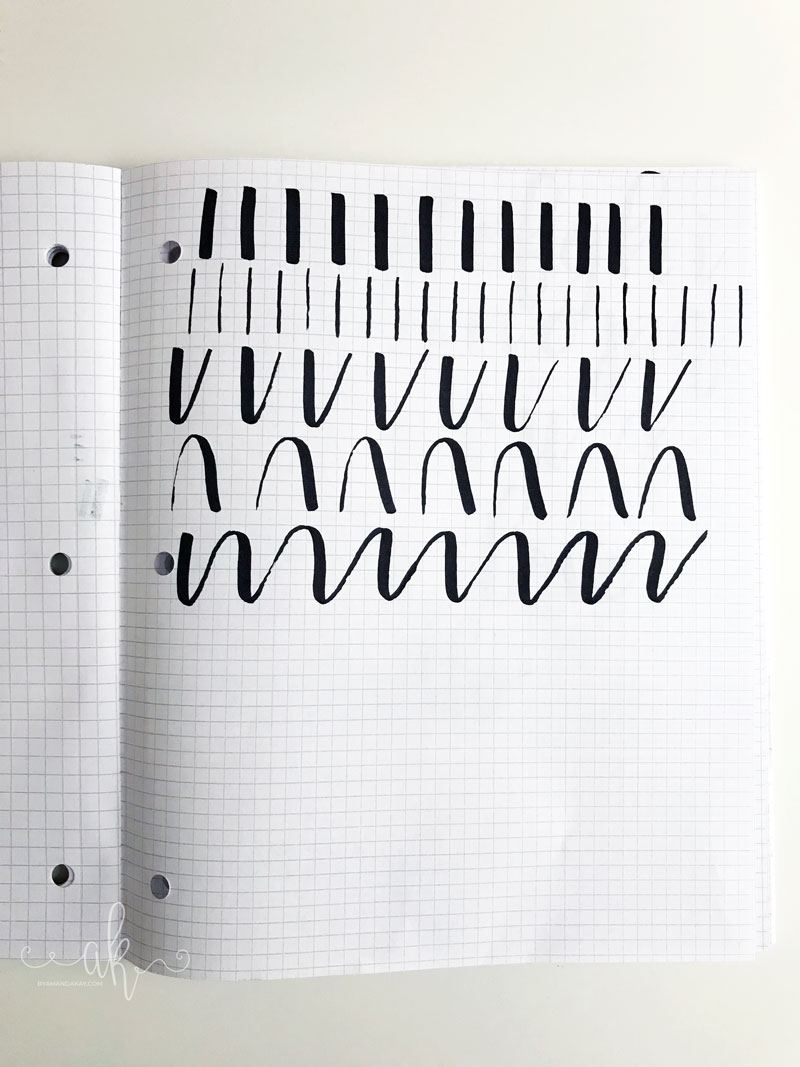
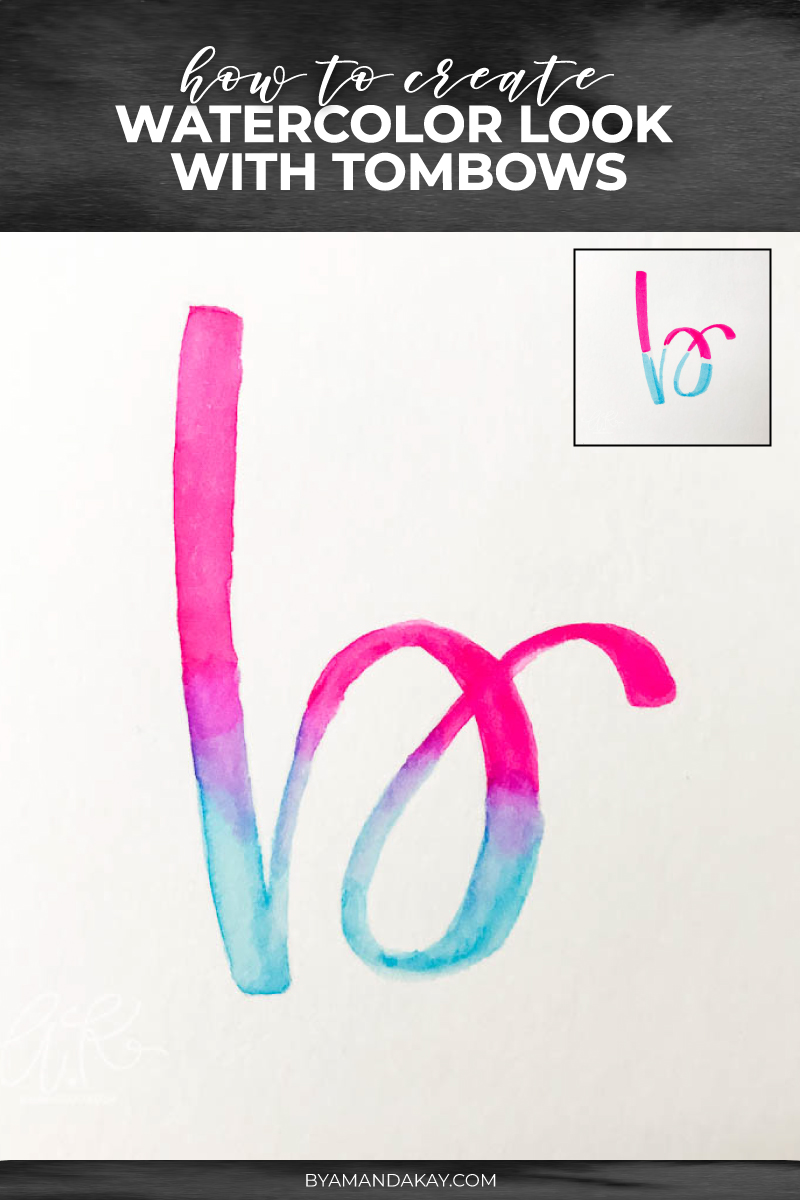
Here is the basic concept of modern brush calligraphy. Anytime you are creating a downstroke, you will apply more pressure to the brush pen. With an upstroke, you’ll release that pressure creating a thinner line. Here’s an example:
The most common brush lettering you see is a script style, but brush lettering isn’t just limited to that. You can do any type of lettering style with a brush pen!
What do you need to get started with brush lettering?
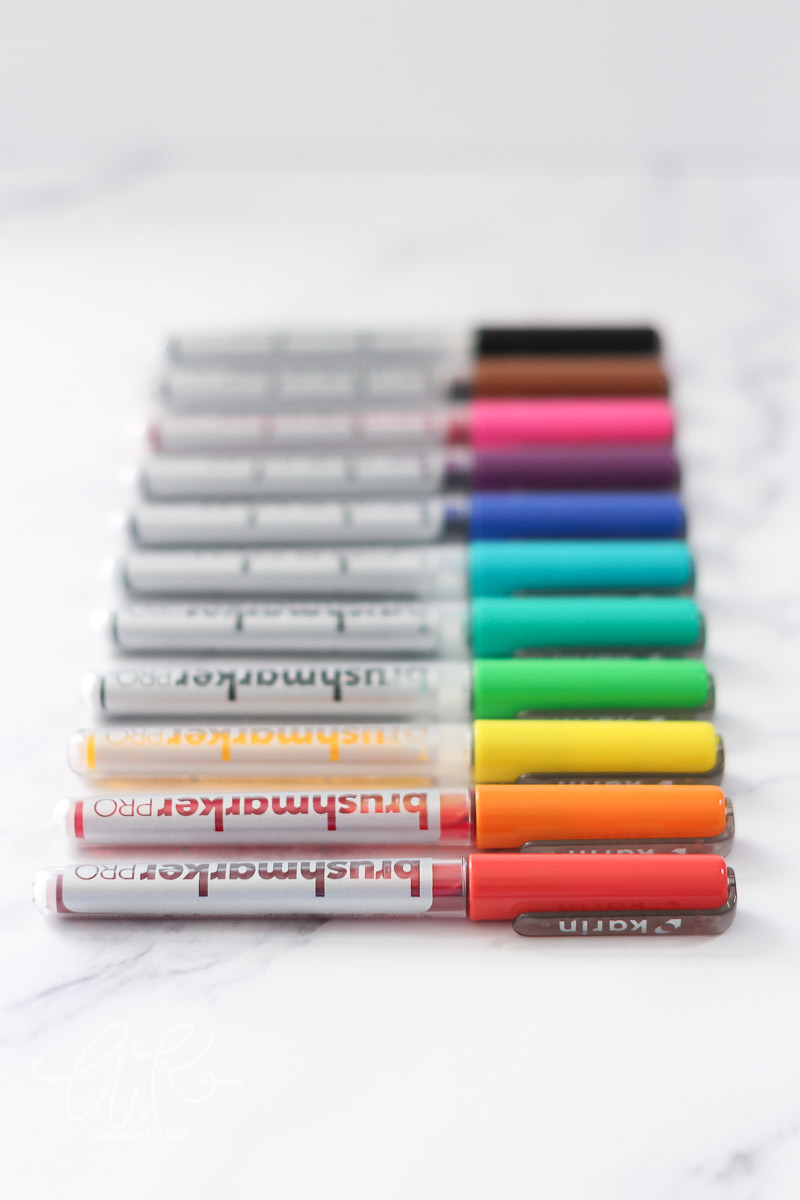
Technically all you need is a brush pen and a piece of paper, however, you can get the look of brush lettering by just using a plain Crayola marker. The super tips are a great place to start and they are inexpensive. If you are looking for an actual brush pen to start with, I recommend the Tombow Fudenosuke pens. They are smaller tipped but are also fairly inexpensive. They are great to practice with and you can get a pack with both the soft and hard tips to get a feel for different brush types. I buy these in bulk guys because I use them all the time!
>>Read Also: Tombow Fudenosuke Brush Pen Review
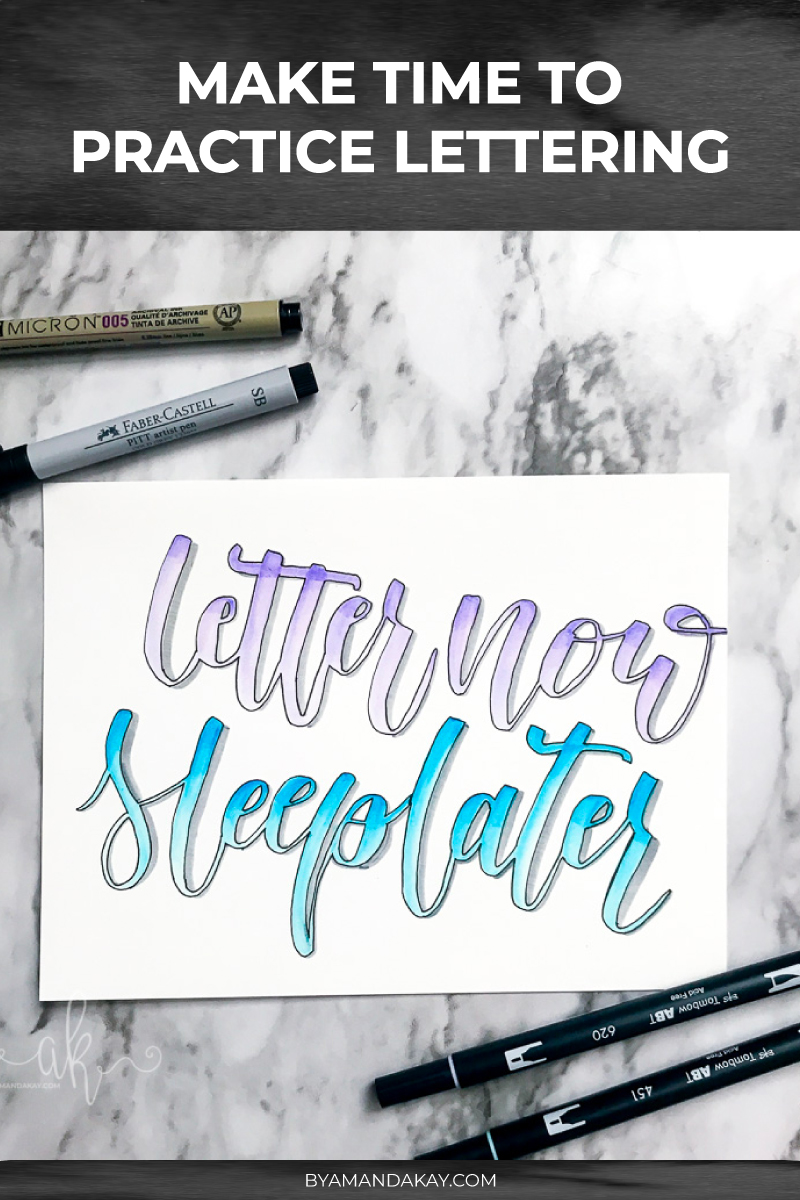
The biggest thing is to practice! Don’t just sit down expecting to get it perfect the first go. Start with the basics, which are the thick downstrokes and thin upstrokes. Then try them together. Once you get the feel for the brush pen (or marker) then start practicing individual letters. Work your way up to writing words. Don’t try to get fancy with bouncy letters (we’ll talk about that in a later part) until you are ready.
>>Read Next: The Basic Brush Calligraphy Strokes To Learn First
Check out my video below introducing you to one of my favorite brush pens and showing you how to get started with brush lettering.
Looking for Supplies?
Check out my Amazon Storefront where I’ve saved all of the products I use in my projects. These are all supplies that I use and would recommend!
Next week we will move on to the basic composition, talking about ascenders, descenders, and cap heights, plus we’ll touch a bit on the bounce style lettering. Update: Read about Lettering Terminology Here.
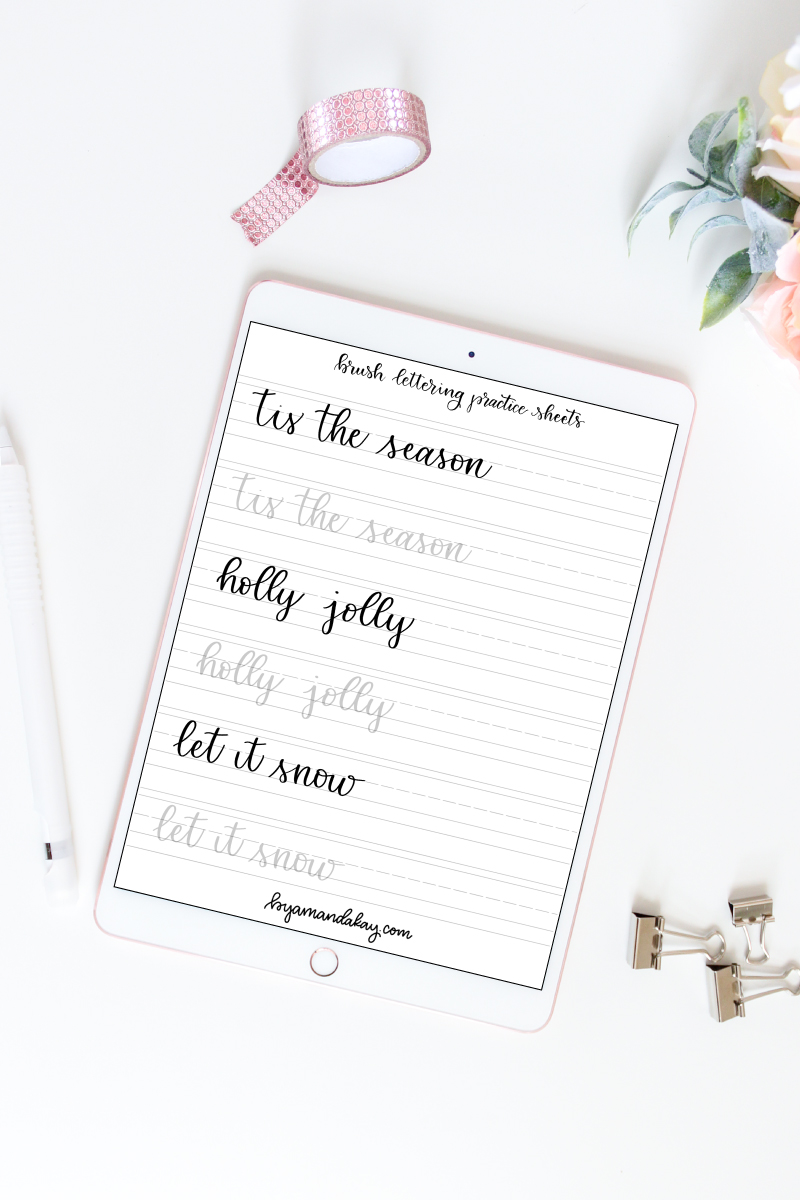
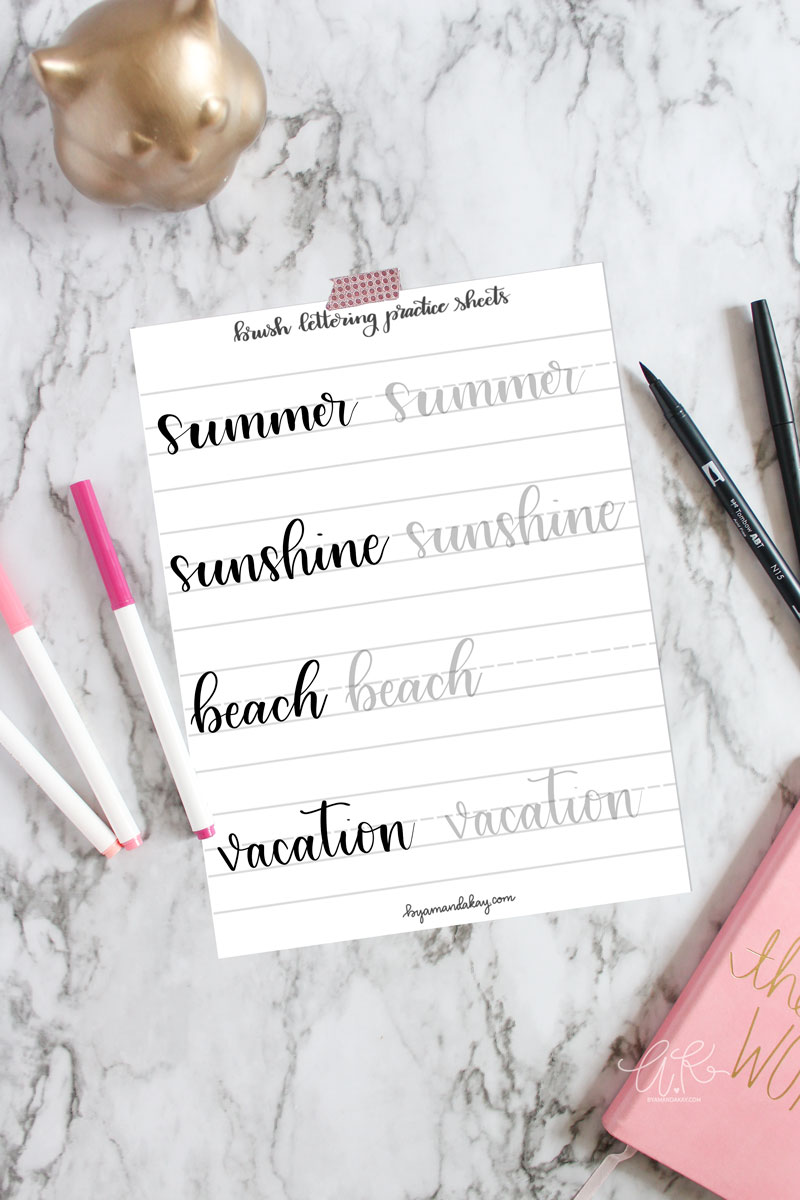
Make sure you grab these FREE Basic Strokes Printable Worksheets.
Don’t forget to pin it!
More lettering love here.

11 Comments