
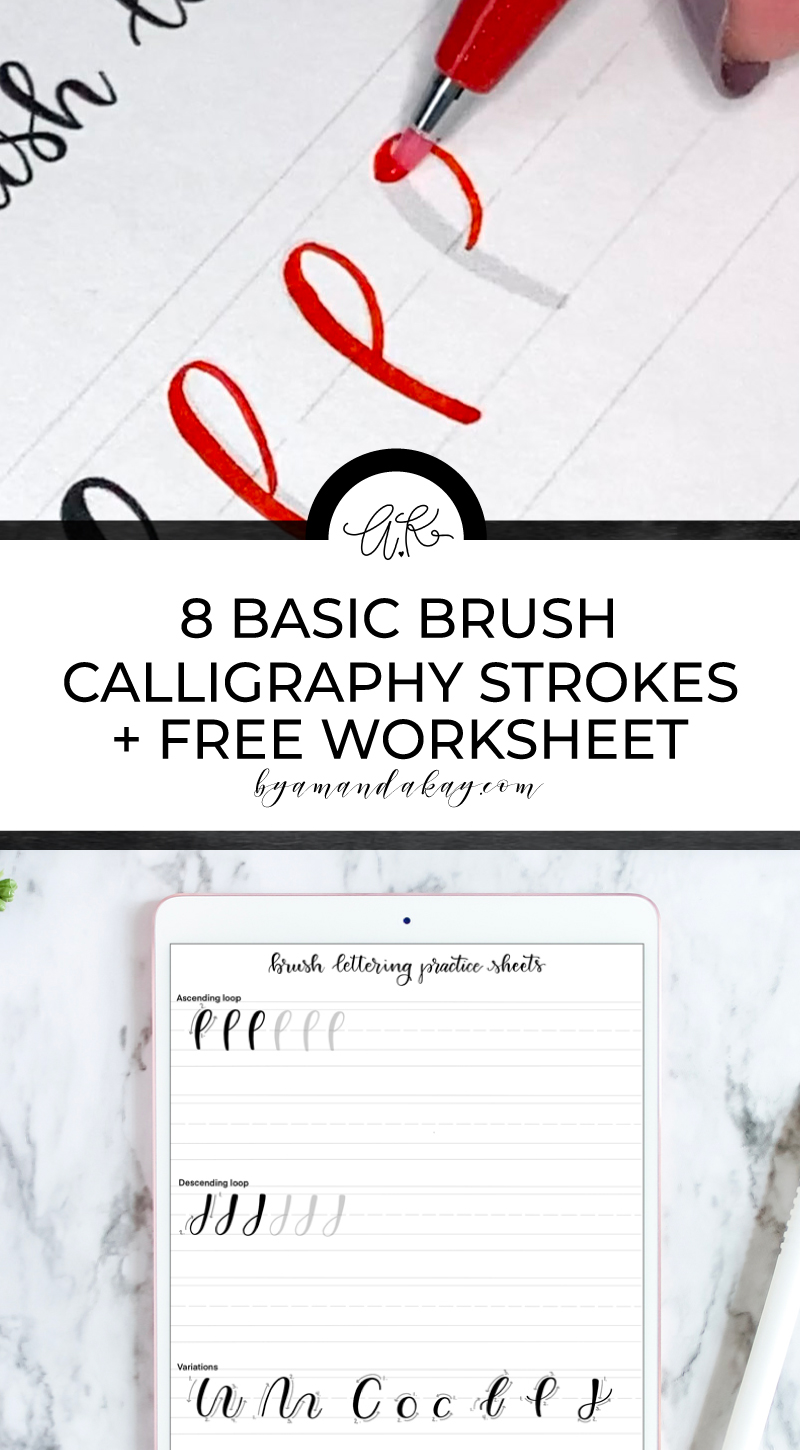
Basic Brush Calligraphy Strokes Free Worksheet
Learn the 8 basic brush strokes of calligraphy and brush lettering and download your free practice sheets.
If someone where to ask you today what the 8 basic strokes of brush calligraphy were, could you answer? No? Well that’s why I’m writing this post, just for you.
When I started to teach myself brush calligraphy, I had no idea there were basic strokes that I should focus on learning first. I just dove right in and started writing letters. But if I were to go back, and really learn and practice these basic brush strokes, I think I would have been better off.
So if you are just starting out, and want to start right, brush up on those basic brush strokes first (see what I did there ;)? ) and grab the free worksheets at the bottom of this post.
8 Basic Strokes of Brush Calligraphy
There are 8 basic strokes of brush calligraphy. Practicing each stroke is essential to learning brush calligraphy, so join me as I walk you through each one.
Upstroke
An upstroke is the stroke of each letter that the pen is naturally moving in an upward direction. Straightforward right? In traditional and brush calligraphy, upstrokes use less pressure on the pen creating a thin, clear upstroke.
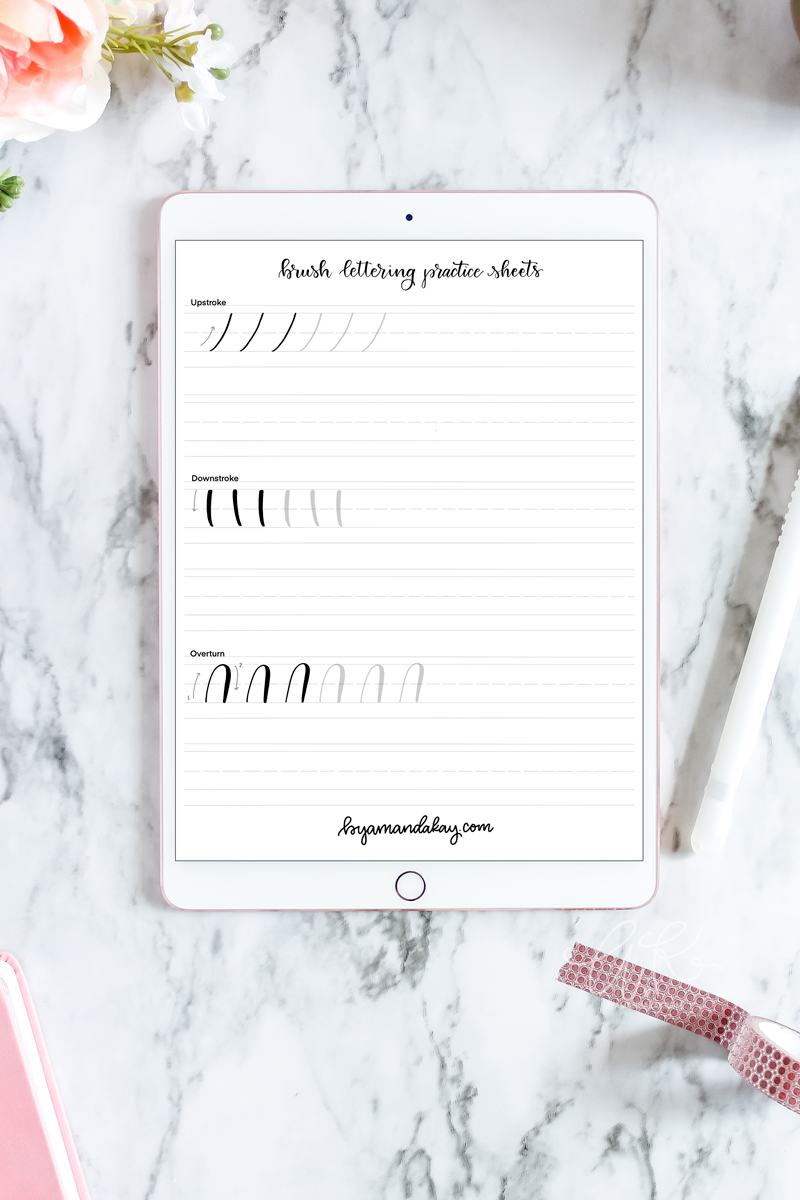
Downstroke
The opposite of an upstroke is the downstroke. Every stroke of the letter that the pen naturally moves in a downward direction is a downstroke. Downstrokes use more pressure on the pen, creating thicker lines.
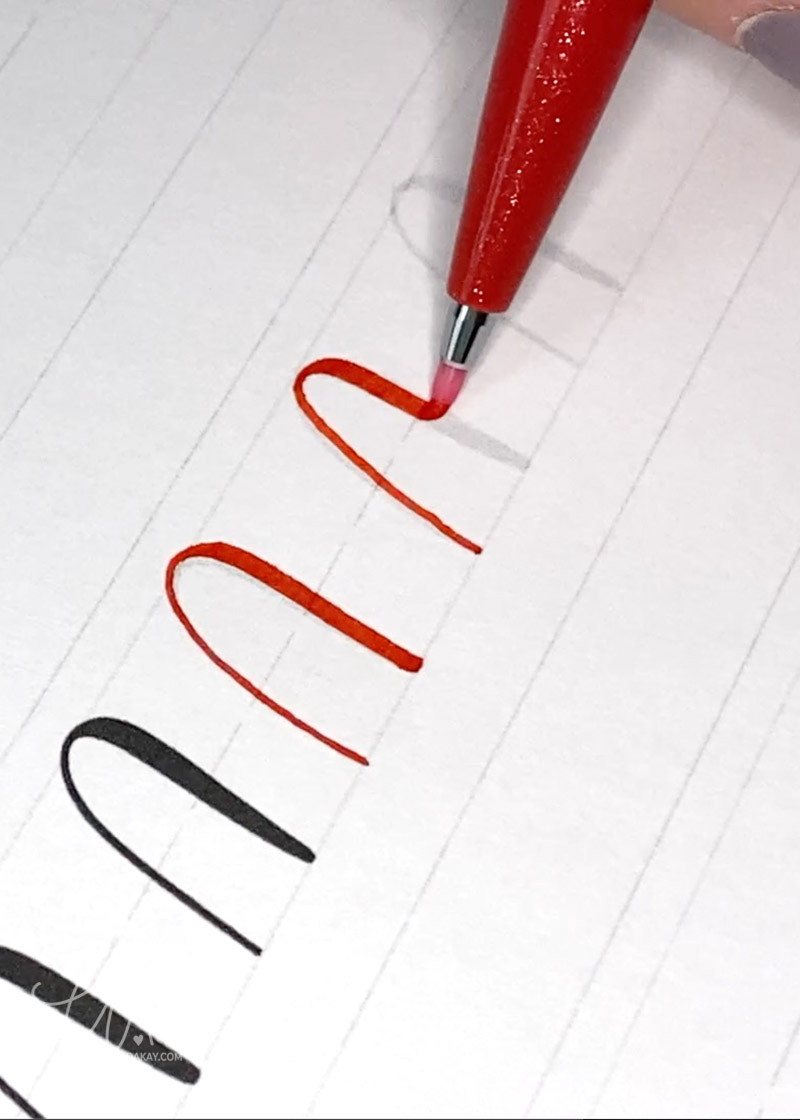
Overturn
Overturns are another type of brush lettering stroke which involves moving the pen in an upstroke and transitioning to a downstroke. This is achieved with a curve in the transition. The trick to getting clean overturns is to go very slowly in transitioning from thin to thick. The thickness of the downstroke should not start at the top of the curve, but rather at the end of the curve.
Underturn
The underturn stroke is similar to an overturn, but starts with a downstroke curving to transition into an upstroke. This creates a “u” loop. The same holds true for getting a clean transition from an underturn as with overturns, but the transition from thick to thin should start at the beginning of the curve.
Compound Curve
A compound curve combines both an overturn and an underturn. In practice this is done with one stroke, to help build muscle memory for transitions from thin to thick to thin again.
Read Also: Simple Lettering Terminology
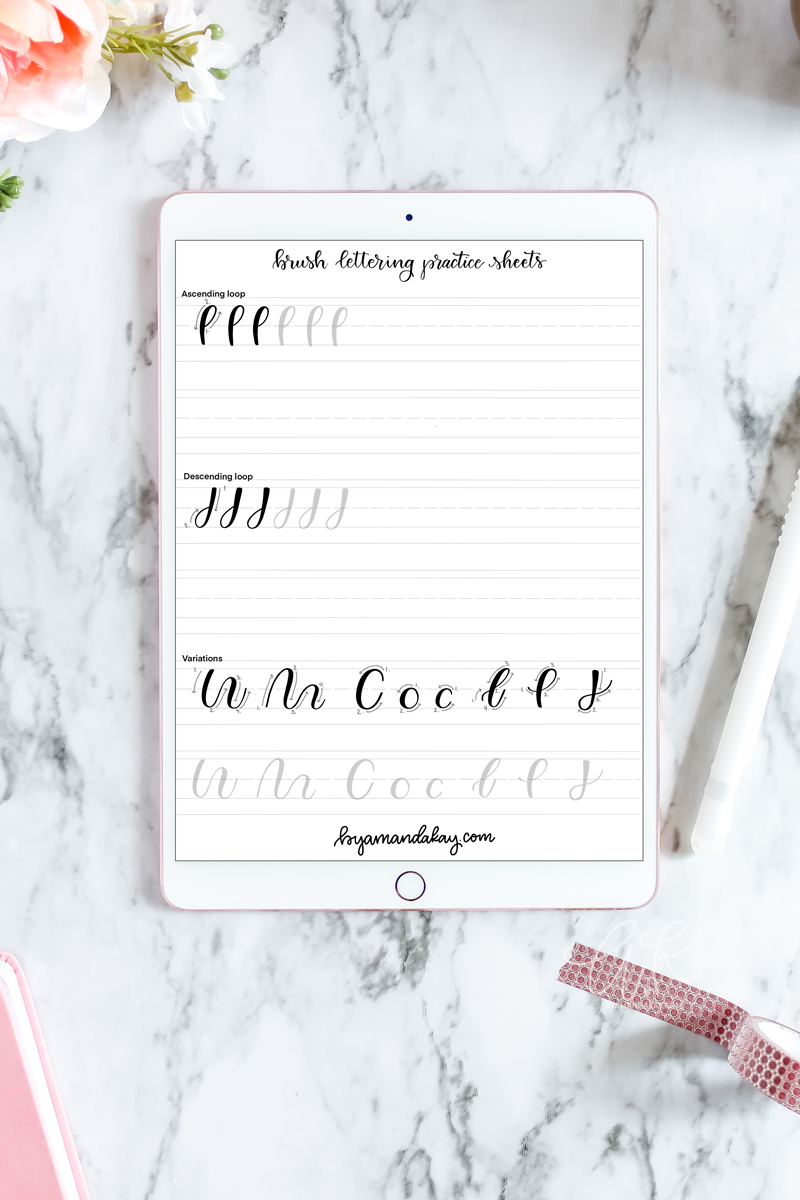
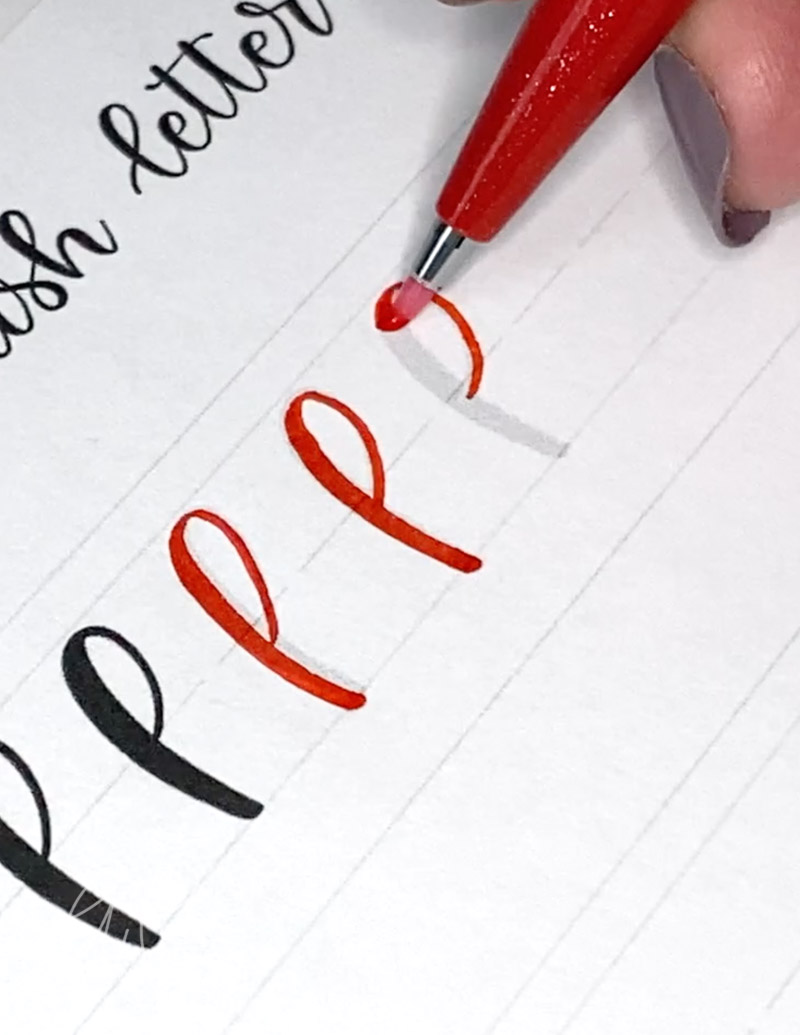
Ascending Loop
An ascending loop is the same loop that helps create the loop and trunk of a “b” or “h”, among others. It starts with an upstroke at the x-height that loops up and over, with a thick downstroke to the baseline.
Descending Loop
The descending loop is the same loop that helps create a “j”. It starts with a downstroke that loops around with an upstroke finishing at the x-height (or at the baseline with a lower case letter).
Oval
An oval is also a basic brush calligraphy stroke, and for me is still one of the more difficult to get right. It seems pretty straightforward, and it is, but for me the trouble comes with meeting back at the starting point. Practice is the only way to get better!
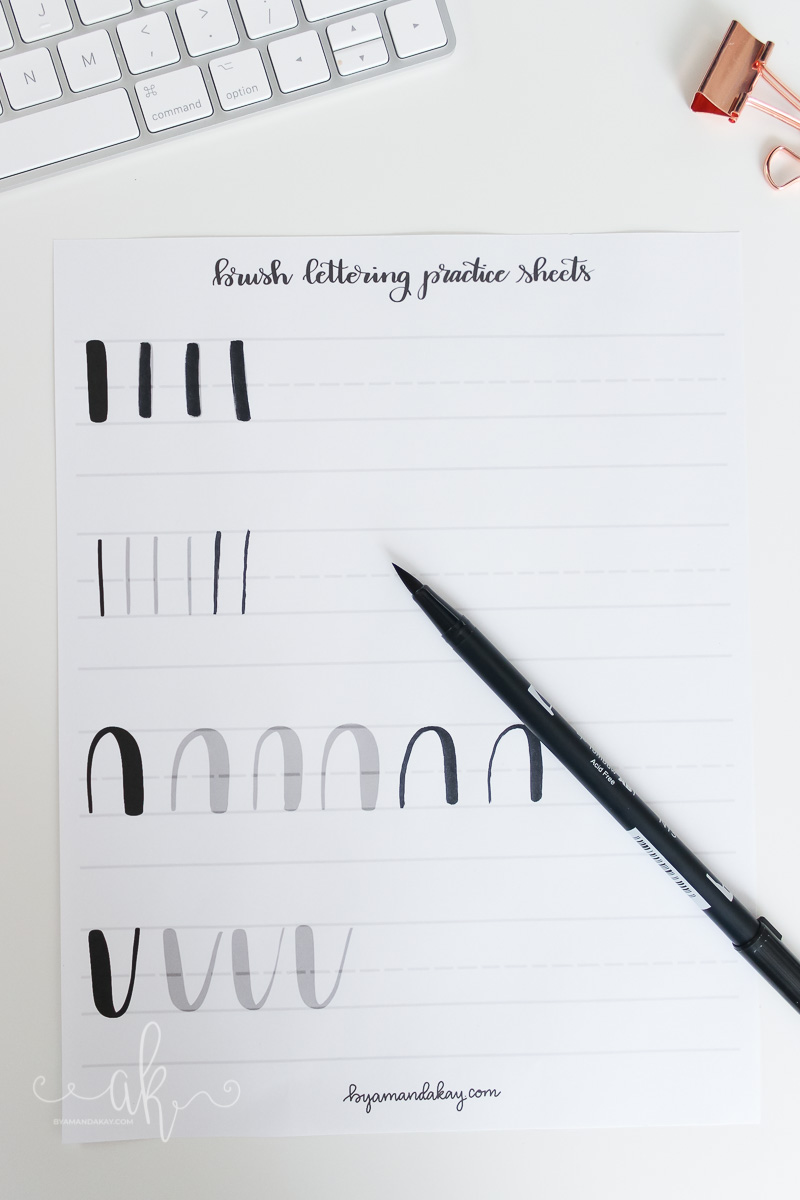
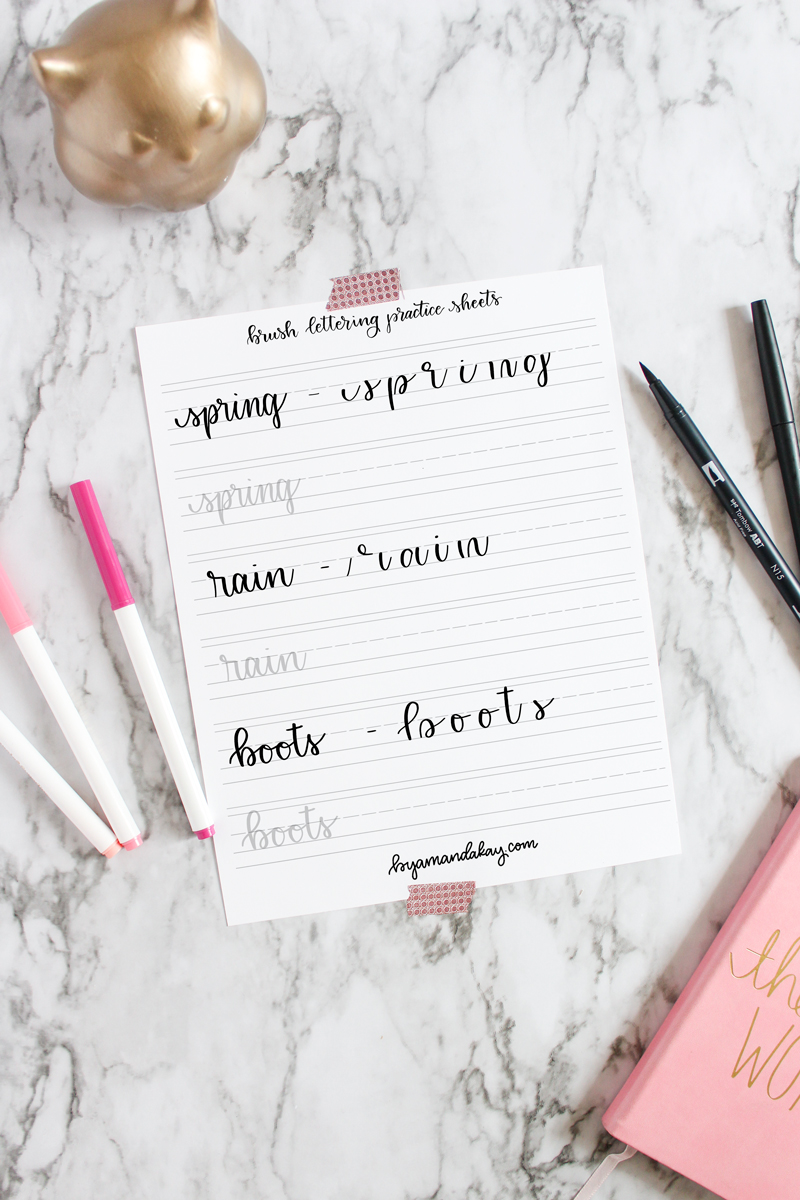
Now that you know the basic strokes of brush calligraphy, it’s time to get practicing. Practice is the only way to improve at a new skill! So I’ve created a free printable worksheet for you to download and print or use on your iPad to start practicing.

To get free lettering worksheets
To download your free practice sheets, you’ll need to subscribe to the freebie library. Sign up below with your name and email address. Once you’ve CONFIRMED your subscription (IT’S TOTALLY FREE!) you’ll be sent an email with the link and password to the subscriber library.
Need a little more help? Check out this video below of each stroke demonstrated in real time.
I’m using a Pentel Sign Pen Touch in this video.
Make sure you check out these posts too:
- The Best Paper for Brush Lettering
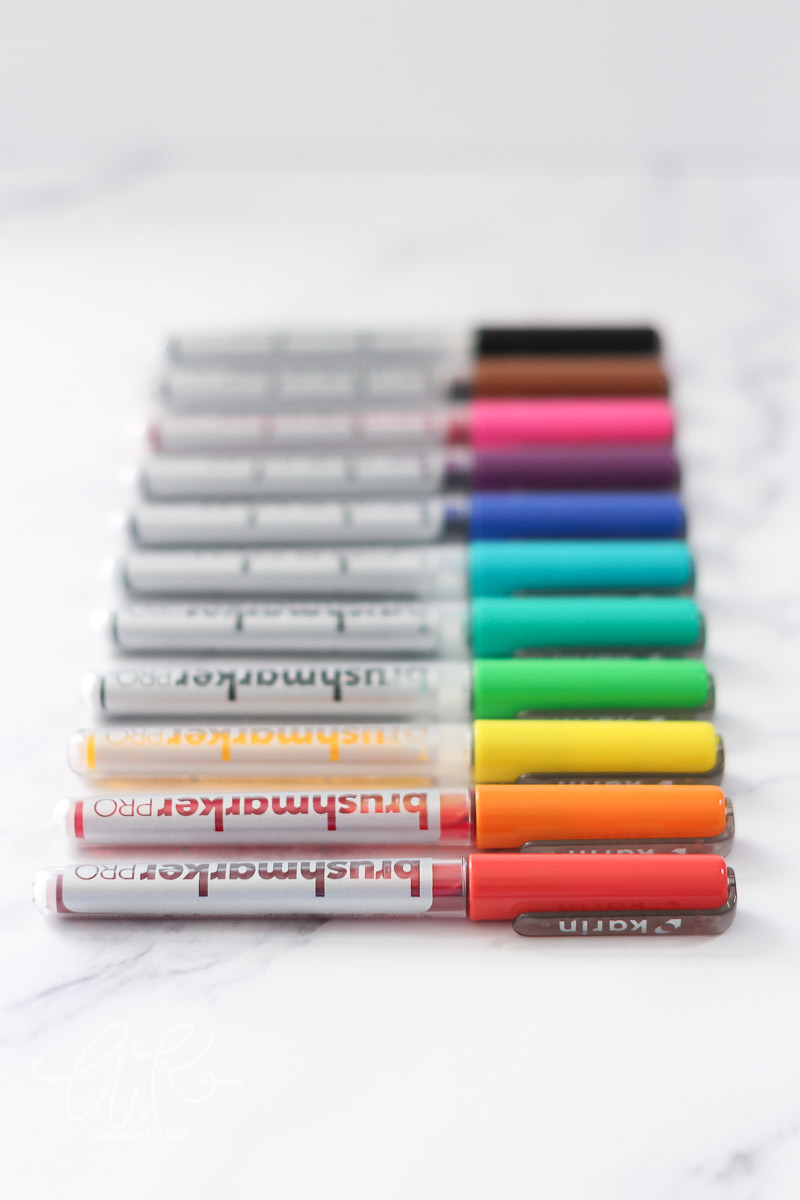
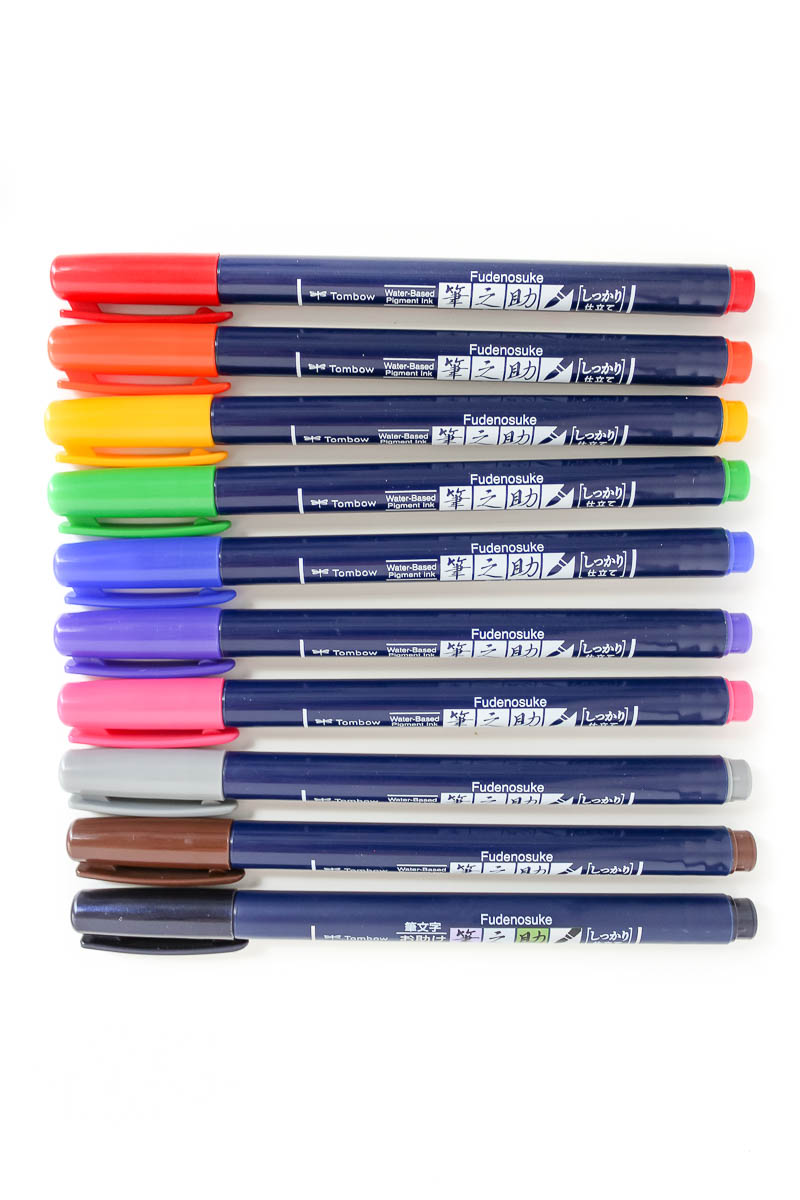
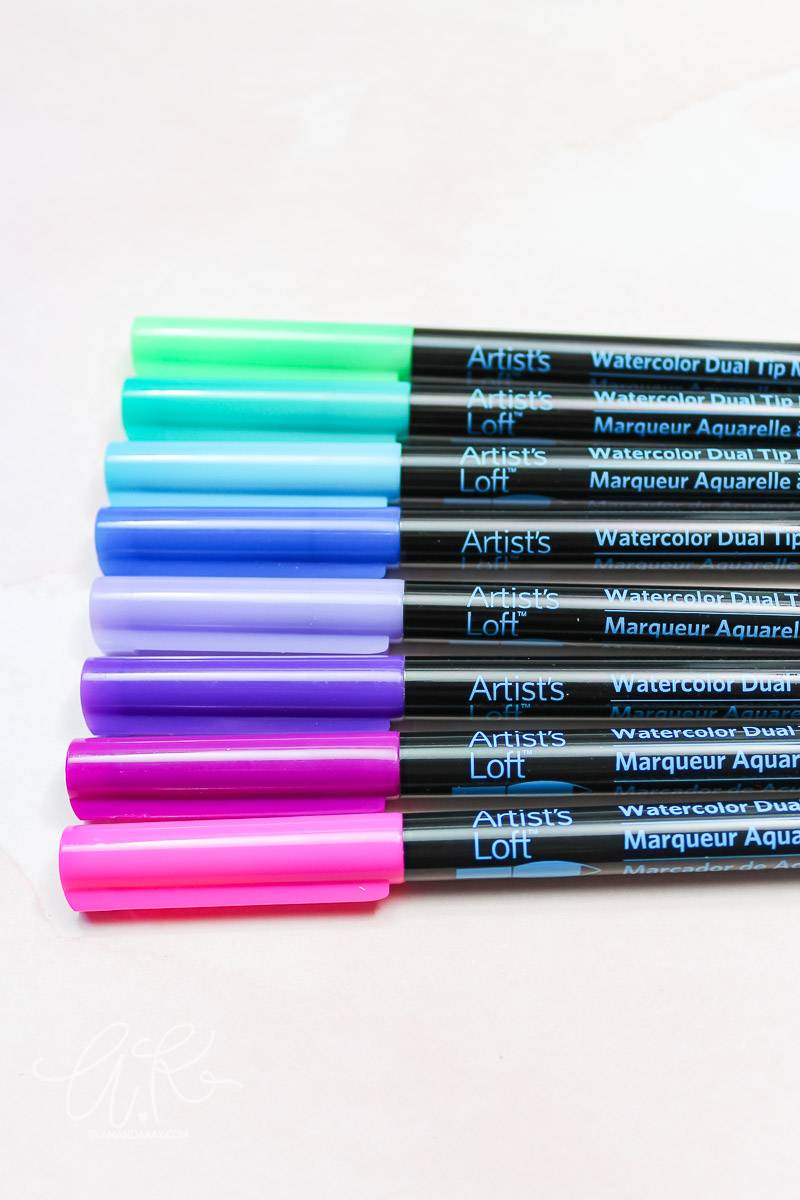
- The Best Brush Pens for Beginners
- Brush Calligraphy Tips for Beginners
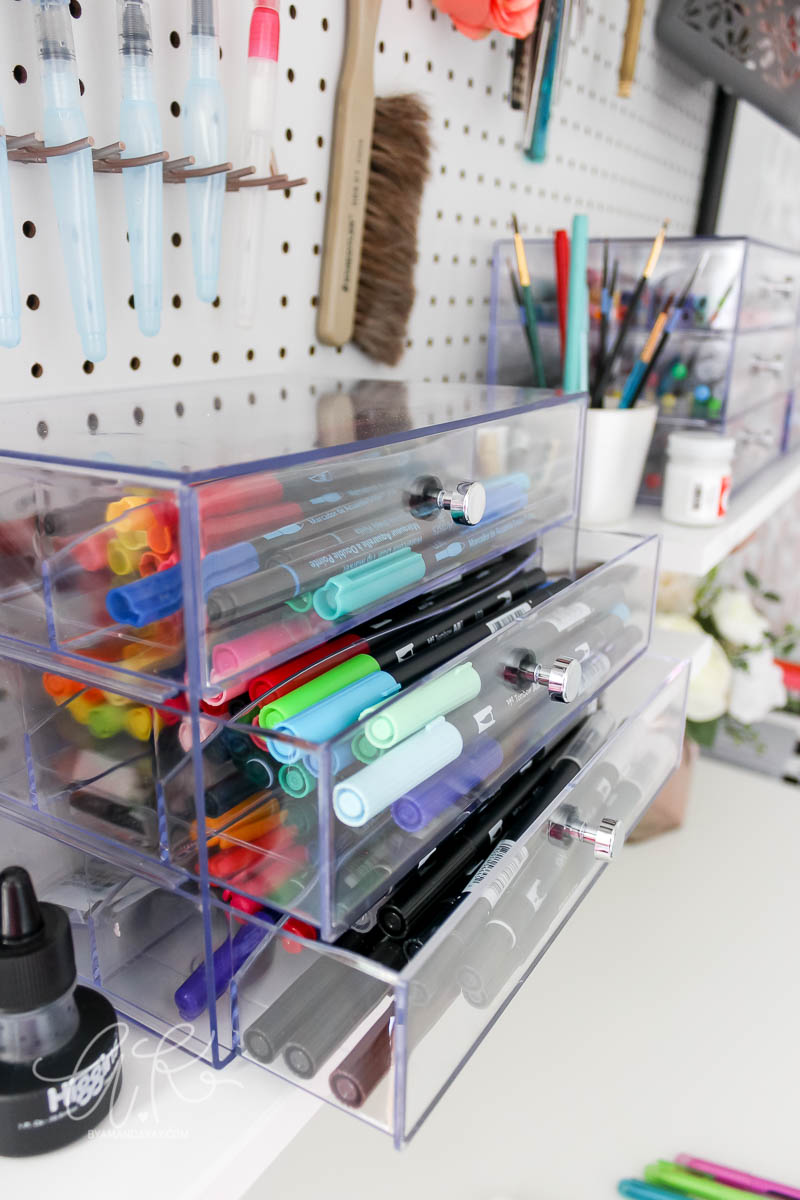
Looking for Supplies?
Check out my Amazon Storefront where I’ve saved all of the products I use in my projects. These are all supplies that I use and would recommend!
Don’t forget to pin it!
I don’t find the place where I have to subscribe for getting the free brush calligraphy worksheets ??!
Can you tell me what I’ve to do, please ? Thank you very much 🙂
Cannot download the free worksheets!
Sue
Hi Sue. It looks like you were sent the welcome email and clicked on the link to the library. Can you please provide me more details where you are experiencing trouble accessing the free worksheets
After providing my name and email, and receiving the password… I can’t find the link to download the worksheets. 🙁
All of the files in the subscriber library are available for download through dropbox. You just have to click on the image to be taken to download
Hi Amanda, I’m to struggling to find the download for the basic beginners worksheets as well?
Amanda, I’m with the others…where do I access the free download for basic beginners worksheet? Do I leave your web site and go to Drobbox? That doesn’t make sense…do you have a link directly from your web site? There are others with the same problem, so I’m not alone in my confusion!
Thanks so much!
Anne
I clicked every picture, none being me to a Dropbox account, none bring me anywhere? Maybe you could clarify
I wanted to apologize before I forget. I should have followed the entire instructions…. When you sign up, you then receive an email with password and link to the free files, once you put in the password and click each file it brings you to Dropbox file directly. Hope that helps others